Posted by Wayne Parham [ 65.69.121.77 ] on February 04, 2005 at 17:47:18:
In Reply to: Stoetkit arrived!!! posted by Wayne Parham on February 03, 2005 at 16:28:11:
After examining all the parts and going through the directions, I unpacked the chassis, tube sockets, transformers and mounting hardware. Excited to get started, I was confident that I would make good progress in the first hour.
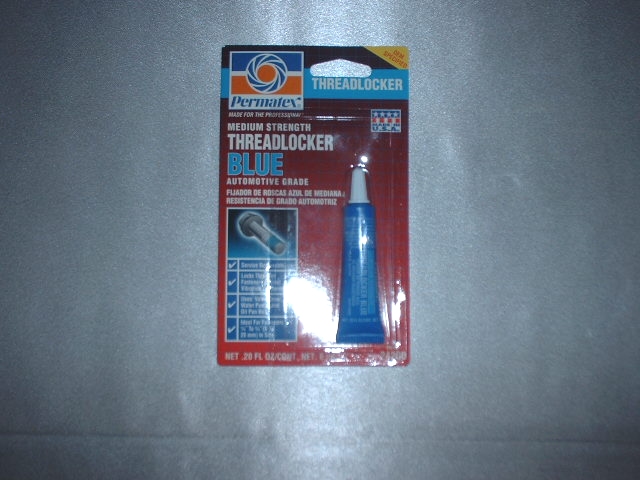
One thing I find very important is using Locktite on all the fasteners. You can get a tube at any auto supply store for about five bucks, and it will prevent the screws from backing out. But be careful with this stuff because it permanently stains the paint on contact. Just use a drop on the threads and do everything from underneath the chassis. Paint discoloration there is no big deal, but if it runs out onto the top, you'll be very disappointed.
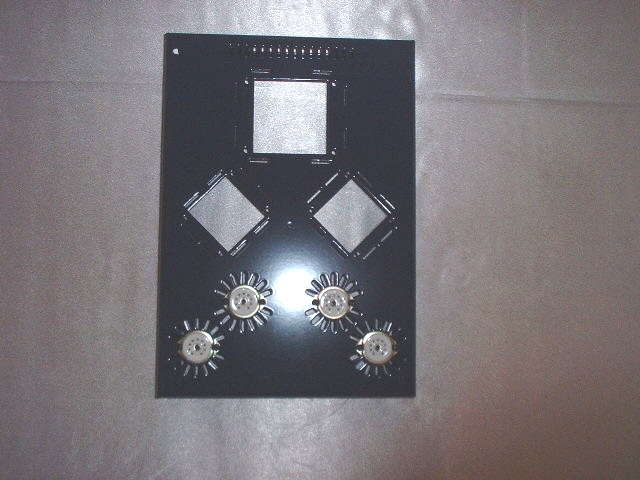 Top View | 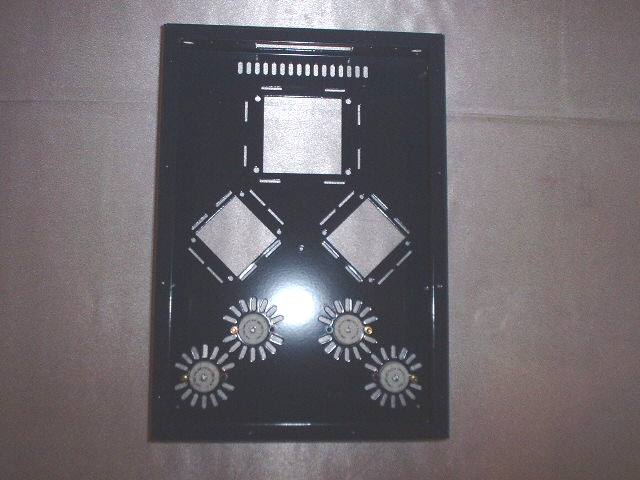 Bottom View |
The solution isn't too bad though. Use a 3/16" drill bit to open up the output transformer mounting holes. I suggest using a brand new bit so it is sharp and cuts easily. Even with that, be very careful because one slip can ruin the finish of your amplifier's chassis.
While you're there, cut a 3/16" hole in some piece of scrap metal that is about 1/16" thick. You'll use this as a guide plate for cutting 16 thules down to the proper length. The idea is that the thules for the output transformers should be long enough to pass through the chassis mounting hole, and act as an insulator. So you want just enough length to pass through the chassis, and no more. The thules for the power transformer don't need to be cut, but 16 of 'em for the output transformers do. If you're a gear head and have an old freeze plug handy from your last engine rebuild, use it. Even if you don't have one, you might go to the local car parts store and get one. They'll have an assortment of sizes, and you don't care about that, just get whichever one is handy. Cost a dime or a dollar or something like that. The drilled freeze plug will act just like a thimble for you, letting you slide the thule through the hole and cut it with a hacksaw to the perfect length. With one of these babys, you can cut all 16 of those in no time at all. Cuts just like butter. Before you put up that drill, use a small grinder tip to remove the paint from the area around one of the power transformer mounting holes. A grounding lug is placed there, and you want it to have a good connection. Now you can mount the transformers. Be careful not to scratch the paint. Before tightening the screws, make sure the thules have passed through the chassis mounting holes and are seated properly. Tighten the screws so all thules are flush. The power transformer thules are flush right away, but the thules don't fit easily into the output transformers. After you begin to tighten the screws, they will be forced into the holes and will tighten flush. Don't forget the locktite, and don't forget to be careful so none gets on the paint.![]()
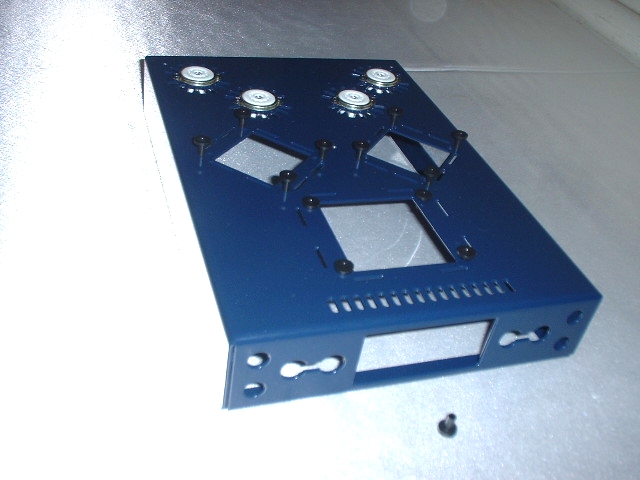
Drill output transformer mounting holes with 3/16" bit
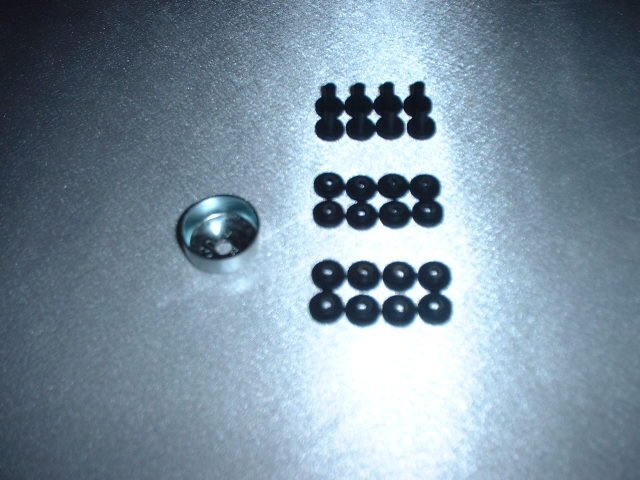
Cut 16 thules down to 1/16" long
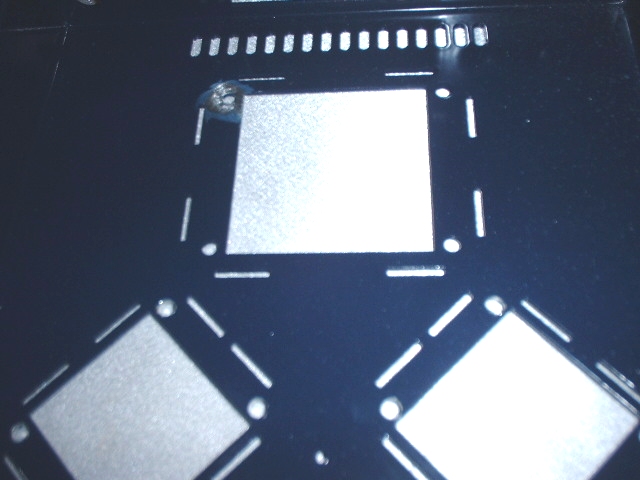
Remove paint for ground strap
Top View | Bottom View |
[ FSAudio Forum ] [ Help ]