Posted by Wayne Parham [ 65.69.121.77 ] on February 10, 2005 at 22:31:29:
In Reply to: Re: Stoetkit Buildup - 6th Hour posted by Wayne Parham on February 10, 2005 at 20:35:12:
We're on home stretch now. With the amp making music, it's hard to get back to finish it up. It's a great little amp that makes beautiful music, and now that I've gotten this far, it's exciting to just sit and listen to it. But just a few more things and I can button it up. So I power it down and bring it back to the workbench.
First thing is to mount the front cover. You'll need a couple of metric allen wrenches, so if you don't have them, run to a tool supply and buy a metric allen wrench set. Put a little locktite on the front cover screws and tighten 'em up. I wouldn't put locktite on the tiny little set screws for the knobs, you won't need it.
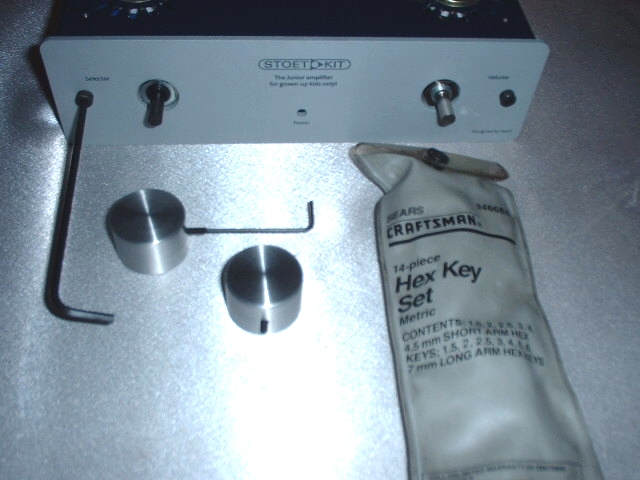 Fasten front plate and knobs with allen wrenches | 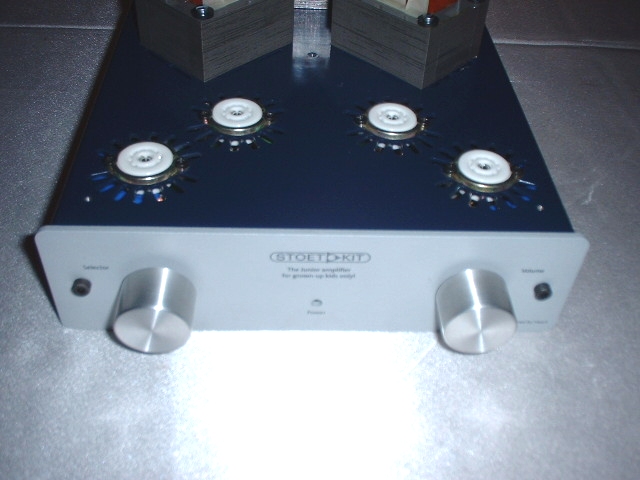 Front plate and knobs installed |
Now it's time to bend the transformer covers and put them on. There are a couple of tricks here. Use the styrofoam packing sheets to protect the finish, and put the sheets in a vice. Use a thin piece of wood as a straightedge, like a paint stir stick or a wooden ruler. Line it up so that the edge forms a perfectly straight line across the fold line. Tighten the vice around the wood and the transformer cover protected by styrofoam. Bend the cover just a little way to get it started. Repeat this process on all four sides.
Transformer cover in vice | Bend it just a little | Do this for all four sides |
After all four sides are started, finish them by bending each side slowly until they nearly form a square box side. Don't try to square it up, because the last few degrees if bend can be done when inserting the cover into the chassis slots. You don't want to go to far and have to bend a panel backwards, because that might crack the paint.
All four sides started | Finish the bend slowly | Finished covers |
Put the covers onto the chassis by inserting the tabs on the covers into the slots on the chassis. Bend the tabs on the underside with a large screwdriver. The trick is to start with a very slight bend on two tabs on opposite sides. Then work your way around the transformer, starting each tab. After every tab has been started, then go back to each one and bend them flush.
Bend all tabs over flush | Transformer covers installed |
The last thing to do is to mount the rubber feet and put the bottom on the chassis. Use a screw and a nut to fasten the rubber feet. Don't overtighten, because that will just deform and squish the rubber. In fact, the trick is to use locktite and tighten the screw just enough to begin compressing the rubber, then stop.
Now put the bottom plate on, and you're done! This is one of the best values in audio. Clean sound, pure midrange and deep, powerful bass. Most tube amp enthusiasts consider midrange sweetness to be the advantage of SET amps, but you really need to check this amp out because it will challenge your beliefs. When we're talking about the amps in this price range, I think this one is the winner, hands down. There are lots of good kits out there, and I enjoy listening to many of them. But this one just does something special. I'm very pleased to have my Stoetkit running!
[ FSAudio Forum ] [ Help ]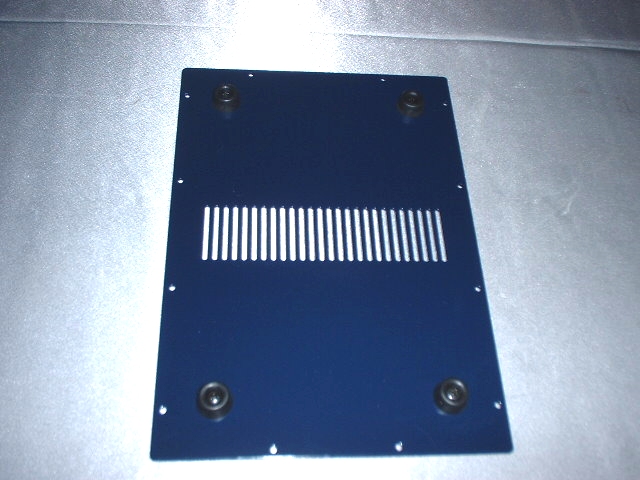
Rubber feet installed
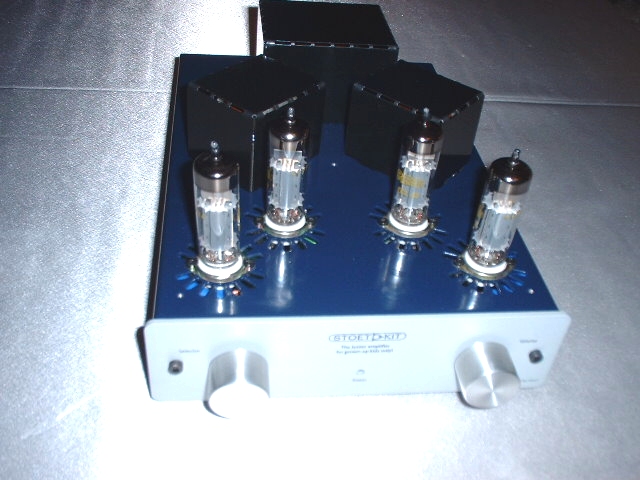
Stoetkit complete