Posted by Wayne Parham [ 64.216.179.187 ] on June 15, 2005 at 06:11:31:
In Reply to: Re: ProFet Buildup - 4th Hour posted by Wayne Parham on June 09, 2005 at 17:34:37:
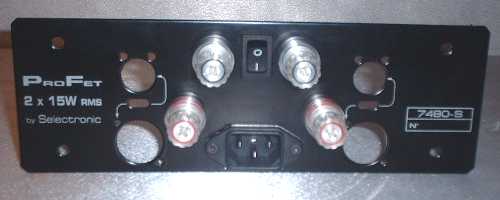
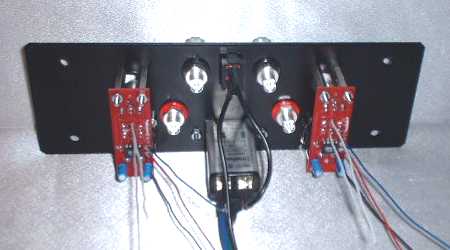
Moving right along, we're getting close to making music now. The next step is to build up the rear panel. Mount the AC recepticle, speaker connectors and power switch.
Grind or file down four 25mm threaded spacers to make them 24mm long. You'll need them to be just a little bit shorter so the input board mounts right. After filing them down, mount them to the input boards:
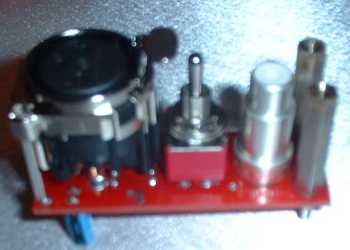
You can test fit the input boards as you file them down, to make sure the board fits right. After you get them done, mount the input boards to the back panel.
At this point, the rear panel is ready to be wired up and mounted on the chassis. First, connect the AC power. Solder a 17 guage black wire from the top lug on the power switch to the right lug of the AC recepticle, as viewed from the rear. be sure to use heat shrink to cover the lugs. Then solder a black wire long enough to reach the front of the chassis to the center lug of the power switch. Solder a 17 guage blue wire to the right lug of the AC recepticle and a yellow/green wire to the center lug, as viewed from the rear. Put heat shrink tubing on each of these wires.
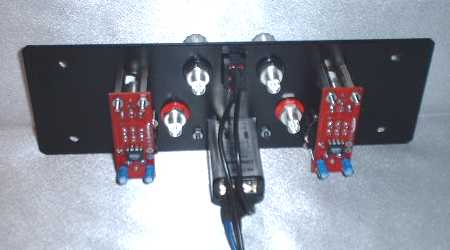
Next, connect the signal and DC power wires to the input boards. Cut two 4" 24 guage red wires, two 4" 24 guage blue wires and two 4" 24 guage black wires. Also cut a two 3 1/2" white wires and two 3" white wires.
On each input board, solder a red wire to [V+], a blue wire to [V-] and the black wire to [V0]. Solder the 3 1/2" white wire to [In+] and the 3" wire to [In-].
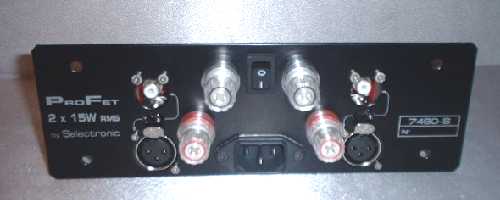
Now the rear plate is ready to be mounted to the chassis. Mount it and the front plate as well:
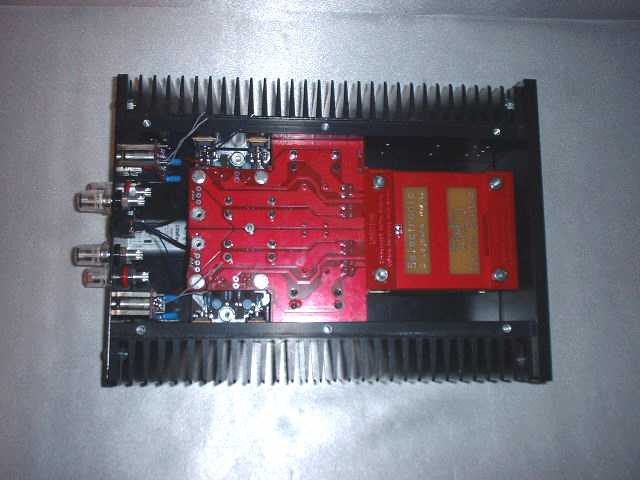 Front and rear plate mounted | 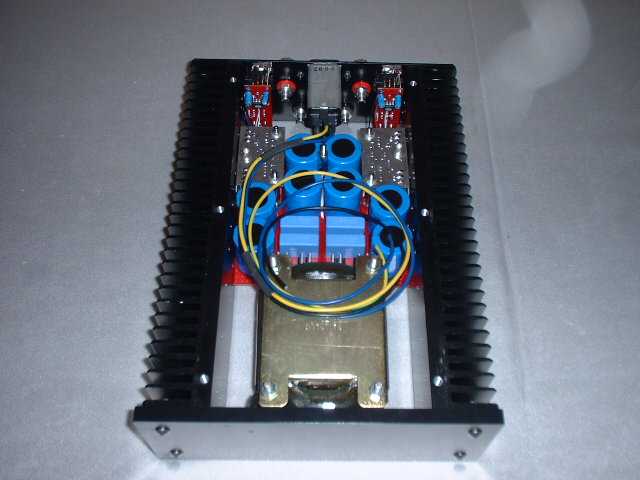 Bottom view |
[ Selectronic Forum ] [ Help ]