|
Home » Sponsored » Pi Speakers » Build Thread: 2Pi Towers, 6Pi Corner horns (and possibly a sub and center) (Building some Pi Speakers)
| Re: Build Thread: 2Pi Towers, 6Pi Corner horns (and possibly a sub and center) [message #88443 is a reply to message #88057] |
Sun, 15 July 2018 17:53   |
 joshua43214
Messages: 35
Registered: October 2016
Location: USA
|
Baron |
|
|
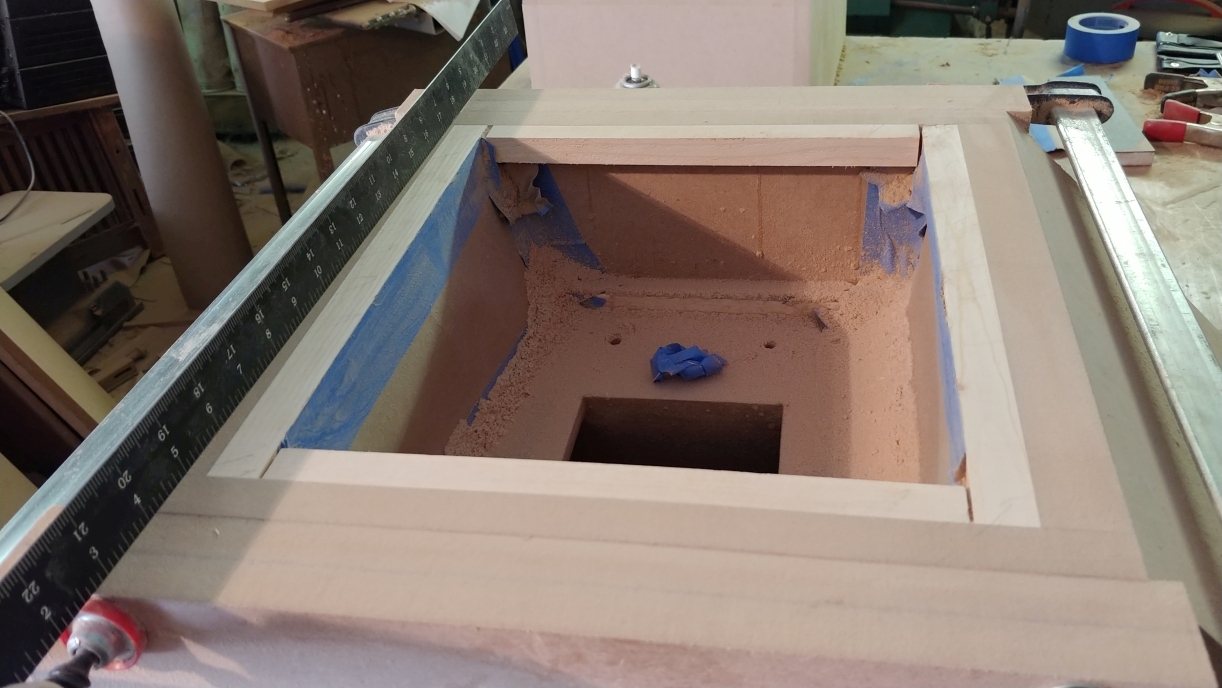
The driver mount should be just a smidge shorter than the box sides otherwise there will be no room for any glue and it will be difficult to put in. I cut mine when I cut the sides, then sanded one edge back until it fit right.
I test fitted the mount, and scribed the throat opening. The holes for the driver mounting screws are laid out from the scribed line. Once again, I took the easy way out and drilled the holes and made the cut out on the mill.
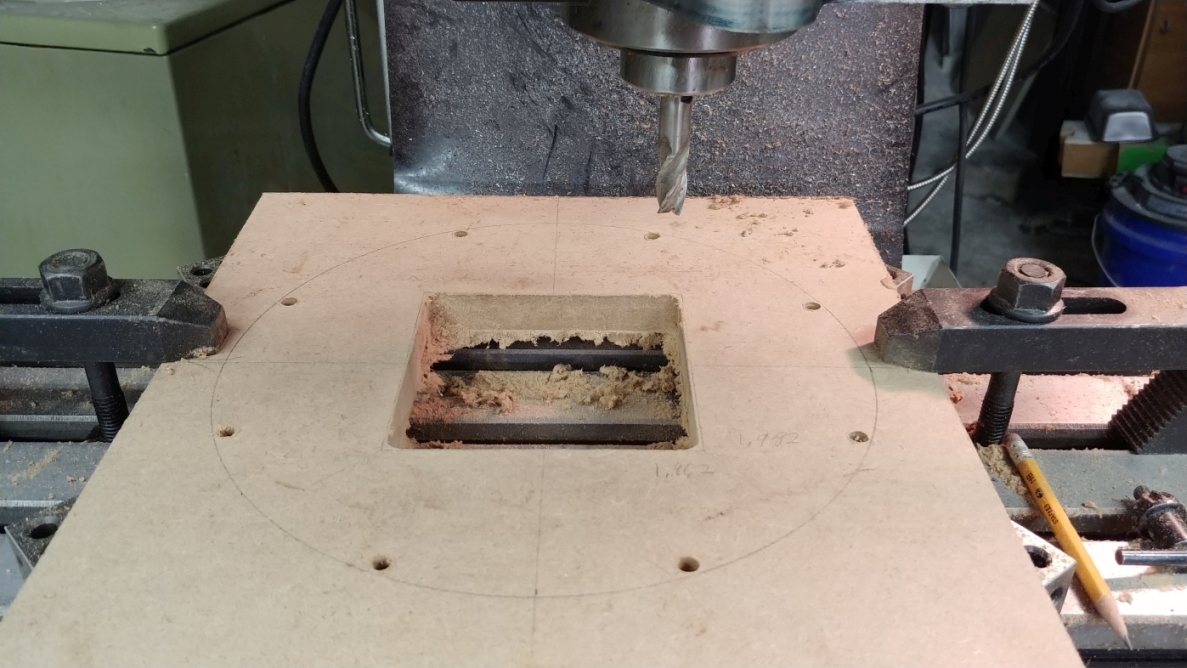
Note I stayed very far from the line. This extra material is important later.
I managed to remember to install the inserts before I glued in the mount. Forgetting this would be a disaster since they cannot be installed later. I also lightly moistened each hole, and added a touch of Gorilla Glue, having these unscrew would also be a disaster.
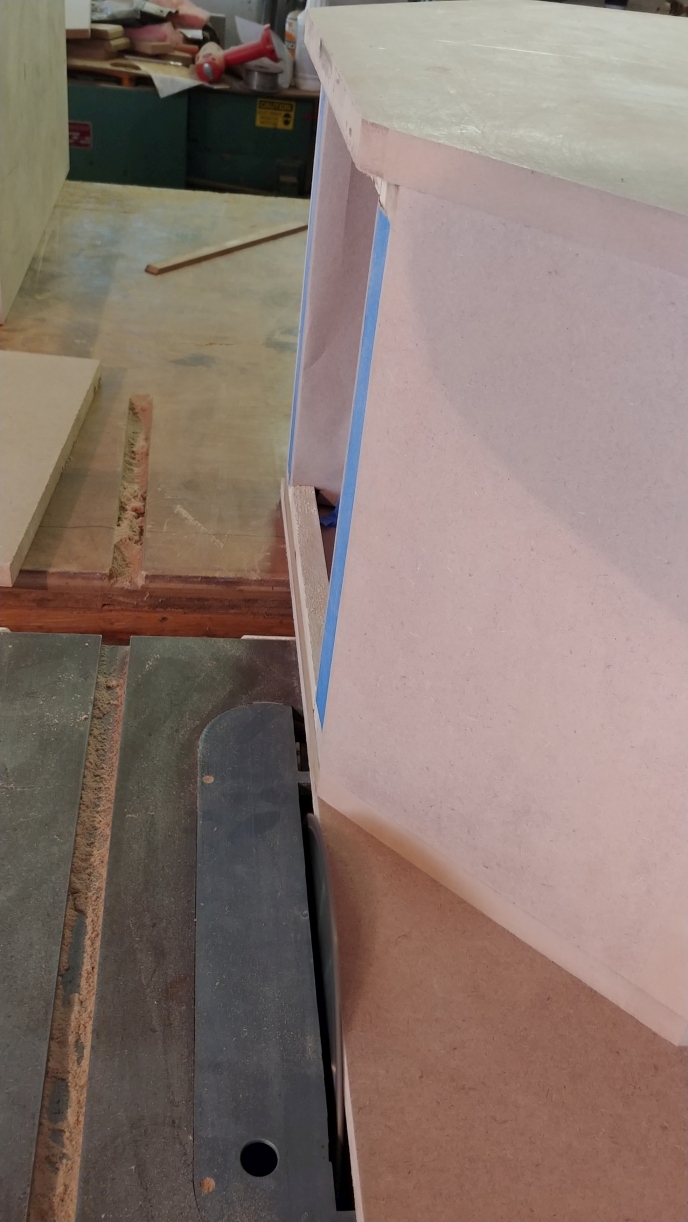
After gluing in the driver mount, I glued 3/4" (19mm) square pine strips to the top and bottom of the box at the back. These strips will hold the inserts for the back cover. I also glued in some 3/4" (19mm) braces along the driver mount to top/bottom joint. I then taped some brown construction paper inside the assembly to prevent sawdust from getting down into the stuffing.
Using one of the bass bin supports as a sled, I ran the whole assembly through the table saw to trim the excess off the back.
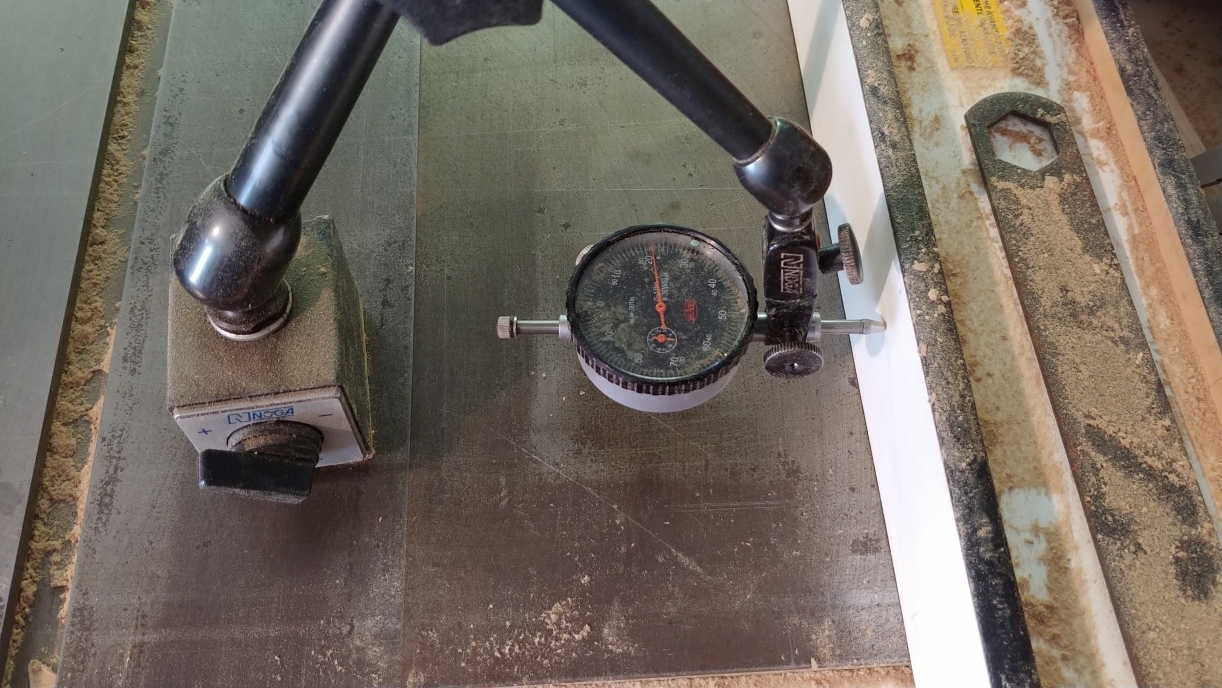
This is when having a dial caliper and dial indicator come in really handy.
I measure how much material is remaining.
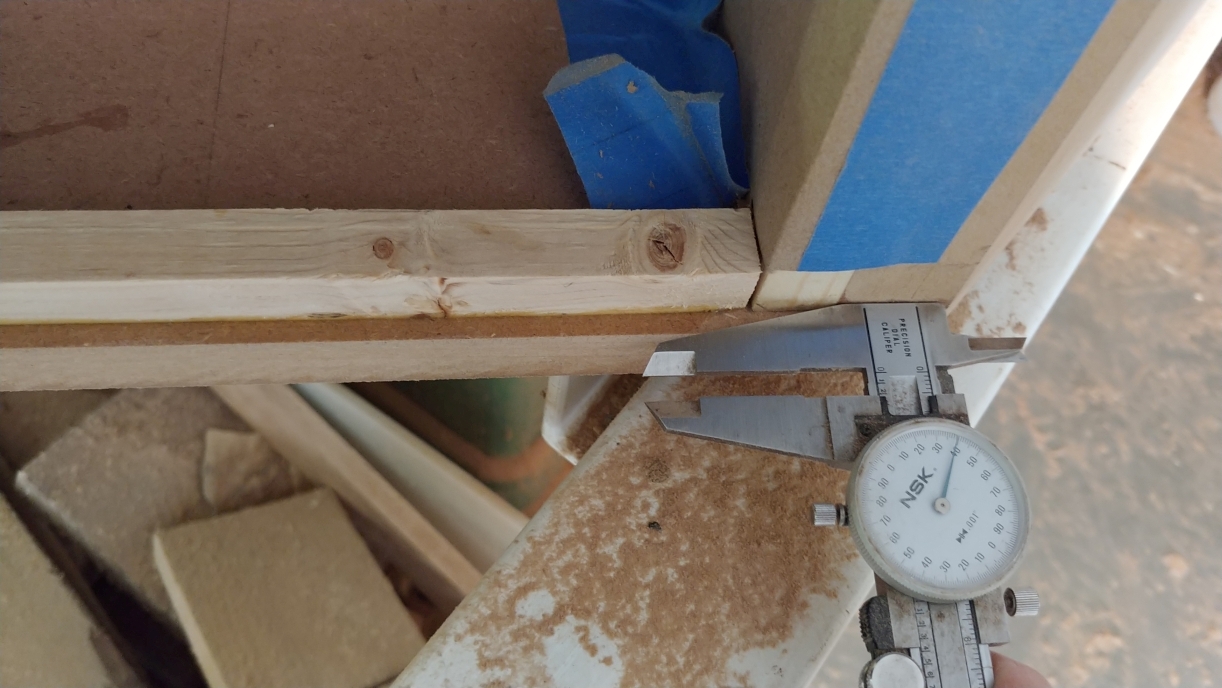
Then use the dial indicator to bump the fence over a few thousandths short of the target distance.
I then placed the assembly mouth down on the table saw, and found the lowest point on the back. I scribed this height all the way around the box, and clamped straight pieces of scrape to the box along the line. Then it is just a matter of sanding and checking with a straight edge until the back of the box is flat. It is not so important that the back be parallel to the front, what is important is the back is flat. A gasket is only as good as the surface it seals. The rear cover will flex a bit, and a rubber gasket will compress a bit, but not enough to make up for very much error.
Up next: yet again another post on the horn...
|
|
|
|
 |
|
Build Thread: 2Pi Towers, 6Pi Corner horns (and possibly a sub and center)
|
|
|
Re: Build Thread: 2Pi Towers, 6Pi Corner horns (and possibly a sub and center)
|
|
|
Re: Build Thread: 2Pi Towers, 6Pi Corner horns (and possibly a sub and center)
|
|
|
Re: Build Thread: 2Pi Towers, 6Pi Corner horns (and possibly a sub and center)
|
|
|
Re: Build Thread: 2Pi Towers, 6Pi Corner horns (and possibly a sub and center)
|
|
|
Re: Build Thread: 2Pi Towers, 6Pi Corner horns (and possibly a sub and center)
|
|
|
Re: Build Thread: 2Pi Towers, 6Pi Corner horns (and possibly a sub and center)
|
|
|
Re: Build Thread: 2Pi Towers, 6Pi Corner horns (and possibly a sub and center)
|
|
|
Re: Build Thread: 2Pi Towers, 6Pi Corner horns (and possibly a sub and center)
|
|
|
Re: Build Thread: 2Pi Towers, 6Pi Corner horns (and possibly a sub and center)
|
|
|
Re: Build Thread: 2Pi Towers, 6Pi Corner horns (and possibly a sub and center)
|
|
|
Re: Build Thread: 2Pi Towers, 6Pi Corner horns (and possibly a sub and center)
|
|
|
Re: Build Thread: 2Pi Towers, 6Pi Corner horns (and possibly a sub and center)
|
|
|
Re: Build Thread: 2Pi Towers, 6Pi Corner horns (and possibly a sub and center)
|
|
|
Re: Build Thread: 2Pi Towers, 6Pi Corner horns (and possibly a sub and center)
|
|
|
Re: Build Thread: 2Pi Towers, 6Pi Corner horns (and possibly a sub and center)
|
|
|
Re: Build Thread: 2Pi Towers, 6Pi Corner horns (and possibly a sub and center)
|
|
|
Re: Build Thread: 2Pi Towers, 6Pi Corner horns (and possibly a sub and center)
|
|
|
Re: Build Thread: 2Pi Towers, 6Pi Corner horns (and possibly a sub and center)
|
|
|
Re: Build Thread: 2Pi Towers, 6Pi Corner horns (and possibly a sub and center)
|
|
|
Re: Build Thread: 2Pi Towers, 6Pi Corner horns (and possibly a sub and center)
|
|
|
Re: Build Thread: 2Pi Towers, 6Pi Corner horns (and possibly a sub and center)
|
|
|
Re: Build Thread: 2Pi Towers, 6Pi Corner horns (and possibly a sub and center)
|
|
|
Re: Build Thread: 2Pi Towers, 6Pi Corner horns (and possibly a sub and center)
|
|
|
Re: Build Thread: 2Pi Towers, 6Pi Corner horns (and possibly a sub and center)
|
|
|
Re: Build Thread: 2Pi Towers, 6Pi Corner horns (and possibly a sub and center)
|
|
|
Re: Build Thread: 2Pi Towers, 6Pi Corner horns (and possibly a sub and center)
|
Goto Forum:
Current Time: Sat Apr 27 14:26:47 CDT 2024
|


 Posting Rules
 Members
 Search
 Help
Help Register
 Login
Login Get a T-Shirt!


")

