|
Home » Sponsored » Pi Speakers » Build Thread: 2Pi Towers, 6Pi Corner horns (and possibly a sub and center) (Building some Pi Speakers)
| Re: Build Thread: 2Pi Towers, 6Pi Corner horns (and possibly a sub and center) [message #88437 is a reply to message #88057] |
Sat, 14 July 2018 16:12   |
 joshua43214
Messages: 35
Registered: October 2016
Location: USA
|
Baron |
|
|
Fitting the short edge is much the same as the long edge with a couple differences. Trimming of the bulk is not easily done on the table saw. I trimmed it off with a handsaw. unlike sanding blocks, handsaws to require a bit of skill to use well. Just stay inside your comfort zone and use whatever tool you feel most comfortable with.
Before I marked out the cut line, I spent some time fussing about getting the flare even in the box. I used a dial caliper and levered the flare with a chisel until I had less than 0.005" (.127mm) difference. All of my earlier fussing was so I could make this particular measurement well. If the box or the flare are not square and flush at the fronts, then getting this alignment will be difficult. The more out of alignment this is, the more the flare will be aimed off axis, and the more the driver will be out of vertical. How much does this really matter? Hardly any if there is only one speaker. The point is not that the horn and driver must be in some perfect plane, it is that the pair should be as identical as one can make them.
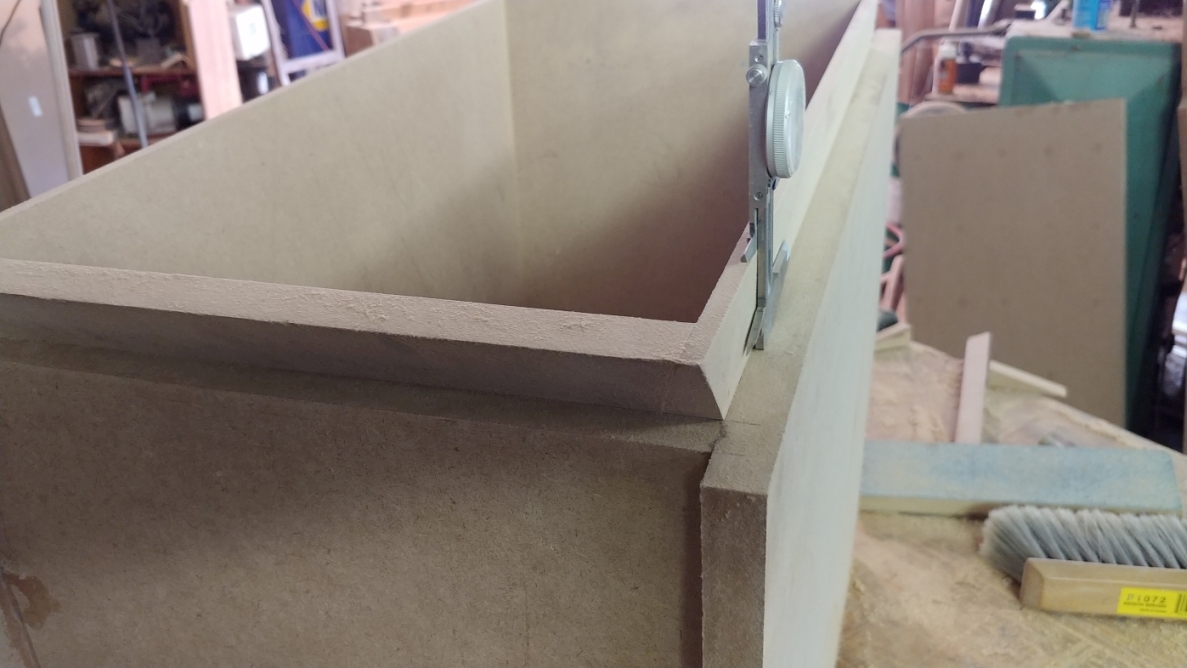
One again, just sand to the line, think happy thoughts, and check often. When fitted, the flare should fall in with minimal friction. Just enough to prevent it from free falling, but not so tight that it produces a starved glue joint.
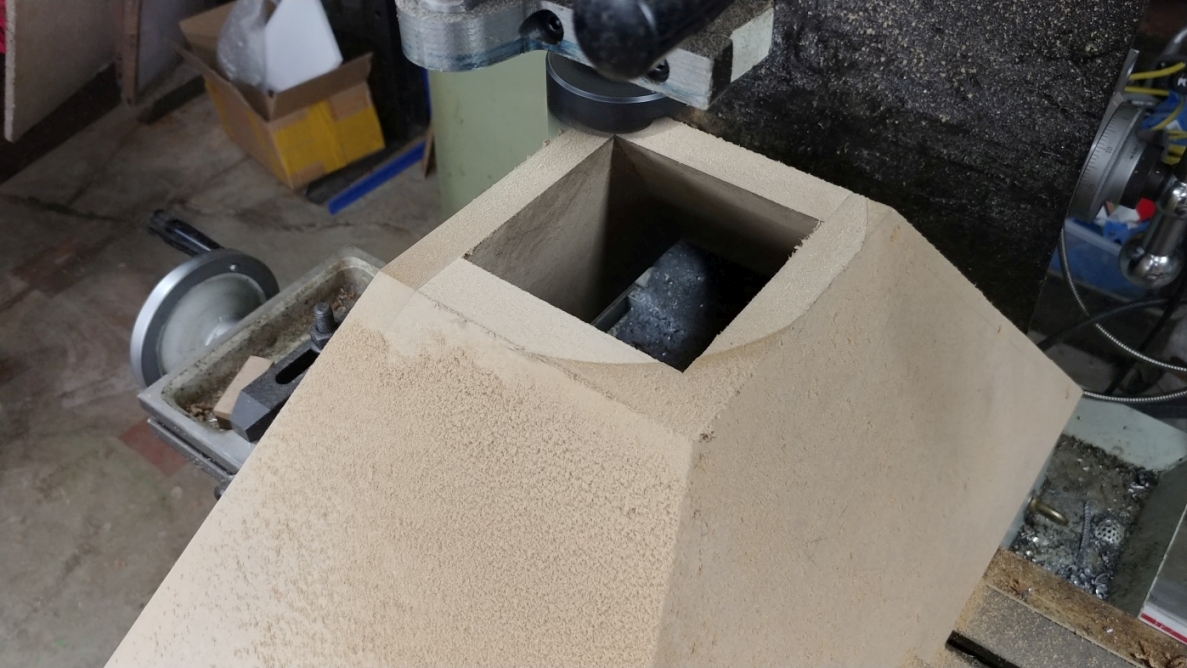
This next image is actually out of order, but the operation can be done at this stage. Sorry, it is the hazard of writing a build thread after the project is completed.
I used a fly cutter on the mill to trim the throat of the horn flat. This can also be done using straight edges and rulers, which is the method I used for flattening the back of the box. Still it is a cool pic with a scary tool
Once the flare was fitted. I glued it in place and used some spring clamps to keep the joint tight. It is important to work quickly doing this, Tight Bond grabs and starts to set very rapidly. Make sure you have a mallet and an assortment of scrap for beating the flare into place.
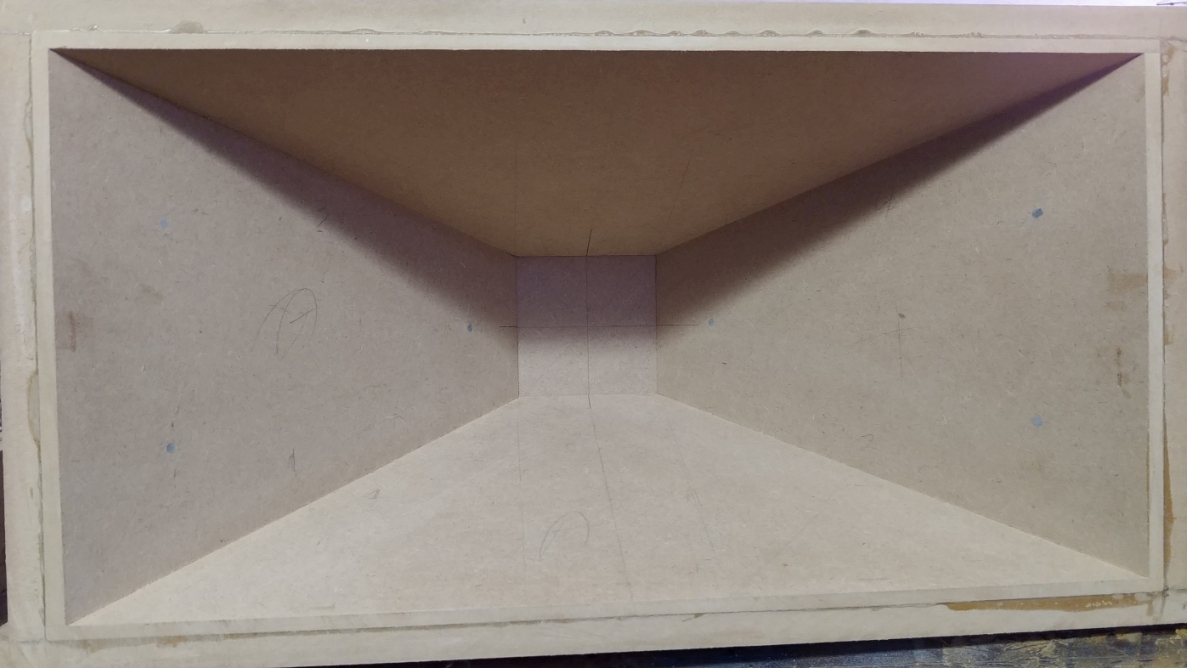
Before I glued the flare in place, I very carefully marked the center of each side of the throat. After assembly, I test fitted the driver support after marking out the center of it.
I think this is about as good as it gets, the driver support is less than 0.010" (.254mm) out of alignent, and that only on one edge. The other horn came out the same.
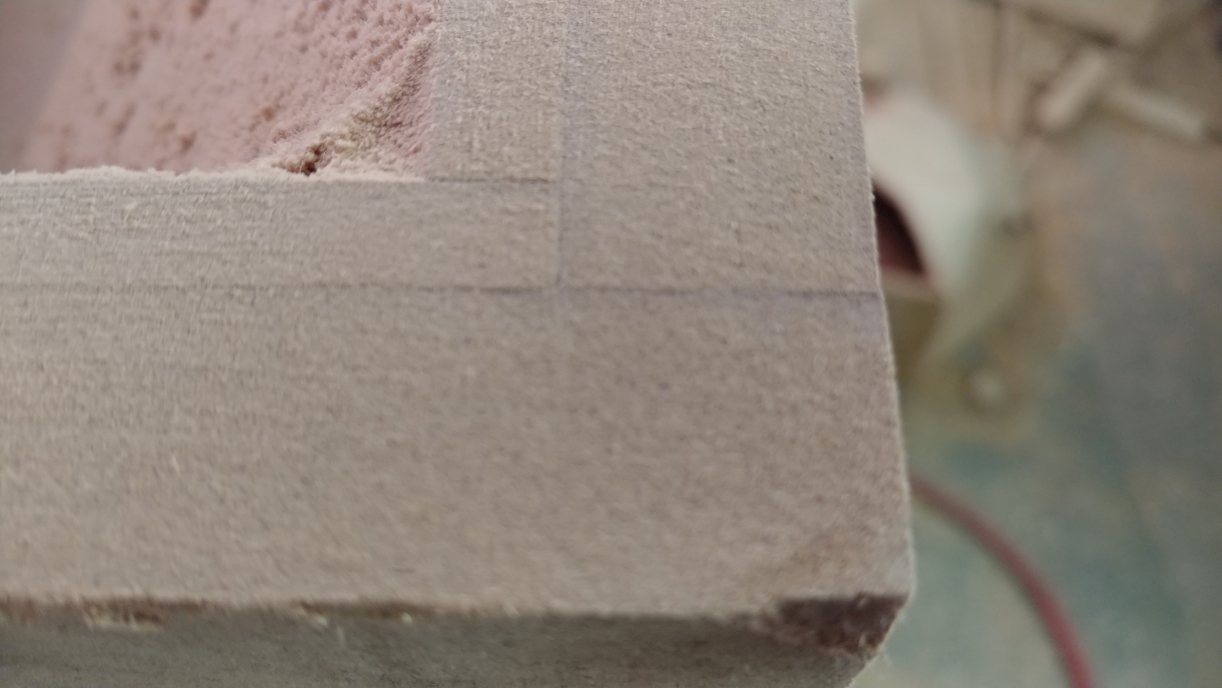
This is more or less how all 4 corners on both horns came out after flush sanding.
Next: Even more Horn work
|
|
|
|
 |
|
Build Thread: 2Pi Towers, 6Pi Corner horns (and possibly a sub and center)
|
|
|
Re: Build Thread: 2Pi Towers, 6Pi Corner horns (and possibly a sub and center)
|
|
|
Re: Build Thread: 2Pi Towers, 6Pi Corner horns (and possibly a sub and center)
|
|
|
Re: Build Thread: 2Pi Towers, 6Pi Corner horns (and possibly a sub and center)
|
|
|
Re: Build Thread: 2Pi Towers, 6Pi Corner horns (and possibly a sub and center)
|
|
|
Re: Build Thread: 2Pi Towers, 6Pi Corner horns (and possibly a sub and center)
|
|
|
Re: Build Thread: 2Pi Towers, 6Pi Corner horns (and possibly a sub and center)
|
|
|
Re: Build Thread: 2Pi Towers, 6Pi Corner horns (and possibly a sub and center)
|
|
|
Re: Build Thread: 2Pi Towers, 6Pi Corner horns (and possibly a sub and center)
|
|
|
Re: Build Thread: 2Pi Towers, 6Pi Corner horns (and possibly a sub and center)
|
|
|
Re: Build Thread: 2Pi Towers, 6Pi Corner horns (and possibly a sub and center)
|
|
|
Re: Build Thread: 2Pi Towers, 6Pi Corner horns (and possibly a sub and center)
|
|
|
Re: Build Thread: 2Pi Towers, 6Pi Corner horns (and possibly a sub and center)
|
|
|
Re: Build Thread: 2Pi Towers, 6Pi Corner horns (and possibly a sub and center)
|
|
|
Re: Build Thread: 2Pi Towers, 6Pi Corner horns (and possibly a sub and center)
|
|
|
Re: Build Thread: 2Pi Towers, 6Pi Corner horns (and possibly a sub and center)
|
|
|
Re: Build Thread: 2Pi Towers, 6Pi Corner horns (and possibly a sub and center)
|
|
|
Re: Build Thread: 2Pi Towers, 6Pi Corner horns (and possibly a sub and center)
|
|
|
Re: Build Thread: 2Pi Towers, 6Pi Corner horns (and possibly a sub and center)
|
|
|
Re: Build Thread: 2Pi Towers, 6Pi Corner horns (and possibly a sub and center)
|
|
|
Re: Build Thread: 2Pi Towers, 6Pi Corner horns (and possibly a sub and center)
|
|
|
Re: Build Thread: 2Pi Towers, 6Pi Corner horns (and possibly a sub and center)
|
|
|
Re: Build Thread: 2Pi Towers, 6Pi Corner horns (and possibly a sub and center)
|
|
|
Re: Build Thread: 2Pi Towers, 6Pi Corner horns (and possibly a sub and center)
|
|
|
Re: Build Thread: 2Pi Towers, 6Pi Corner horns (and possibly a sub and center)
|
|
|
Re: Build Thread: 2Pi Towers, 6Pi Corner horns (and possibly a sub and center)
|
|
|
Re: Build Thread: 2Pi Towers, 6Pi Corner horns (and possibly a sub and center)
|
Goto Forum:
Current Time: Sat Apr 27 22:46:06 CDT 2024
|


 Posting Rules
 Members
 Search
 Help
Help Register
 Login
Login Get a T-Shirt!


")

