|
Home » Sponsored » Pi Speakers » Build Thread: 2Pi Towers, 6Pi Corner horns (and possibly a sub and center) (Building some Pi Speakers)
| Re: Build Thread: 2Pi Towers, 6Pi Corner horns (and possibly a sub and center) [message #88177 is a reply to message #88057] |
Thu, 14 June 2018 21:30   |
 joshua43214
Messages: 35
Registered: October 2016
Location: USA
|
Baron |
|
|
The horn flare requires the sides to be cut at a compound angle. The work must be fed through at an angle, and the blade itself must be angled. There are a number of ways to accomplish this, all have pros and cons. The number of methods shrinks rapidly when they are constrained to a high level of precision and consistency. Ideal methods will use a single set up on the saw.
Before I began cutting parts, I took the time to make sure the rip fence was parallel to the blade, and that the miter gage was square. I use the dial indicator to adjust the fence. I turn off the magnetic base, and hold the base firmly against the fence with the plunger near the gullet of one of the teeth on the blade. Zero the indicator, then move the base up the fence and check the far side of the blade. Best practice is to mark the gullet with a felt tip pen, and use the same gullet for each check. I prefer this method to using the miter gage as a mount for the indicator.
To square the miter gage, cross cut as wide a piece of scrap as you can. Tape a piece of paper to the table next to the rip fence. Hold the reference edge against the fence, and strike a line along the edge that was cut. Flip the part over front to back, hold it against the fence and strike another line alongside the first line. The difference between the two lines is the double the error.
These two checks are the first of the critical things that I was fussy over.
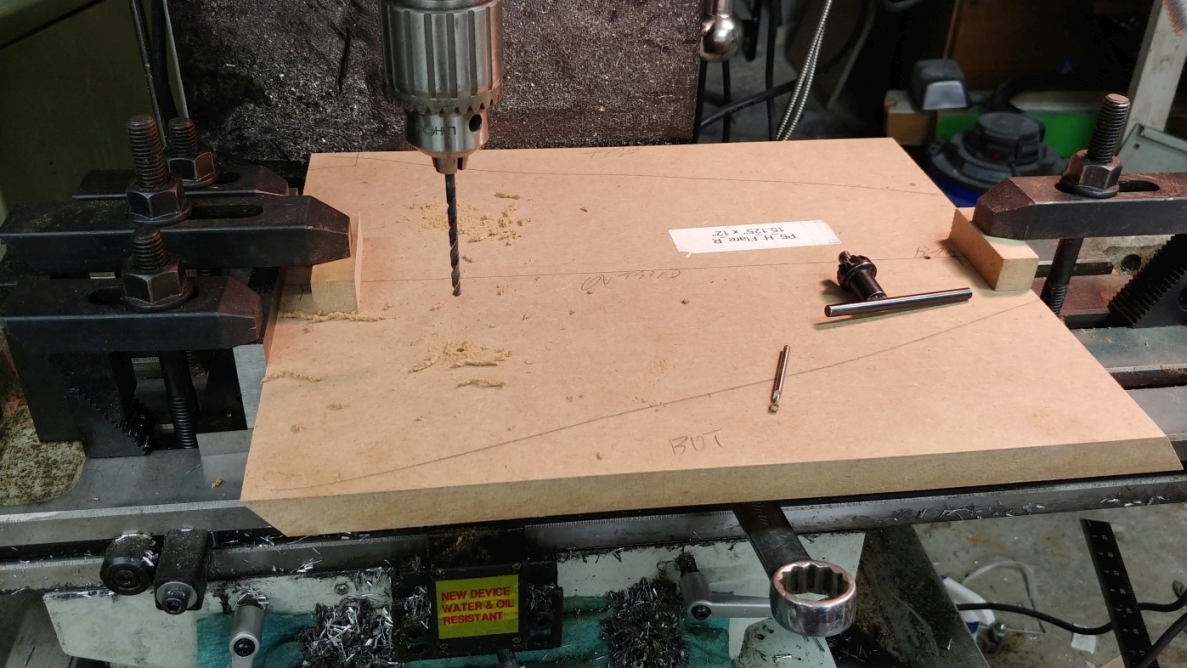
Accomplishing a single set up is best done using a sled that positions the work, and once the rip fence and blade angle are set, all the cuts can be made. My sled is just a piece of MDF with 3/16" (4.5mm) brass pins spaced exactly 10" (25.4cm) apart. To get the pins "perfectly" parallel to the fence, I ripped a piece of scrap approx 2.5" (64mm) wide, and placed it ontop of the sled between the pins and the rip fence, then just ran the sled through the saw. The fresh cut edge is now the edge used against the rip fence for cutting the flare parts.
The image shows the sled on the saw. Note the larger holes are the hole pattern for the bass bin driver, so the sled does double duty as a drill guide.
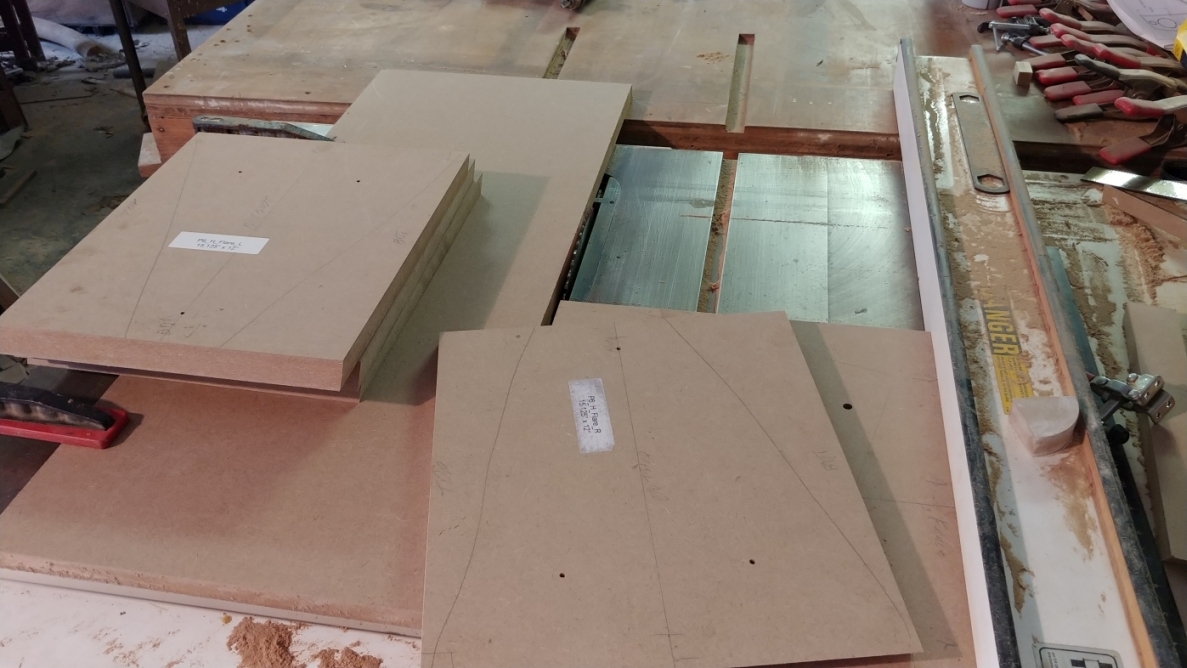
The flare sides are trimmed to length. Note the work is elevated off the table saw so the tapered edge on the other end can register properly on the miter gage stop.

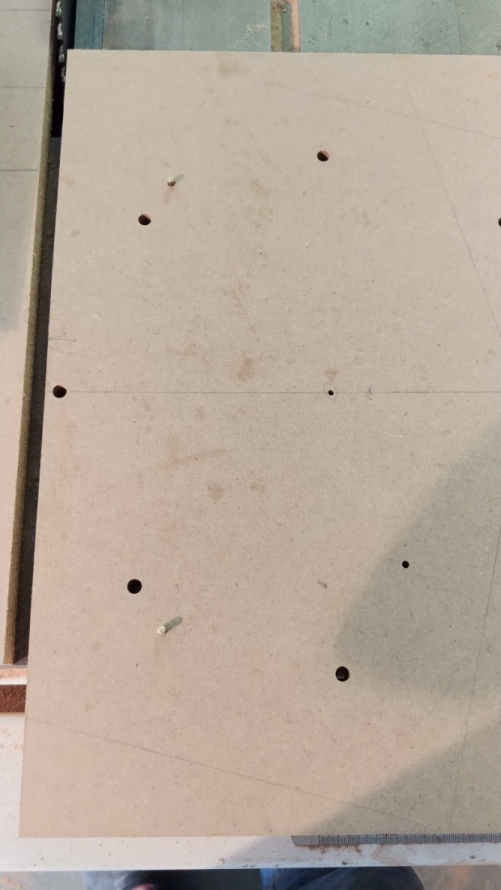
Three holes are drilled in each horn flare side. These holes do not need to go all the way through, but mine do. They are filled later with 5minute epoxy.
I used my mill to drill the holes. These holes need to be very accurately placed, and my mill has a DRO that makes it painless. This can be done with a compass and a trammel. I will go into details in my next post about locating the holes accurately with primitive tools, and finding the cut angles.
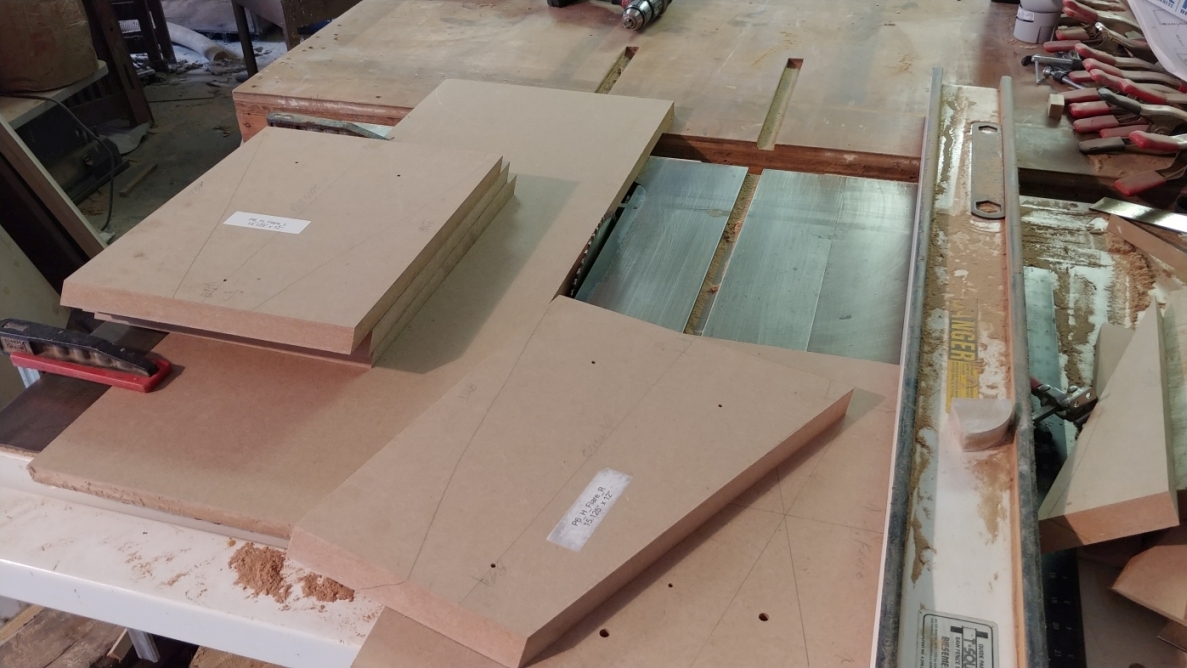
The flare is then placed over the pins, and the edges are ripped.
Note the large piece of MDF clamped on the left side of the blade. This is to prevent the offcut from falling onto the angled blade and getting kicked back.
The part is then reversed, and the other side ripped.
You might notice that there are no clamps holding the part to the sled. None are needed. The holes are drilled to be a tight fit, and hand pressure is more than enough to hold it down. In practice it feels no more dangerous than making any other rip cut.
Up next: Finding the angles and marking the holes.
|
|
|
|
 |
|
Build Thread: 2Pi Towers, 6Pi Corner horns (and possibly a sub and center)
|
|
|
Re: Build Thread: 2Pi Towers, 6Pi Corner horns (and possibly a sub and center)
|
|
|
Re: Build Thread: 2Pi Towers, 6Pi Corner horns (and possibly a sub and center)
|
|
|
Re: Build Thread: 2Pi Towers, 6Pi Corner horns (and possibly a sub and center)
|
|
|
Re: Build Thread: 2Pi Towers, 6Pi Corner horns (and possibly a sub and center)
|
|
|
Re: Build Thread: 2Pi Towers, 6Pi Corner horns (and possibly a sub and center)
|
|
|
Re: Build Thread: 2Pi Towers, 6Pi Corner horns (and possibly a sub and center)
|
|
|
Re: Build Thread: 2Pi Towers, 6Pi Corner horns (and possibly a sub and center)
|
|
|
Re: Build Thread: 2Pi Towers, 6Pi Corner horns (and possibly a sub and center)
|
|
|
Re: Build Thread: 2Pi Towers, 6Pi Corner horns (and possibly a sub and center)
|
|
|
Re: Build Thread: 2Pi Towers, 6Pi Corner horns (and possibly a sub and center)
|
|
|
Re: Build Thread: 2Pi Towers, 6Pi Corner horns (and possibly a sub and center)
|
|
|
Re: Build Thread: 2Pi Towers, 6Pi Corner horns (and possibly a sub and center)
|
|
|
Re: Build Thread: 2Pi Towers, 6Pi Corner horns (and possibly a sub and center)
|
|
|
Re: Build Thread: 2Pi Towers, 6Pi Corner horns (and possibly a sub and center)
|
|
|
Re: Build Thread: 2Pi Towers, 6Pi Corner horns (and possibly a sub and center)
|
|
|
Re: Build Thread: 2Pi Towers, 6Pi Corner horns (and possibly a sub and center)
|
|
|
Re: Build Thread: 2Pi Towers, 6Pi Corner horns (and possibly a sub and center)
|
|
|
Re: Build Thread: 2Pi Towers, 6Pi Corner horns (and possibly a sub and center)
|
|
|
Re: Build Thread: 2Pi Towers, 6Pi Corner horns (and possibly a sub and center)
|
|
|
Re: Build Thread: 2Pi Towers, 6Pi Corner horns (and possibly a sub and center)
|
|
|
Re: Build Thread: 2Pi Towers, 6Pi Corner horns (and possibly a sub and center)
|
|
|
Re: Build Thread: 2Pi Towers, 6Pi Corner horns (and possibly a sub and center)
|
|
|
Re: Build Thread: 2Pi Towers, 6Pi Corner horns (and possibly a sub and center)
|
|
|
Re: Build Thread: 2Pi Towers, 6Pi Corner horns (and possibly a sub and center)
|
|
|
Re: Build Thread: 2Pi Towers, 6Pi Corner horns (and possibly a sub and center)
|
|
|
Re: Build Thread: 2Pi Towers, 6Pi Corner horns (and possibly a sub and center)
|
Goto Forum:
Current Time: Sun Apr 28 00:03:00 CDT 2024
|


 Posting Rules
 Members
 Search
 Help
Help Register
 Login
Login Get a T-Shirt!


")

