|
Home » Sponsored » Pi Speakers » Build Thread: 2Pi Towers, 6Pi Corner horns (and possibly a sub and center) (Building some Pi Speakers)
| Re: Build Thread: 2Pi Towers, 6Pi Corner horns (and possibly a sub and center) [message #88061 is a reply to message #88057] |
Tue, 22 May 2018 11:26   |
 joshua43214
Messages: 35
Registered: October 2016
Location: USA
|
Baron |
|
|
After about an hour has passed, I removed the clamps. I scribbled pencil at the ends of the carcass and passed a large hard sanding block over them. It is important that the ends are planar and there is sufficient surface are for a good airtight glue joint. I placed one of the top panels on and made sure it did not rock. At this point, it is just possible to knock the carcass apart with a mallet if something went really wrong. If the ends are not planar but can be fixed, consider letting it dry overnight. In my case, the ends came out very well, and just some minor dressing with the sanding block gave a near perfect join.
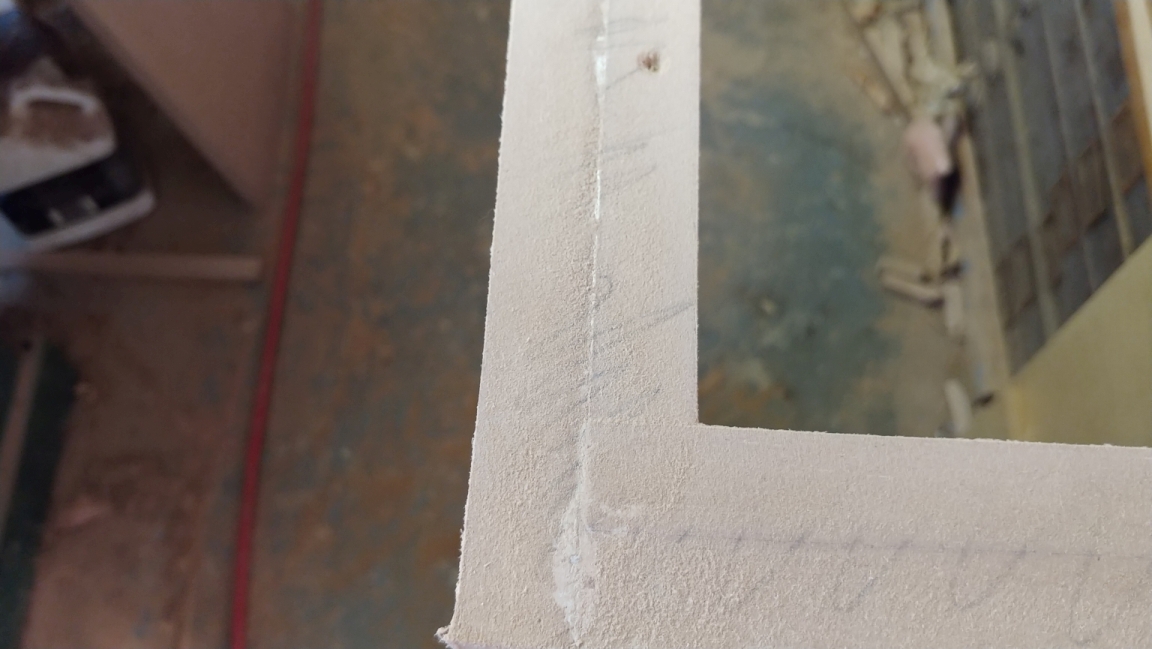
My sanding block is a piece of MDF cut to use 1/3 of a sheet of sandpaper longwise. I use a light coat of spray adhesive to hold the sheet in place. I also have an MDF sanding block covered in heavy felt that uses 1/4 sheet of sandpaper. I only use soft block for finer grits and finishing. Leveling surfaces is best done with a hard block even though it wears out the paper faster.
Next I glued the top and bottom on.
once again, the order of operations is important.
I set the carcass face down on some scrap to keep it off the bench slightly, and applied glue to all the parts.
I set the back in place with no glue.
I placed the top and bottom, and gently clamped crosswise to bring the sides tight to the back.
I then placed pipe clamps top to bottom and lightly tightened them.
I then slightly loosened the bar clamps holding the sides against the back and slightly tightened the pipe clamps so the carcass could relax or twist as needed for the top and bottom to go on square.
Once everything was aligned, I tightened up the bar clamps, then the pipe clamps.
I removed the bar clamps, and used the port as a handle to pull the back out.
The off cuts I said to save in an earlier post are used as spacers, and clamped between the sides.
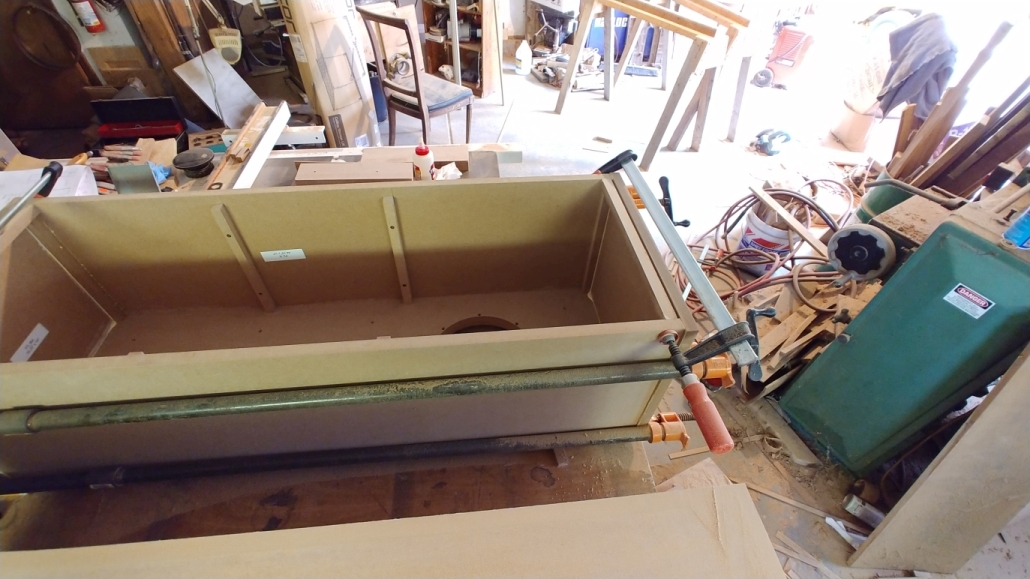
Once again, it sounds much more complicated than it is. The important thing is that the clamps go on in such a way that the carcass will take the right shape for the back to be lowered in later.
I masked off areas that glue will applied to, and use Scotch 77 spray adhesive to glue in the R13 fiberglass.
For the braces, I used 1x2 lumber. They are cut slightly overlong so the panels will all be under tension.
I gave some debate about the right material for braces. Maple is what the sound posts in violins are made from. A sound post transmits the vibration of the front plate to the rear plate and a violin will not sound without one. So maple seemed like a poor choice for bracing if I wish for sonic deadness. MDF on the other hand has essentially no tensile strength, and only modest compression strength. I am of the opinion that MDF braces do not connect the panels to each other in any meaningful way. I think they provide reinforcement by making the panel thicker where they are installed, and the very nature of MDF will cause it to absorb vibration - this makes MDF a good choice for bracing. Plain old yellow pine has better tensile and compression strength than MDF, so it will connect the panels to each other, and is soft enough to absorb vibration. My choice was made partly because it is cheaper, and partly because it is simpler to trim pine to fit, than to get MDF braces to fit tightly without resorting to dado joints.
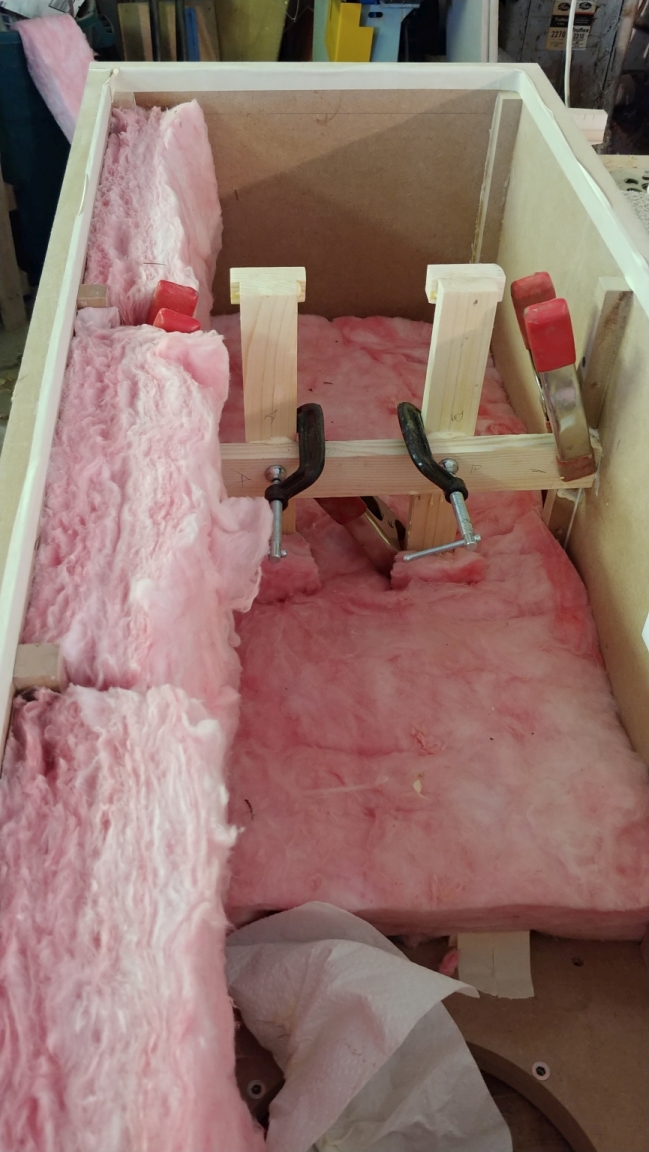
Once all the bracing was installed, more fiberglass was hung from them.
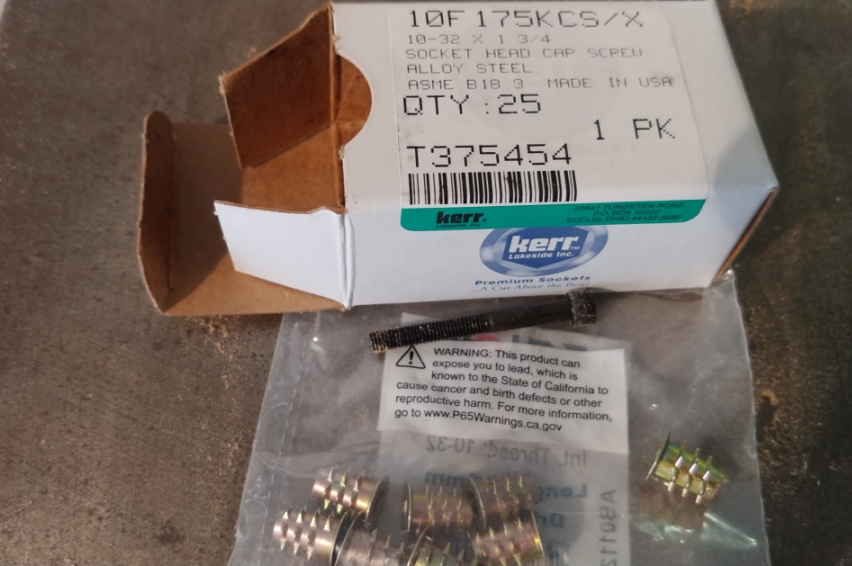
These are my preferred choice for inserts. I like them because they are about as hassle free as it gets, and they cannot be pulled through. California users beware though. It seems the State of California has knowledge otherwise unknown to the rest of humanity of the dangers of elemental lead used to alloy steels. I expect Nobel prizes to be awarded any day. In the mean time, better break out the Tyvek. Those of you in the rest of the world can carry on as normal.
Lastly the back was glued into place. It went right in with no issues or trimming on both speakers.
About this time, the parts from Pi Speakers arrived. One box with 6Pi parts got badly damaged (pics later), and another box showed up a day late containing a bent Alpha 10 driver.
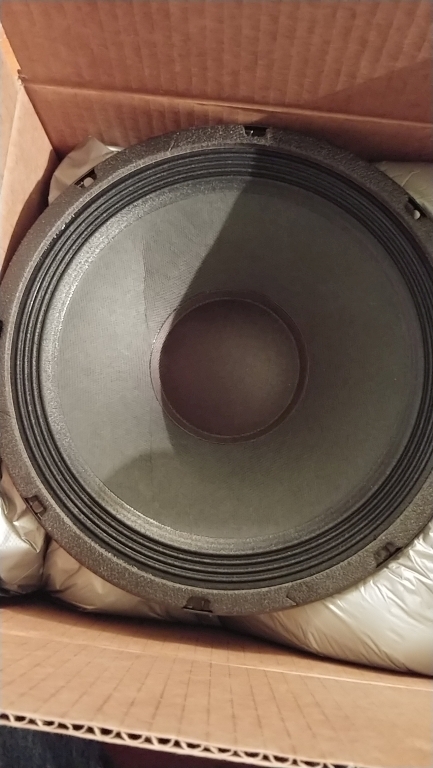
Wayne promptly shipped a replacement Alpha 10 out while he deals with UPS, and it arrived just as I was beginning to paint. Painting ended up getting delayed by nearly a week because it was too cold on dry days, and raining on warm days.
Next up, Finishing the Towers
|
|
|
|
 |
|
Build Thread: 2Pi Towers, 6Pi Corner horns (and possibly a sub and center)
|
|
|
Re: Build Thread: 2Pi Towers, 6Pi Corner horns (and possibly a sub and center)
|
|
|
Re: Build Thread: 2Pi Towers, 6Pi Corner horns (and possibly a sub and center)
|
|
|
Re: Build Thread: 2Pi Towers, 6Pi Corner horns (and possibly a sub and center)
|
|
|
Re: Build Thread: 2Pi Towers, 6Pi Corner horns (and possibly a sub and center)
|
|
|
Re: Build Thread: 2Pi Towers, 6Pi Corner horns (and possibly a sub and center)
|
|
|
Re: Build Thread: 2Pi Towers, 6Pi Corner horns (and possibly a sub and center)
|
|
|
Re: Build Thread: 2Pi Towers, 6Pi Corner horns (and possibly a sub and center)
|
|
|
Re: Build Thread: 2Pi Towers, 6Pi Corner horns (and possibly a sub and center)
|
|
|
Re: Build Thread: 2Pi Towers, 6Pi Corner horns (and possibly a sub and center)
|
|
|
Re: Build Thread: 2Pi Towers, 6Pi Corner horns (and possibly a sub and center)
|
|
|
Re: Build Thread: 2Pi Towers, 6Pi Corner horns (and possibly a sub and center)
|
|
|
Re: Build Thread: 2Pi Towers, 6Pi Corner horns (and possibly a sub and center)
|
|
|
Re: Build Thread: 2Pi Towers, 6Pi Corner horns (and possibly a sub and center)
|
|
|
Re: Build Thread: 2Pi Towers, 6Pi Corner horns (and possibly a sub and center)
|
|
|
Re: Build Thread: 2Pi Towers, 6Pi Corner horns (and possibly a sub and center)
|
|
|
Re: Build Thread: 2Pi Towers, 6Pi Corner horns (and possibly a sub and center)
|
|
|
Re: Build Thread: 2Pi Towers, 6Pi Corner horns (and possibly a sub and center)
|
|
|
Re: Build Thread: 2Pi Towers, 6Pi Corner horns (and possibly a sub and center)
|
|
|
Re: Build Thread: 2Pi Towers, 6Pi Corner horns (and possibly a sub and center)
|
|
|
Re: Build Thread: 2Pi Towers, 6Pi Corner horns (and possibly a sub and center)
|
|
|
Re: Build Thread: 2Pi Towers, 6Pi Corner horns (and possibly a sub and center)
|
|
|
Re: Build Thread: 2Pi Towers, 6Pi Corner horns (and possibly a sub and center)
|
|
|
Re: Build Thread: 2Pi Towers, 6Pi Corner horns (and possibly a sub and center)
|
|
|
Re: Build Thread: 2Pi Towers, 6Pi Corner horns (and possibly a sub and center)
|
|
|
Re: Build Thread: 2Pi Towers, 6Pi Corner horns (and possibly a sub and center)
|
|
|
Re: Build Thread: 2Pi Towers, 6Pi Corner horns (and possibly a sub and center)
|
Goto Forum:
Current Time: Sun Apr 28 12:11:13 CDT 2024
|


 Posting Rules
 Members
 Search
 Help
Help Register
 Login
Login Get a T-Shirt!


")

