| Old veneer method, new to me...and it worked! [message #75217] |
Fri, 11 January 2013 13:17  |
 Bill Epstein
Messages: 1088
Registered: May 2009
Location: Smoky Mts. USA
|
Illuminati (2nd Degree) |
|
|
I was once a big fan of hot hide glue, an especially nice method for the hands in cold Ohio winters. Then I started hanging around with Bill Martinelli who introduced me to PPR, Urea Resin, which we called the "king of glues" 'cause it allowed multi-leaf glue-ups without the shrinkng and cracking you get when wetting and heating raw leaf veneer.

Not having to spend more time repairing cracks and bubbles than building was a great advantage, but, PPR is really meant for hot press work; cold clamping a side at a time was laborious and still required a bit of touch-up ironing.
Ing. Martinelli moved on to PVA (Titebond) Iron-on but I resisted due to hearing that multi-leaf just plain didn't work. Once again, the problem of shrinking and cracking of wetted, then heated raw veneer.
My last few projects were NBL (no black line) backed veneer from Tape-Ease applied with contact adhesive. My 4Pis were done that way
Sooo easy and I love the smell of lacquer thinner! The veneer is expensive, tho', and, the 4X8 sheets can be kinda plywoody-looking.
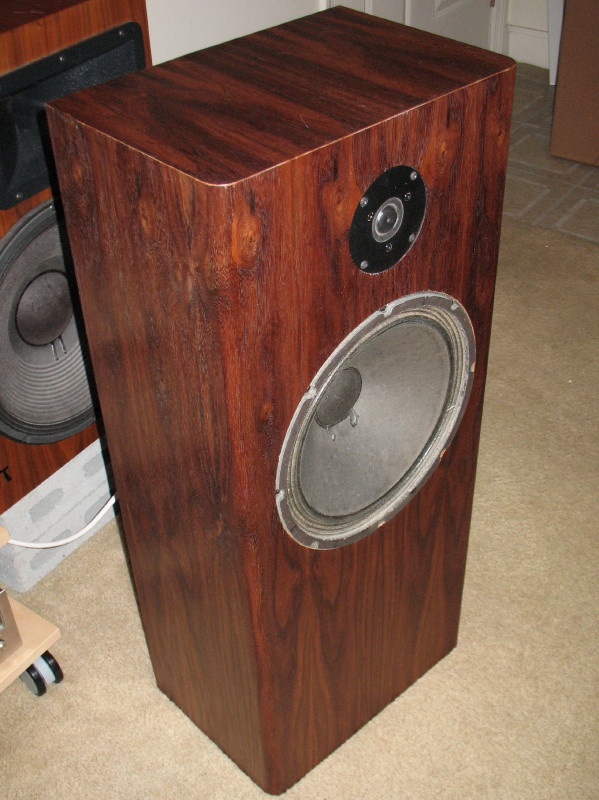
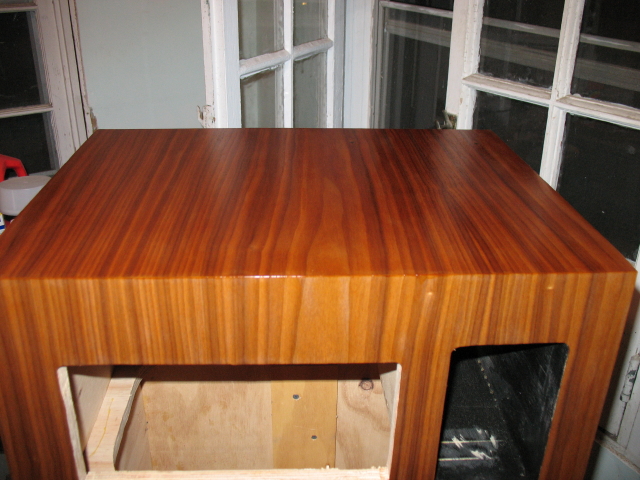
For this 2Pi Tower build I went back to raw veneer from my fav E-Bay supplier, Lepkowski and made sure it was more than 16" wide so I could finally try ironing on with PVA glue.
Bob Brines has a nice tutorial on his site and I copied his use of Titebond II. I gave my self an escape hatch: I need grills for these speakers because they're going in a house with curious little hands, my Granddaughters. My design has a double baffle about 2/3 (Golden Mean, actually) of the way up and then the grill the remainder.
I figured if I could successfully veneer the lower panel, great. If not, I'd simply go back to NBL and contact glue. Just to keep things sufficiently challenging, I decided to roundover the panel and the grillcloth frame; why do easy when you can do
difficult? 
Covering the tops and bottoms of the panels as practice went well so I moved on to the main event. As Bob Brines describes, it's key that you mark and line up the mid-points of the panel and leaf to ensure a proper fit, as well as allowing the glue (I used a short nap paint roller) to dry completely before ironing.
I found as I was working that the leaf becomes more pliable with the application of heat so I kinda pre-warmed it with the iron and little pressure before I actually pressed it onto the roundover, first getting it onto the curve, then completing the move down it onto the bit of remaining flat surface, working lengthwise. You can hear the leaf crackle a bit just before it would crack and so ease off and back on with the iron.
The result was great and I was struck by how quickly the veneer bonded, never needing to leave the iron linger and having almost no touch-up to do. You check for problems by tapping the surface with your finger and listen for crackles which means no bond then go back with the iron.
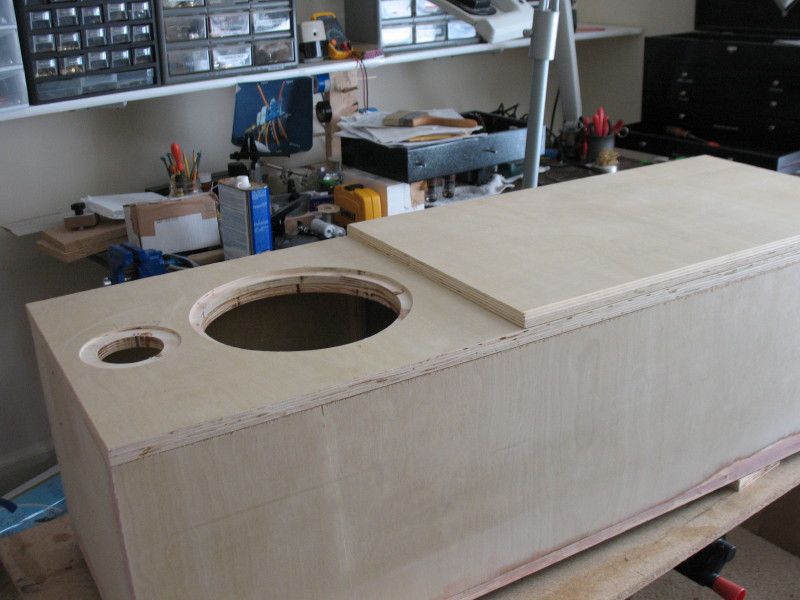
All that's left is to trim the excess with a fresh razor blade for each cut and some work with 150 grit paper on a hard sanding block. The actual carcass wotk will be a breeze.
|
|
|
|


 Posting Rules
 Members
 Search
 Help
Help Register
 Login
Login Get a T-Shirt!


")

