| More on Formica Cabinets [message #68114] |
Thu, 09 June 2011 14:23  |
 Bill Epstein
Messages: 1088
Registered: May 2009
Location: Smoky Mts. USA
|
Illuminati (2nd Degree) |
|
|
The Formica is cut, the cabinets are re-furbed with low spots filled and leveled and screw holes doweled. Time to move outside and begin the inhalation of toxic fumes!
Just like with the NBL wood veneer, 2 coats of contact adhesive go on both surfaces, waiting for each coat to dry enough so that, while tacky, your finger will not pick any up. BTW, when applying the adhesive, go a little heavier on the edges of the workpiece which always seem to cause problems otherwise.
Now the dowels get placed to keep the glued surfaces apart during alignment. Different strokes, here, but I use dowels because of their minimal contact with the surface which makes pulling them out easier. 1/2" dowels seem to be the optimum size: large enough to maintain the separation, small enough to allow the eyeball to get a good picture of the alignment.
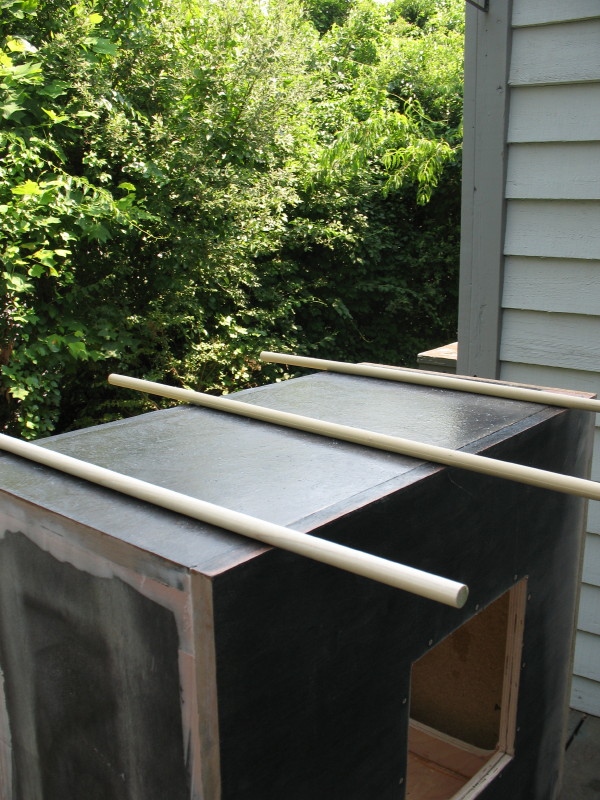
When I line up the Formica or veneer, I take my time and walk around as many as 3 times, double-checking after each minor re-position that a movement one way hasn't left a gap in another. There's only one chance to get this right!
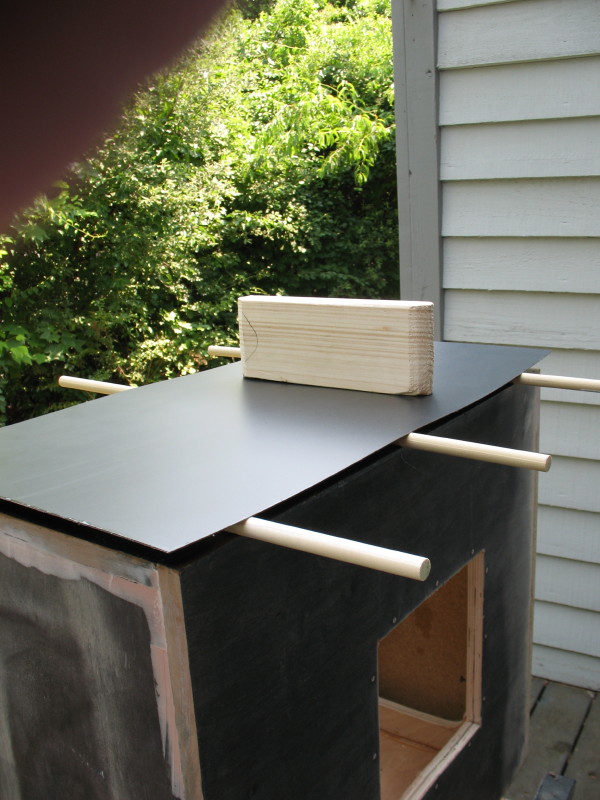
Once aligned, I remove an inner dowel to start. The soft pine wood block, cut from an ordinary 2X4, is the "squeegee" I use to press the 2 surfaces together, working outward from the center and paying special attention to the corners. The edge of the pine is soft enough to not mar the workpiece but narrow enough to exert a fair amount of pressure to eliminate the possibility of bubbles.
Once the dowels are gone and the Formica well-fastened, it's time to get out the router and flush trim bit. Unlike wood veneer, Plastic Laminate doesn't take well to trimming with even a really sharp plane and the router bit is necessary. There are knives in special holders sold, ostensibly, for this use but in reality they only work well on hot-melt edge banding.
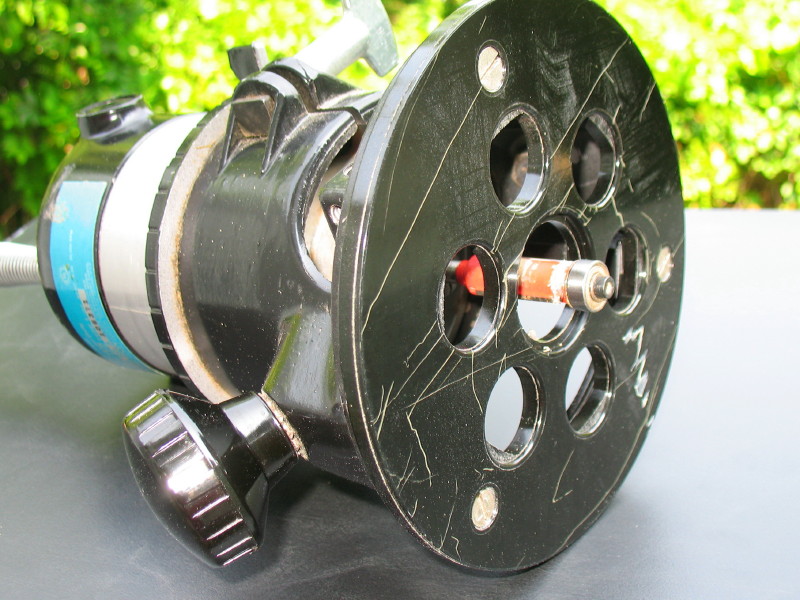
Keep the Lacquer Thinner handy, you'll need to clean the glue goop from the router bit after every pass. It's also good for the inevitable finger or tool in the glue. A light touch is required on the router just to keep it level and moving on the workpiece. Too much force or stops and starts will result in angle changes and scalping the adjacent surface. Ask me how I know....don't ask.
Once trimmed, the laminate needs a smoothing with a Mill Bastard file held at an angle and passed across and down in several passes on each edge. Always work from tip to handle and back again, never back and forth. One pass should be enough; it's just to smooth any burrs the router left.
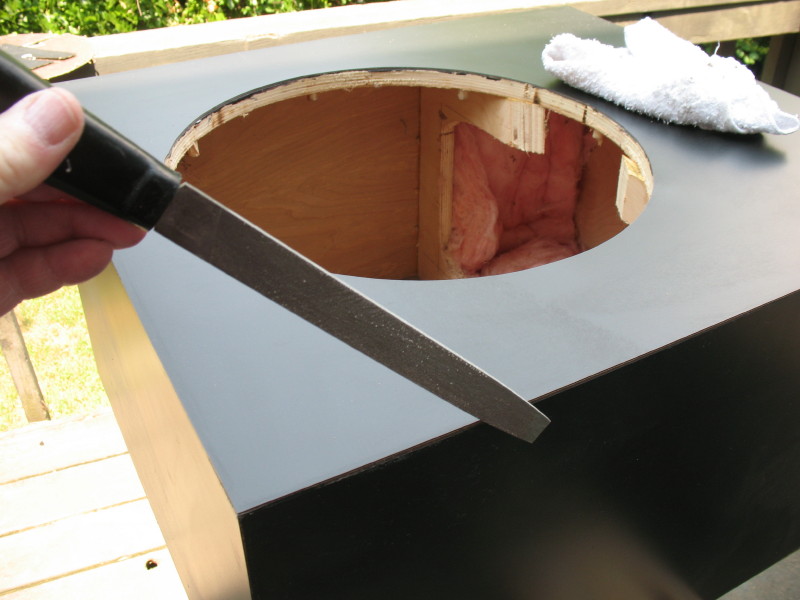
A rag soaked with lacquer thinner and fingertips to roll up the rubbery glue left behind are the final clean-up. Be careful not to get thinner down into the workpiece.
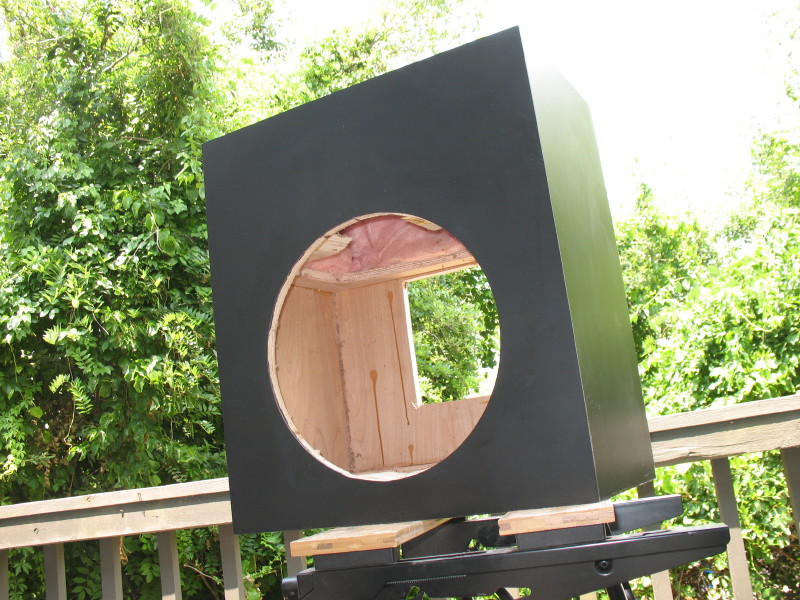
And finally, here is the finished cabinet ready for the driver and plate amp. One down, one to go, next day off.
|
|
|
|


 Posting Rules
 Members
 Search
 Help
Help Register
 Login
Login Get a T-Shirt!


")

