| Notes On Speaker Grills [message #75691] |
Sun, 03 March 2013 12:26  |
 Bill Epstein
Messages: 1088
Registered: May 2009
Location: Smoky Mts. USA
|
Illuminati (2nd Degree) |
|
|
In my Notes On 2PI Towers I mentioned they were designed for Grills, something I seldom do. Seldom, because I never seem to have any luck with them 
I've used the spray adhesive/waxed paper technique and the brute force hundreds of staples routine. Never managed to get it right. Came close this time, tho'.
Knowing the baffle plywood was 23/32 and allowing for the thickness of the material and offset of the Grill Guides I used, 1/2" (15/32) material was what I chose for the frames. I also allowed for the extra thickness of the material and a slight gap between the bottom of the grill and the top of the secondary baffle, about 1/8" and sized the frames accordingly.
The order of process to arrive at a pair of "picture frames" was very important. First, I cut the frames on the table saw.
Second, with the blade lowered to make a dado groove 3/32 deep, I cut dadoes for the eventual use of window screen spline to hold the material. With my narrow kerf blade, I made one pass on all four sides of both plywood pieces nearly a 1/2" in and then a second pass to complete a 3/32x3/32 dado.
Third step was to rout the round-over to match that of the secondary baffle. Important here was to leave the router (it helps to have 5 of them!) just as it was for the secondary baffle round over.
Fourth step, now that the round overs were cut, was to jigsaw the insides of the pieces leaving 1" of material all the way around. You do this last because it isn't possible to keep the router level on a narrow 1" wide strip of wood.
That done, I nailed brads into the frames to hold them off the work surface while I painted; painting the nailed sides and then turning them over on the brads to paint the other.
Dry now, I took the frames to the speakers to align the Grill Guides. I wanted the grills to sit abouit 1/8" off the secondary baffle so I used a ruler of about that thickness as a shim, placed the frames against the speakers and, once aligned, clamped them in place. Then I drilled a 1/8" pilot hole through the frames and into the speaker baffle, making it certain that the guides would line up when the grills were complete. These grill Guides require a 7/16" and 1/2" bit for the two parts and I went ahead and drilled the frames and baffles, with a depth stop set at 1/2" for the Baffle holes; don't want to create 8 little ports.
Final step was to cut and fit the cloth, Parts Express 260-332, and with the screen spline, attach it to the frames. Done!
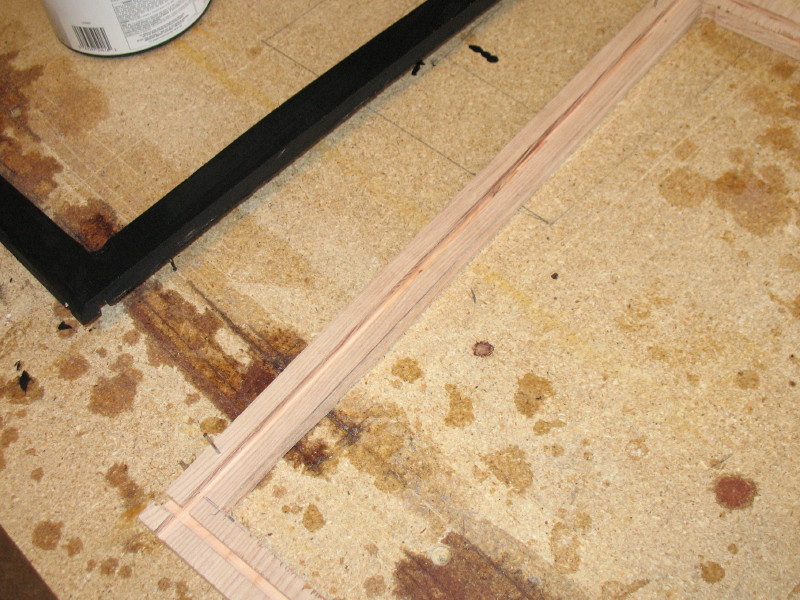
Here are the frames showing the dado and the brads that enable you to paint both sides w/o waiting for one side to dry:
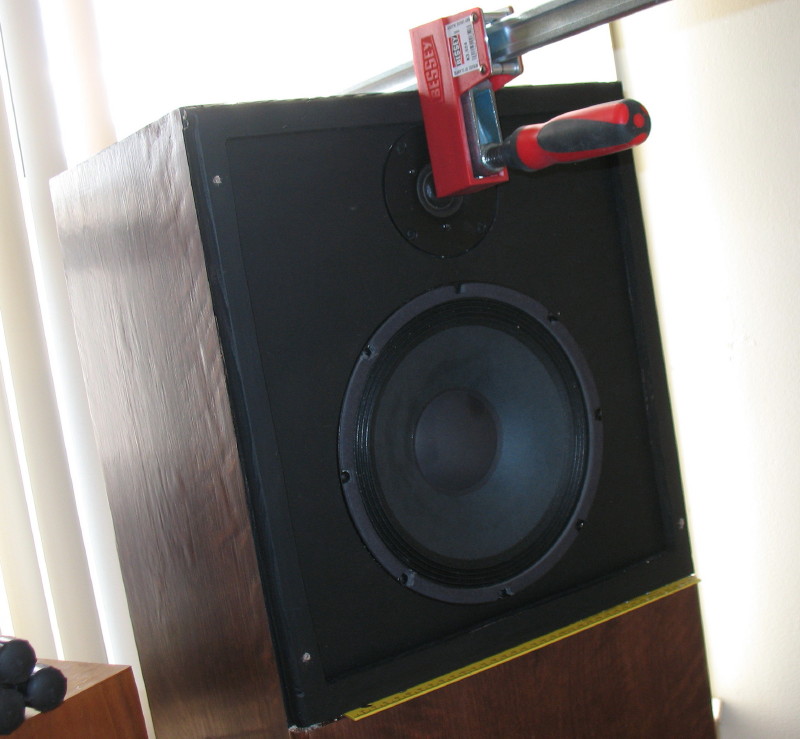
One frame clampd to it's baffle for drilling the pilot holes:
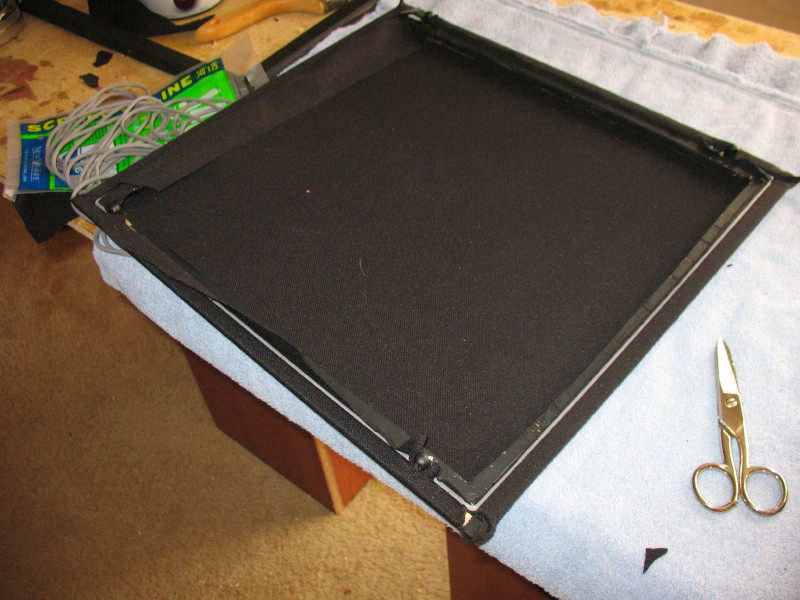
The Grill Cloth fastened with screen spline ready to trim:
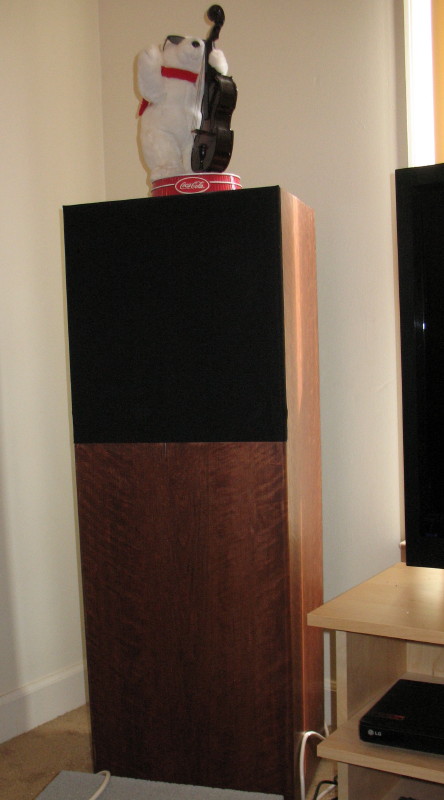
2PI Tower with it's protective grill in place, ready to sound muffled 
|
|
|
|


 Posting Rules
 Members
 Search
 Help
Help Register
 Login
Login Get a T-Shirt!


")

