|
Home » Sponsored » Pi Speakers » 4 Pi Build in San Luis Obispo - Flush Mounting and Bracing
| 4 Pi Build in San Luis Obispo - Flush Mounting and Bracing [message #93009] |
Sun, 24 January 2021 12:19  |
 alexg
alexg
Messages: 17
Registered: June 2019
|
Chancellor |
|
|
Hello from San Luis Obispo, CA!
After more than a year of pestering Wayne via email and scouring the forum I have started my 4 Pi build. My goal is to share my progress along the way but have a few questions to get started.
1) I want to flush mount the horn/waveguide. Does anyone have any pointers to share? My thought was to make the first cut with a jig saw and some kind of cutting guide and then go back over the opening with a router and rabbet bit. One thing is for sure, I am definitely going to mess this part up once or twice so I had several extra pieces cut so that I can just do it over if necessary.
2) Is wood glue sufficient for securing the bracing on the inside of the enclosure? I am thinking about using wood glue and shorter brad nails, nailed from the exterior of the enclosure. Good idea or not necessary?
Speakers will go in the Great Room (Kitchen/Dining Room/Living Room). Due to the layout and size of this space my plan is to build 3 speakers. Speakers will be set up in an L shaped formation so that I will have 2 listening areas (See diagram below). 2 of the speakers will flank the fireplace for critical listening, home theater (tv is mounted above fireplace), or if I just want to relax on the sofa and listen. For this configuration, speakers will be set up approx 8-10' apart with flanking subs. Listening position will be 8-10 feet away. The third speaker will be used in conjunction with the speaker to the right of the fireplace. Third speaker will be positioned approx 20' from the other speaker. Together this configuration will be used for daily listening and background music while we are in the kitchen and/or sitting at the island where we spend most of our time while in this space. I will use a toggle switch to toggle back and forth between the configurations. As far as my diagram goes, I am not an artist and definitely not an engineer.
Room Diagram
To build 3 speakers I used 2 full sheets of MDF. This gives me all of the pieces I will need with enough material left over for extra "parts," primarily the baffles. As I mentioned above, in case I mess something up I can just start over. I do own a table saw (portable, contractor grade) but in order to ensure accuracy and consistency I had the local lumber yard cut the pieces for me. I am not talking about Home Depot! The local lumber yard has been around for decades. In addition to supplying lumber and hardware, they specialize in hardwoods, trim, and molding. They have an old school professional grade table saw that is dead accurate and offer a cutting service. For $20 they made my cuts using a cut sheet that I provided. For anyone planning to go the DIY route and not use Wayne's Kit (which is a great value and would have made my life infinitely easier) I highly recommend this approach if you do not have a cabinet style table saw.
A few construction pics.
|
|
|
|
|
|
| Re: 4 Pi Build in San Luis Obispo - Parts Arrived, Got a Router Jig [message #93364 is a reply to message #93009] |
Thu, 25 March 2021 12:12  |
alexg
Messages: 17
Registered: June 2019
|
Chancellor |
|
|
It has been a few weeks since my original post. Somehow, when I do projects, audio and otherwise I seem to forget just how difficult it is to find time to work on stuff. In the planning phase I envision myself working away, continuously until the project is complete. Or, actually getting an entire Saturday to myself to focus on a project and make significant progress. Fat chance! The reality is that my projects are filled with late night and early morning sessions spread over several months. And of course, just when I find an opening to hunker down and get stuff done one of my kids will start crying or call out for a "milky" or get up ridiculously early on the very same day that I decide to get up early and want to be read to.
Anyway, Wayne, thanks responding to my last post.
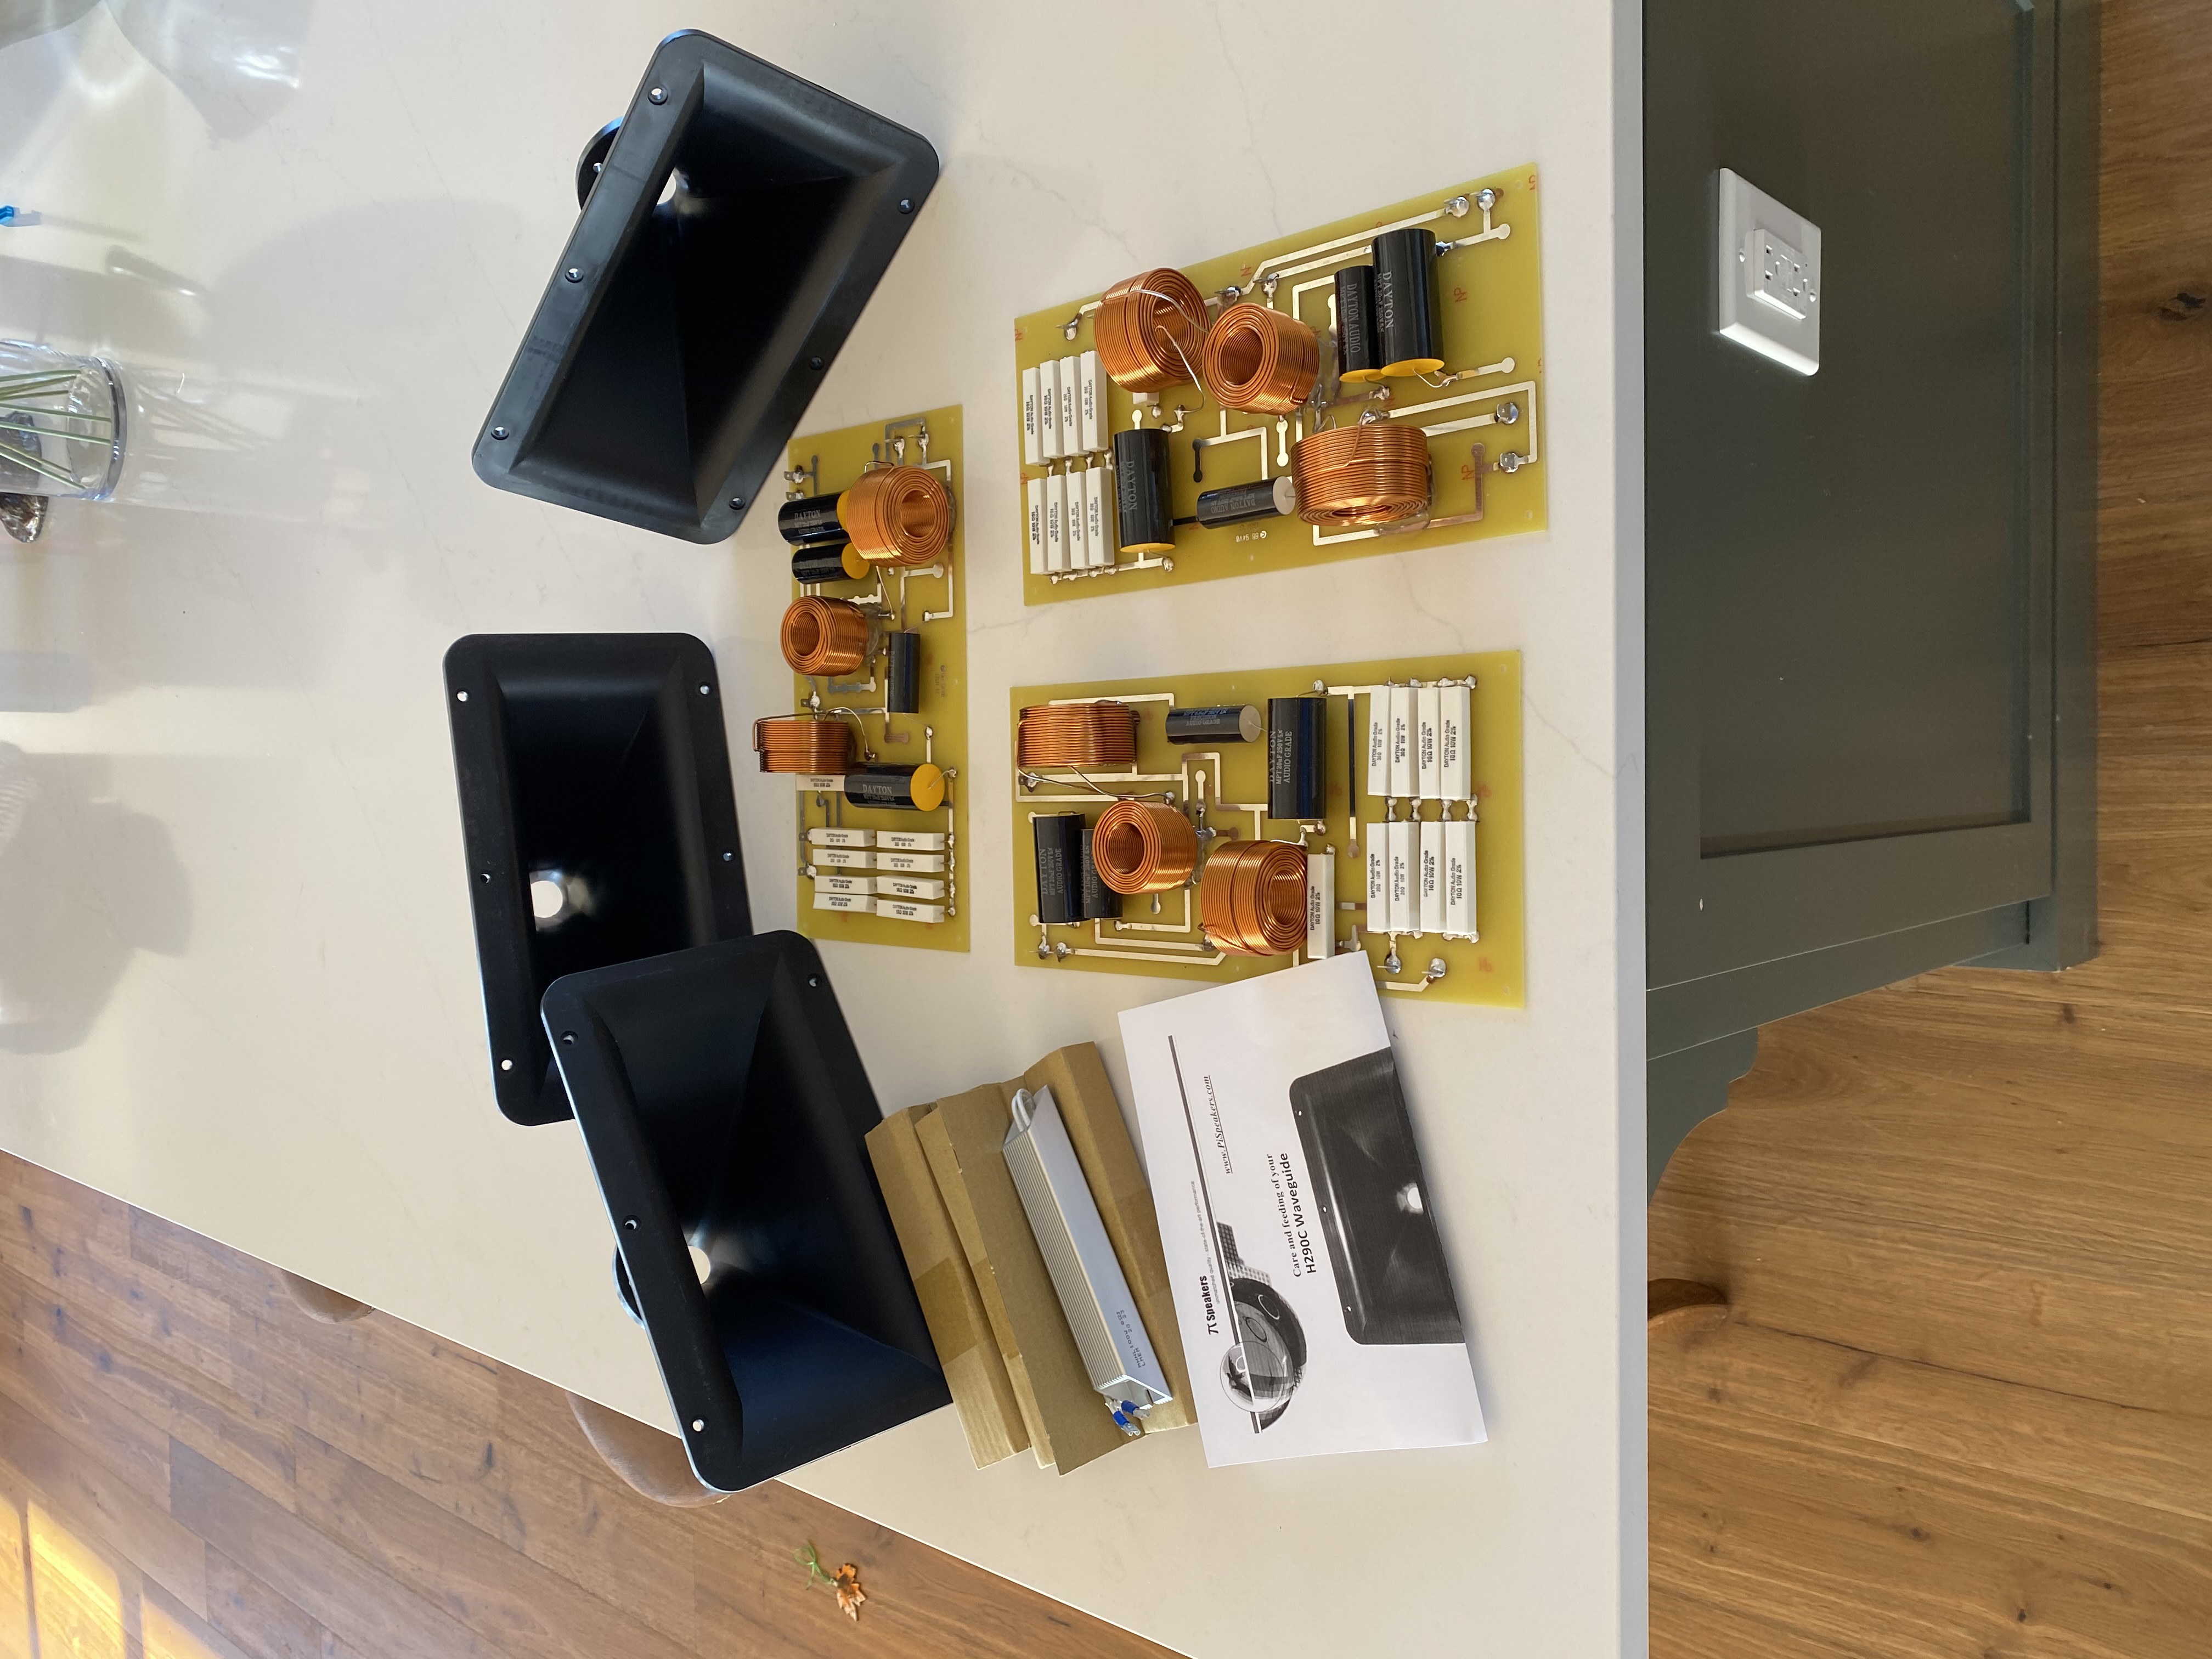
The parts arrived at the end of February. Everything was in good order and well packed. Crossovers are top notch. Good quality boards, nice lay-out, and clean solder joints. I went with standard capacitors and resistors but opted to upgrade the inductors to the 15awg version. As far as upgrades go, Wayne has an article in the FAQ section of the forum called "Upgrades." As the title suggests, it talks about the available upgrades and their benefits including which make the greatest impact. It sounds like upgrading the inductors delivers the most noticeable improvement as far as the crossovers components go. For the drivers I will be using the B&C DEC250 for the compression driver and the JBL 2226H for the woofer. Based on what I have read on the various forums, available product reviews, and on this forum, the driver upgrades are a "no brainer."
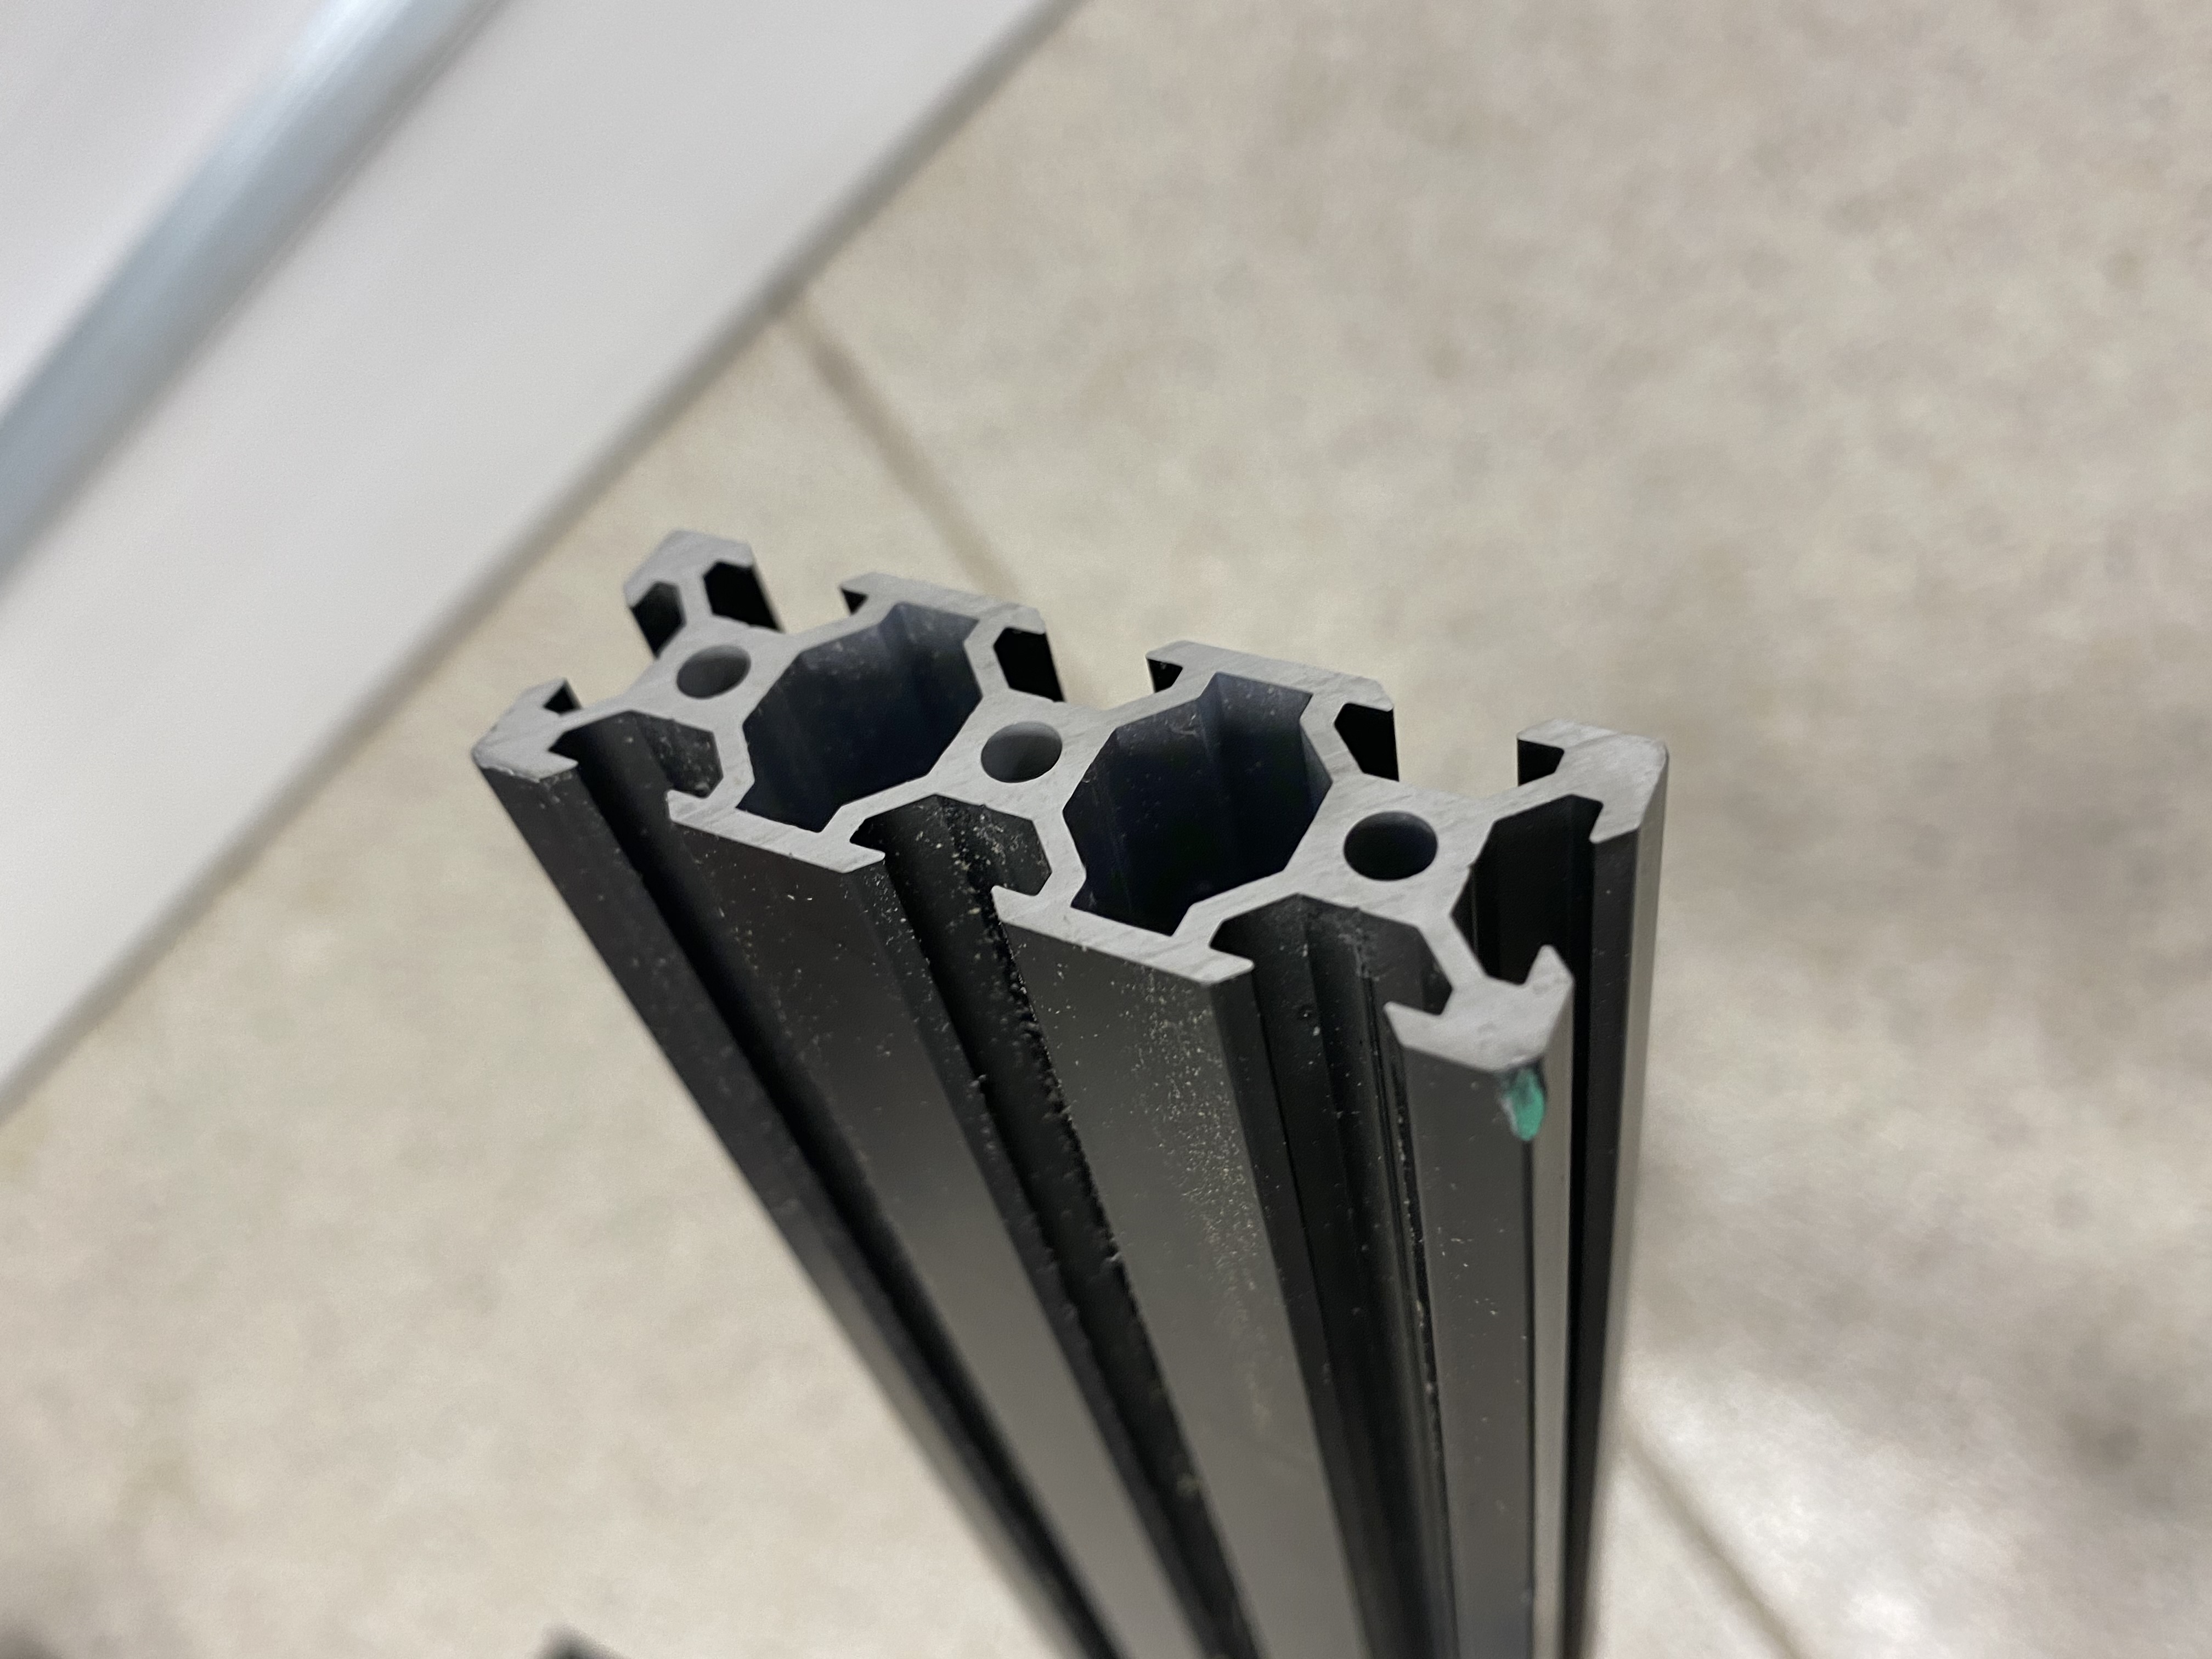
I mentioned previously that my goal is to recess the drivers and horns but that I wasn't sure how to go about handling the horns. For the JBL 2226H I will use my Jasper circle jig. For the horns, my neighbor had a really great solution for me. As it turns out, he is slightly more than obsessed with extruded aluminum framing. His entire garage, shop, and work van are filled with furniture and components made from extruded aluminum not to mention the entertainment center in his living room and the desk, printer stand, and bookshelves in his home office. He lent me a router jig that he made using the same.
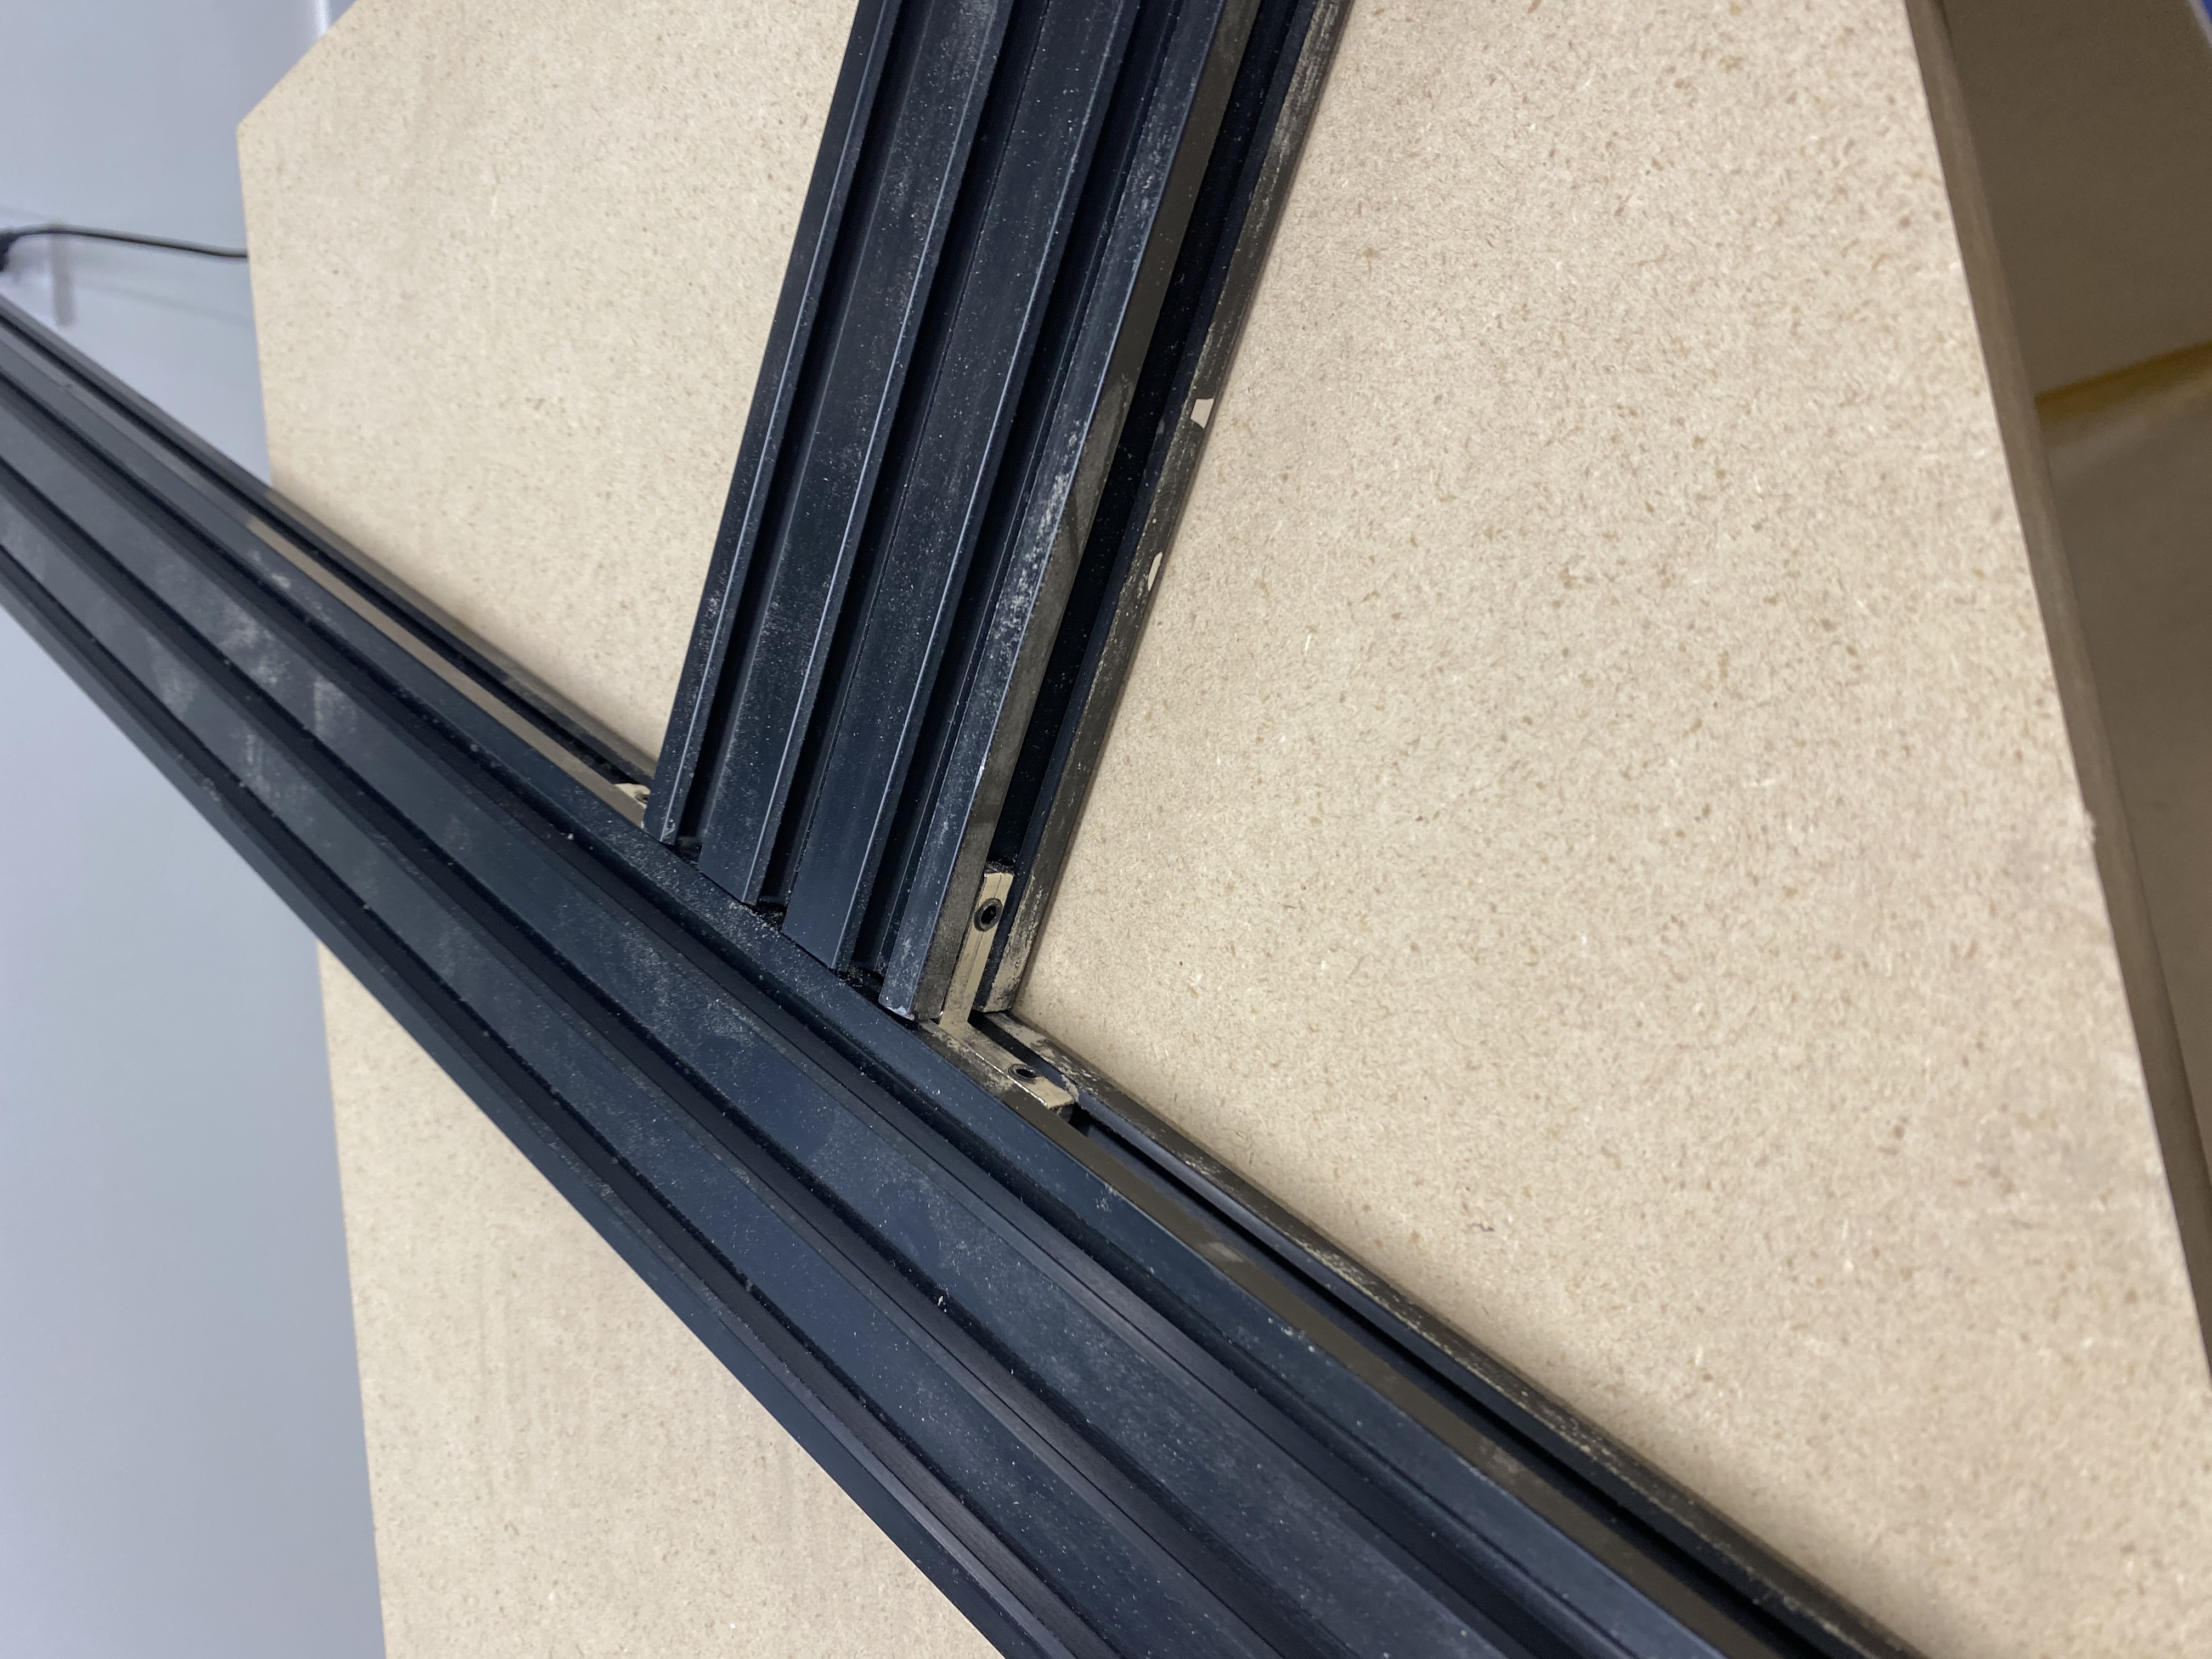
The jig is comprised of 4 lengths of 2060 extruded v-slot aluminum framing and a handful of the L-brackets that are designed to work with this material. At the end of the day you get a jig that is adjustable but sturdy.
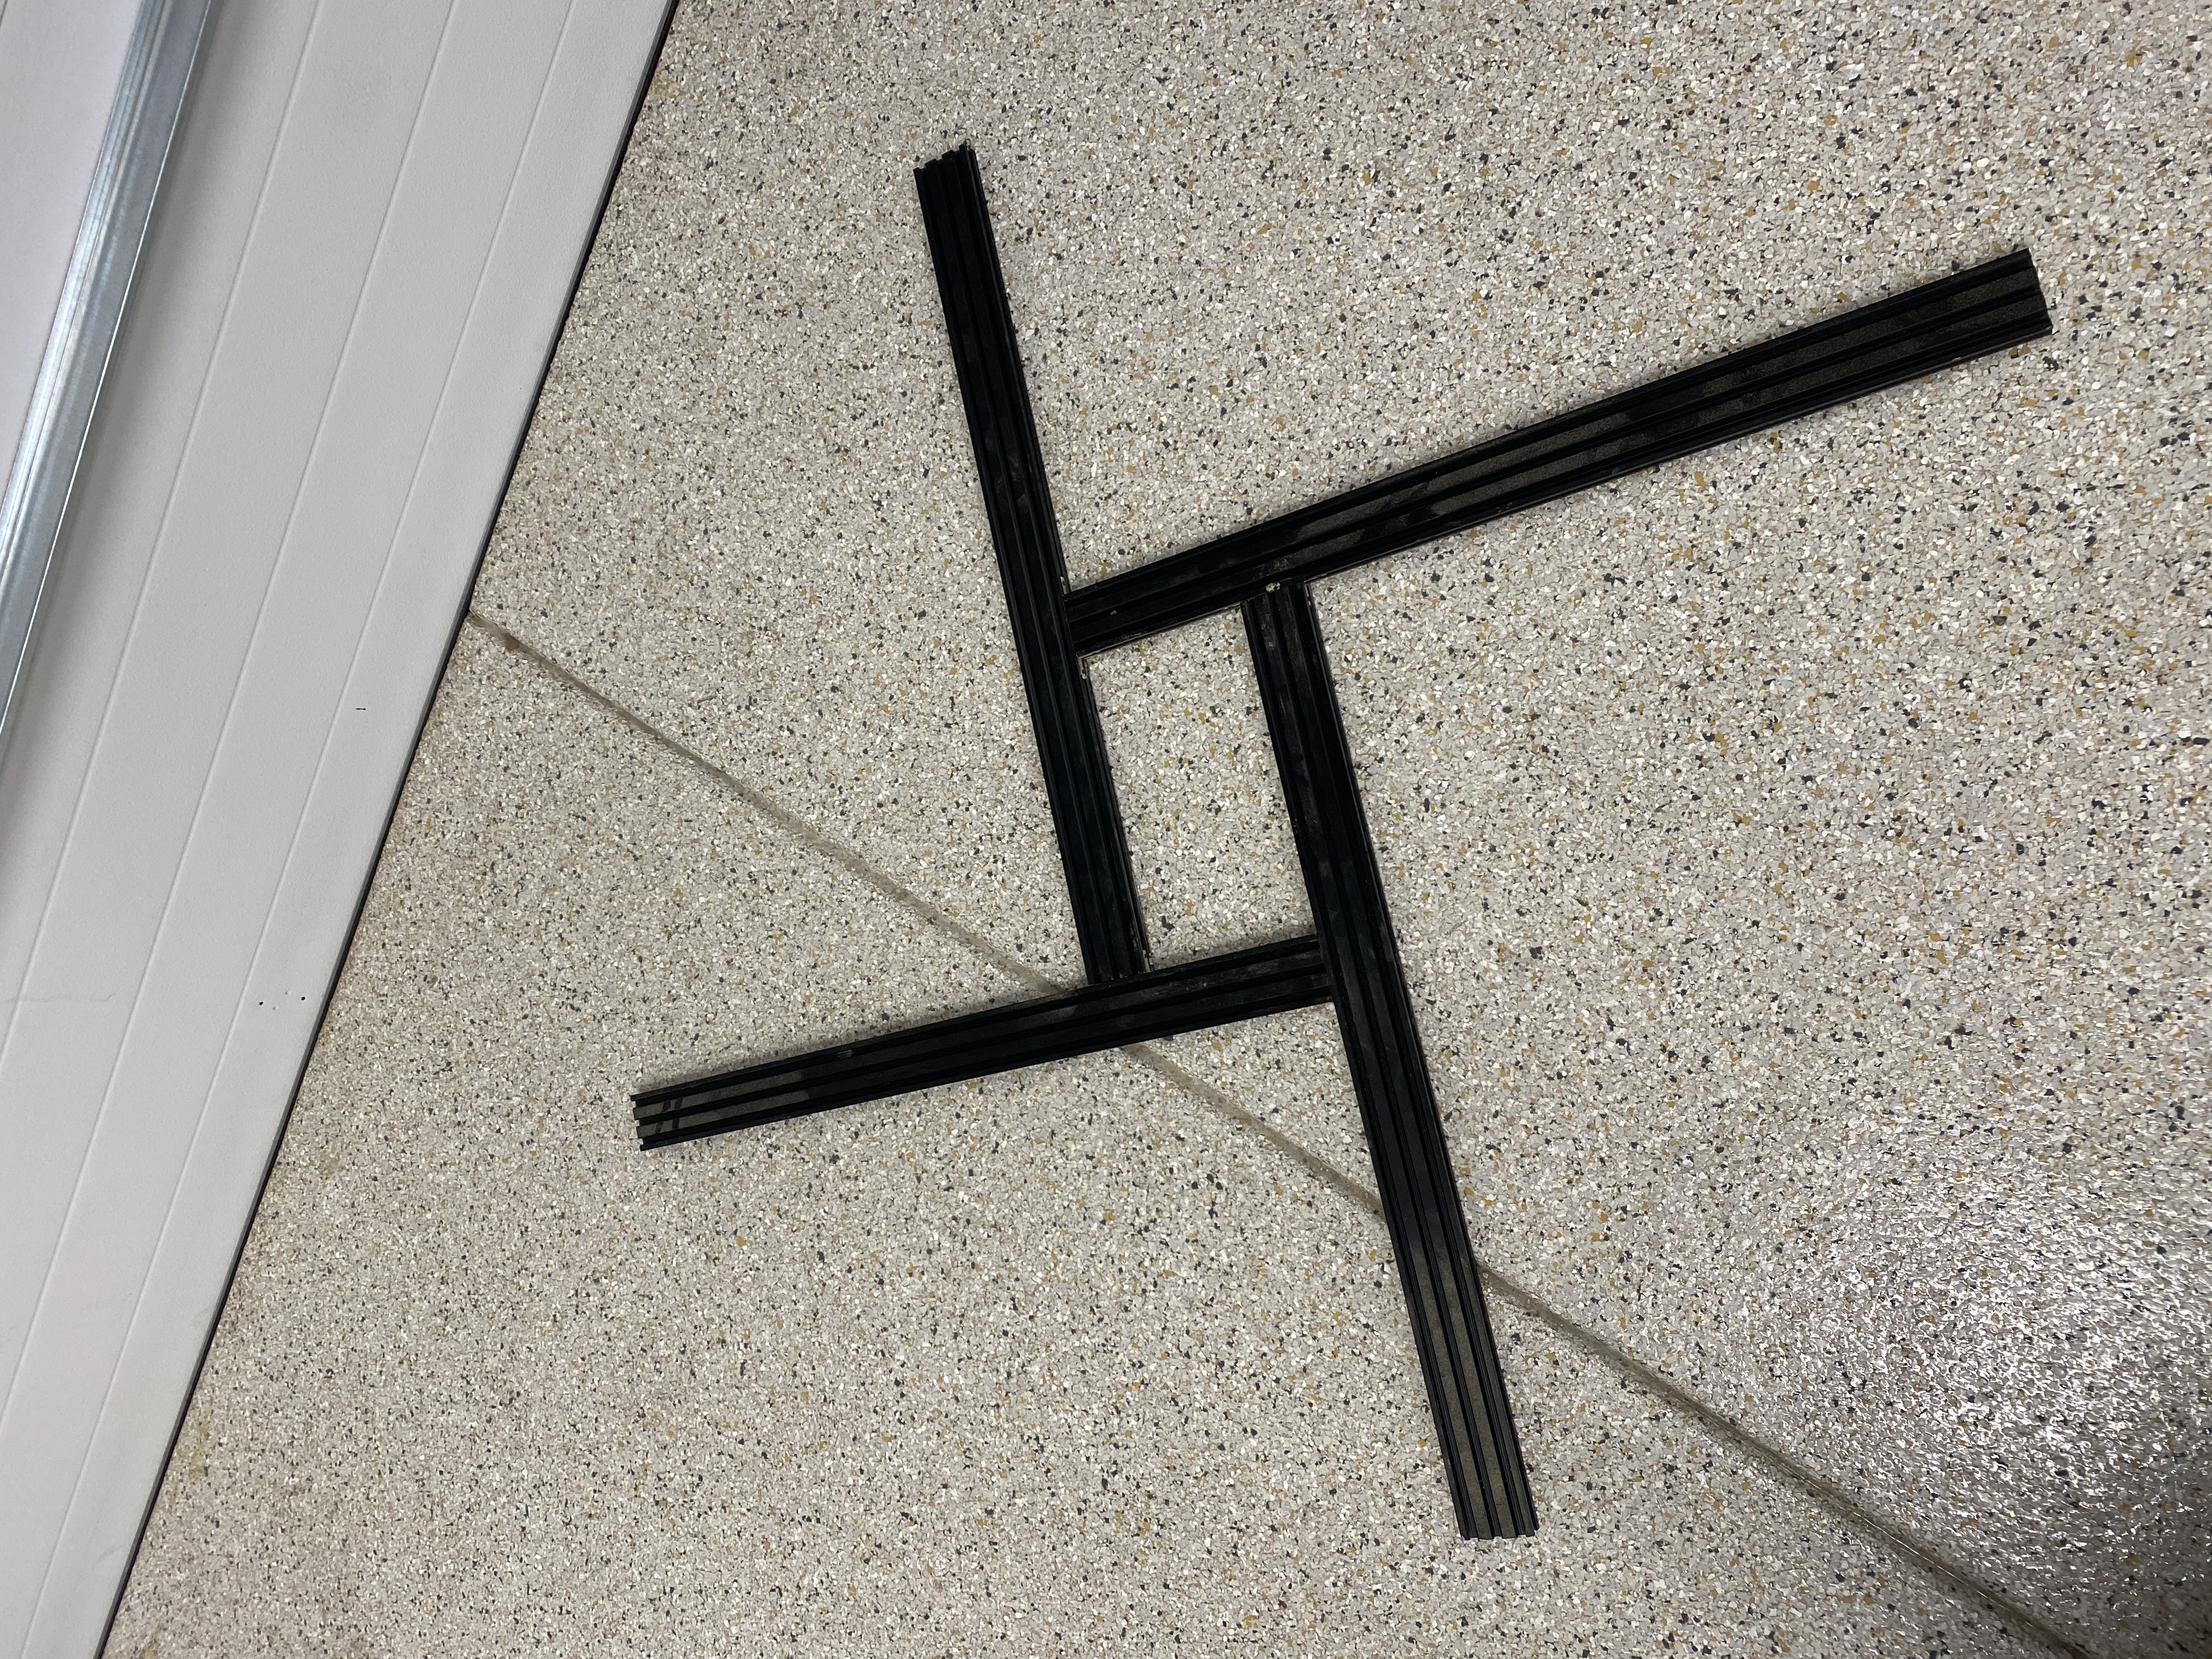
I made a couple of practice runs and the jig works great. I do need to figure out how to handle the corners because the finished radius that you get with this jig is slightly smaller/tighter than the radius of the corners on the horn. Unless someone has a suggestion I may just use some kind of wood filler to fill in the difference and sand it down. My plan is to use veneer so I should be able to cover it up nicely. There is a product that my cabinet guy introduced me to a few years back that is similar to Bondo. I have used it on several occasions but can't quite remember the name. It comes in a black can with bright orange writing and is available at Home Depot, Lowes, etc.... I will include the name in my next post.
Got a couple of questions.
1) Is there any additional benefit to adding dampening to the horns? Based on what I could find in the forum, there is not and the "care guide" that comes with the horns states that the abs material provides excellent dampening. However, I do see that some people do it anyway and swear by it.
2) For the flanking subs I am will be using 2, 15" Dayton Drivers from Parts Express and 2 of the Denovo 3.0 Cubic/Ft Sub enclosures. I plan to port the enclosures. My question is, as far as flanking subs go, if the driver is facing forward and I do not have room for a port in front, is it better to position the ports in the back or have them firing down to the floor? If the back is the way to go is it better to mount them high or low? Since I am adding the ports myself, I can add them wherever is best.
3) I am thinking to finish the speakers in a Walnut veneer. Does anyone have recommendations for wood veneer? Brands that have worked well? Where to buy? Retailers and/or brands to avoid? Your input would be much appreciated.
4) What size screws would you recommend for the JBL Drivers?
Thanks in advance!
-
 Attachment: 4Pi Parts.jpg
(Size: 1.65MB, Downloaded 1926 times)
-
Attachment: Extrude.jpg
(Size: 1.61MB, Downloaded 1967 times)
-
Attachment: Router Jig.jpg
(Size: 5.05MB, Downloaded 1975 times)
-
Attachment: bracing.jpg
(Size: 2.23MB, Downloaded 1933 times)
|
|
|
|
| Re: 4 Pi Build in San Luis Obispo - Parts Arrived, Got a Router Jig [message #93365 is a reply to message #93364] |
Thu, 25 March 2021 16:25 |
 |
Wayne Parham
Messages: 18950
Registered: January 2001
|
Illuminati (33rd Degree) |
|
|
Nice work so far. And man, I hear you about the "things get in the way" issue when doing projects. I always have several projects underway, and like you, I have several disruptors. But I always try to remember that a mountain is climbed one step at a time and that it pays off to sometimes take detours and rest breaks. I sometimes have to tell myself this because my nature is to get stressed and try to conquer the mountain in one day. Never any good in that. So I know to always enjoy the disrupters rather than to endure the disruptors. In fact, even my terminology is wrong, in that I should change from calling them "disruptors" to maybe "detours" or even think of them as "fun distractions."
Anyway, I digress.
To answer your questions:
1. Horn damping. It doesn't hurt, that's for sure. Some people swear by it. I personally don't find it useful because the H290C is so thick and heavy. It's well-damped, as dead as a rock. Its bell mode is over an octave below the passband, at around 420Hz. So the sound passing through it cannot energize it and the sound on the outside of the horn is damped by the insulation within the cabinet. Still, you won't hurt anything by adding rope calk or any other sort of damping goo on the outside.
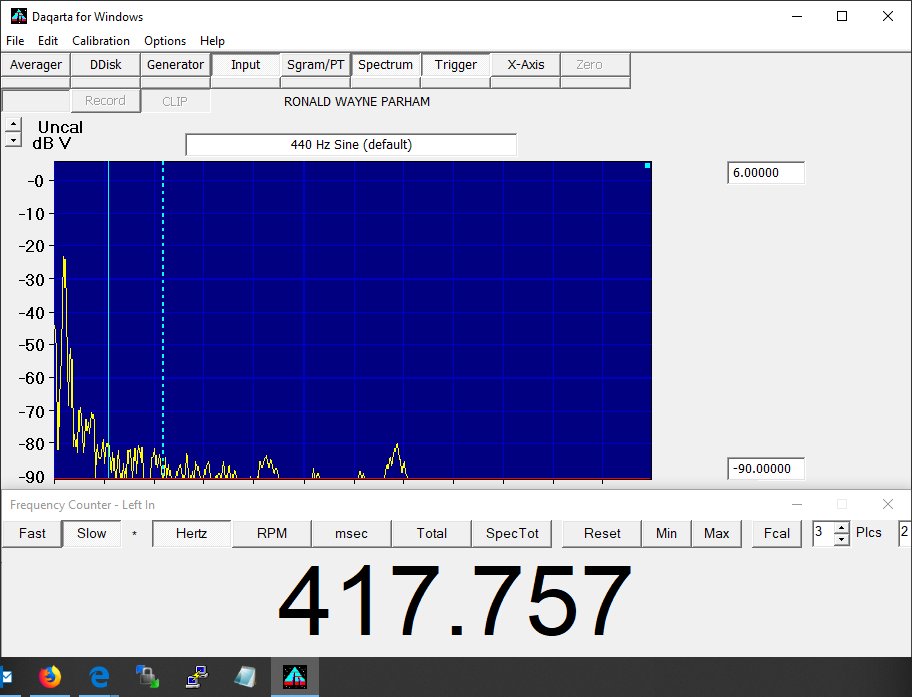 H290C (unmounted) Bell Mode H290C (unmounted) Bell Mode
2. Port location for flanking subs is unimportant because the sound emanating from the port is almost purely the Helmholtz region, certainly very little up high. I do think it's useful to have the woofer cone forward-facing, since the lower-mids emanate from there.
3. Sorry that I'm not as much help here as the woodworkers. Usually the cabinetmakers I've worked with show me samples that I choose from. But I do know you can buy online and many of the online sellers will also show grain images.
I've shopped at "Woodcraft Supply" - which is both online and has "brick and mortar" stores - and found excellent veneers there. They also have nice "chunks" of wood which were great when I was making CNC wood horn/waveguides. The link below shows some of the veneer products they have available online and/or in the stores.
4. I like to use 10/32 thread button head screws with black oxide coating. They're attractive and fit nicely. Use T-Nuts or threaded inserts. The length depends on whether you surface-mount or flush-mount, because the depth of the baffle and any additional backing you might provide for strength behind a router groove sets the length needed. But I tend to find that 1-1/4" seems to always work.
|
|
|
|
|
|
|
|
|
|
|
|
|
|
|
|
Goto Forum:
Current Time: Thu Jul 17 09:13:00 CDT 2025
|


 Posting Rules
 Members
 Search
 Help
Help Register
 Login
Login Get a T-Shirt!


")

