Home » Sponsored » Pi Speakers » My 4 Pi Build
Re: My 4 Pi Build [message #97010 is a reply to message #97008] Tue, 19 September 2023 13:21 Go to previous messageGo to next message
Wayne Parham is currently offline  Wayne Parham
Messages: 18682
Registered: January 2001
Illuminati (33rd Degree)

I always mount the crossover board on the bottom of the cabinet too. Certainly always on the three Pi and four Pi models. I make the boards kinda weird, in that I mount the components on the solder side, which then leaves the other side flat. Then I mount the board on a gasket, directly on the cabinet panel rather than using stand-offs.
Re: My 4 Pi Build [message #97011 is a reply to message #96988] Tue, 19 September 2023 15:32 Go to previous messageGo to next message
Unity_Coupled is currently offline  Unity_Coupled
Messages: 11
Registered: September 2023
Chancellor
I guess I'm more of a PCB traditionalist. It looks a little cleaner with the components mounted on the blank side too...not that it matters, it just satisfies my pseudo-OCD or whatever you call it. I plan to mount mine with 1/4" nylon standoffs.

I'm getting some estimates for having the terminal plates laser engraved...because, why not? I'm pulling out ALL the stops with this build. This is roughly how I want them to look (terminal plates are Dayton SBPP-BK):
/forum/index.php?t=getfile&id=3358&private=0
Re: My 4 Pi Build [message #97012 is a reply to message #97011] Tue, 19 September 2023 16:38 Go to previous messageGo to next message
Wayne Parham is currently offline  Wayne Parham
Messages: 18682
Registered: January 2001
Illuminati (33rd Degree)

Sweet!
Re: My 4 Pi Build [message #97053 is a reply to message #96988] Tue, 10 October 2023 12:20 Go to previous messageGo to next message
Unity_Coupled is currently offline  Unity_Coupled
Messages: 11
Registered: September 2023
Chancellor
Progress on the build has been pretty slow lately as I've had to prioritize farm and vineyard work, as well as audio repairs for customers. Just a few small updates for now...

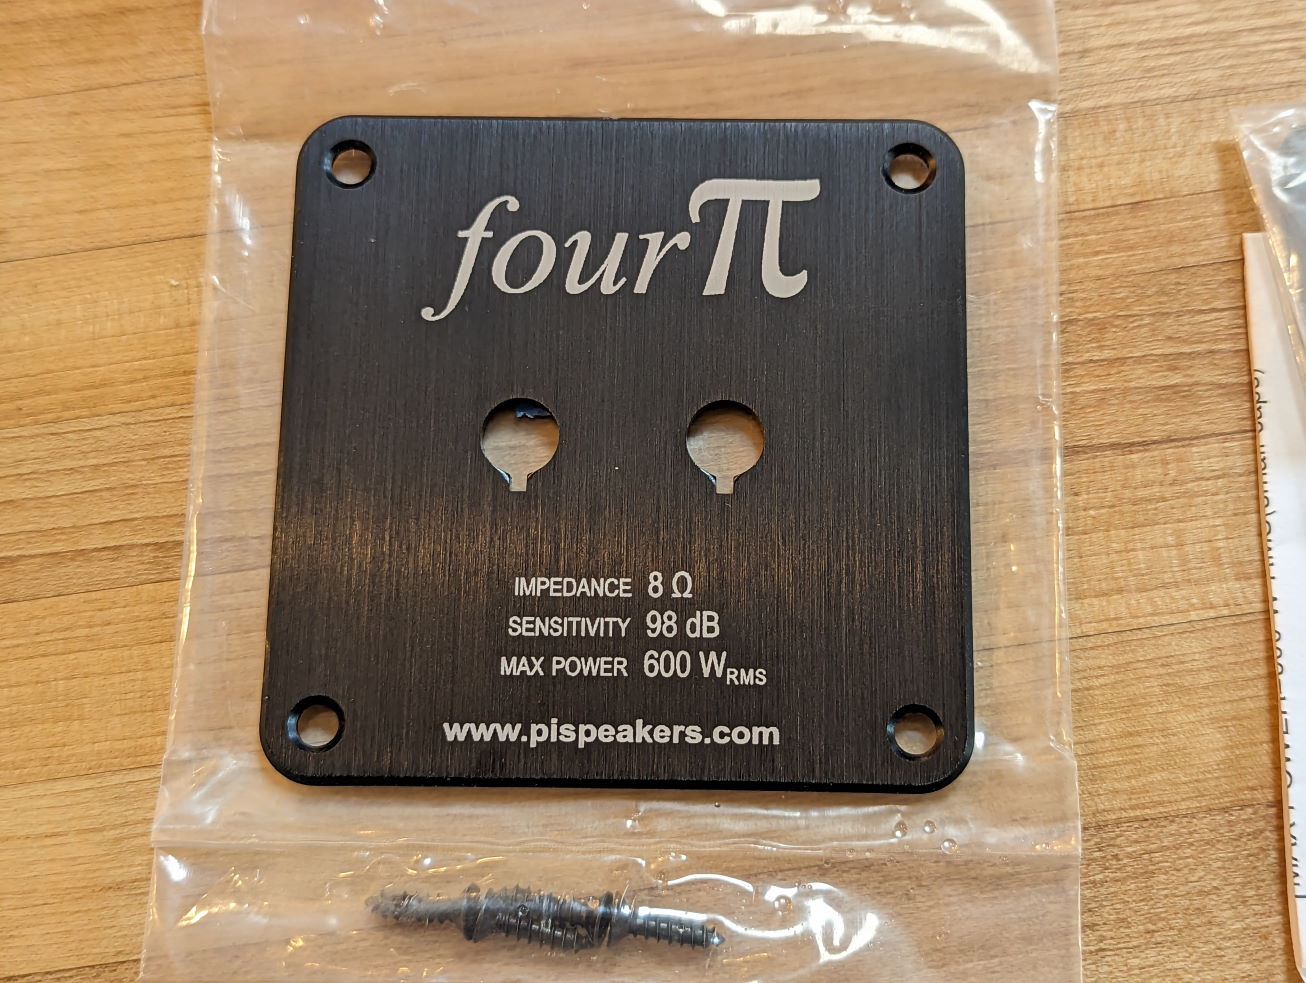
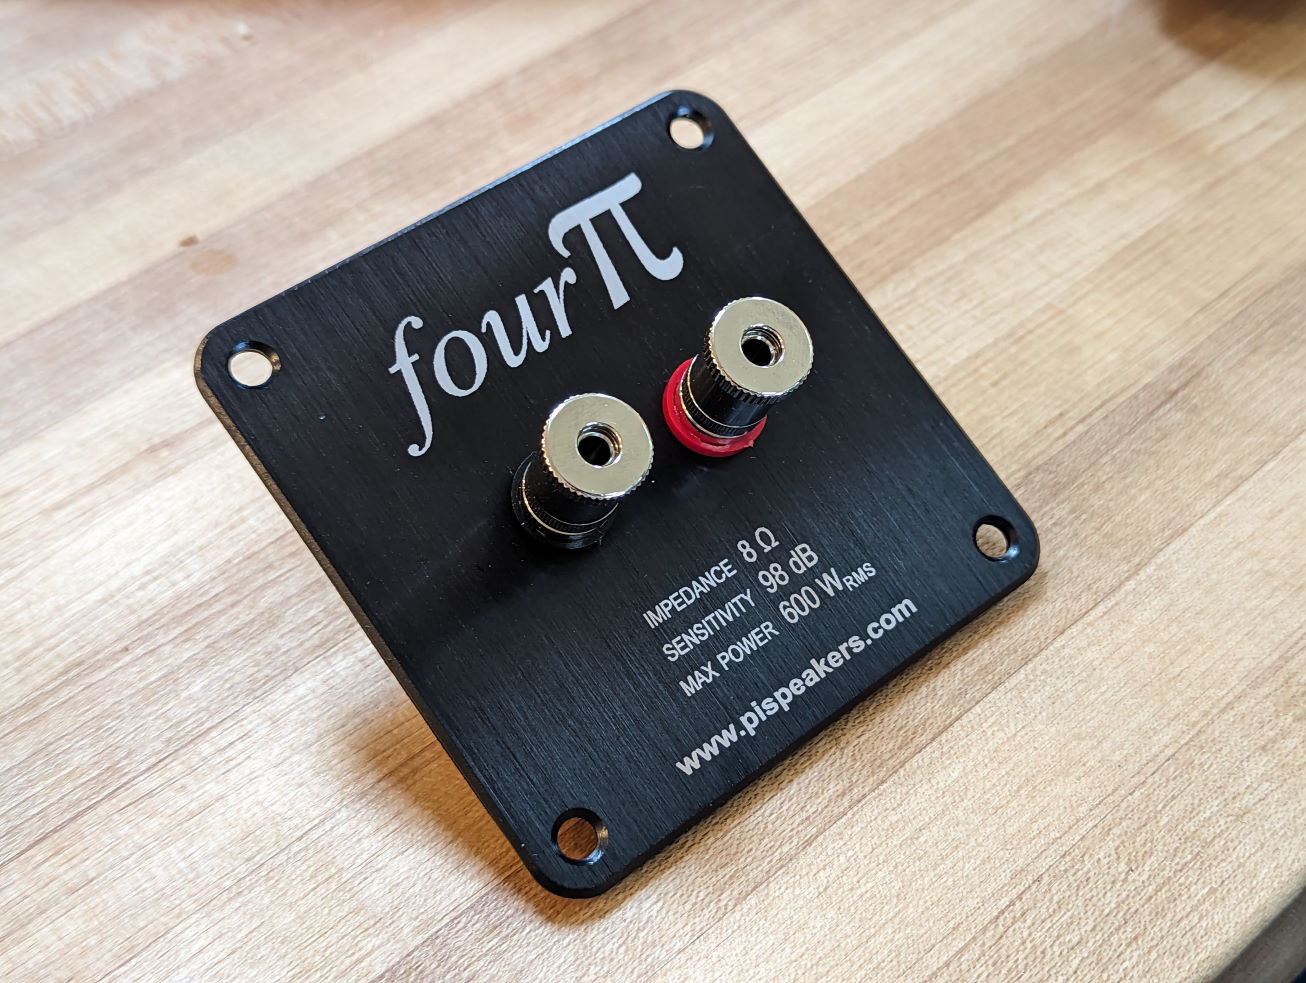
The terminal plates are back after getting laser engraved. I think they turned out nicely. I went with a slightly different design than what I posted above. If anyone wants to copy this, feel free to PM me for a vector file.

/forum/index.php?t=getfile&id=3361&private=0

/forum/index.php?t=getfile&id=3362&private=0

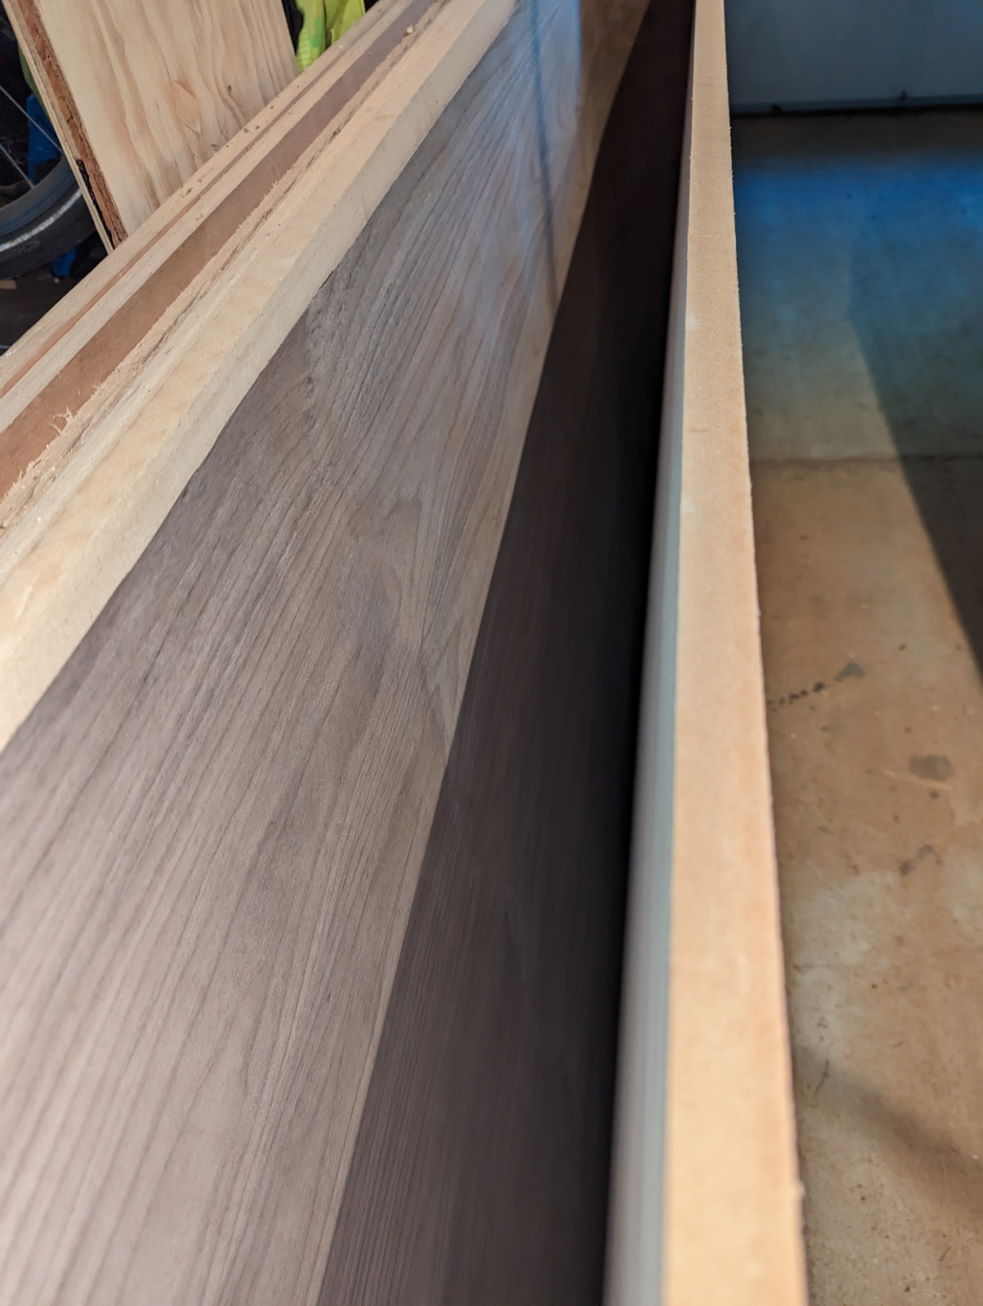
Yesterday I picked up a couple sheets of MDF along with Walnut veneer. I unrolled the veneer sheet and sandwiched it between the fiber boards so it would start to flatten out.

/forum/index.php?t=getfile&id=3363&private=0

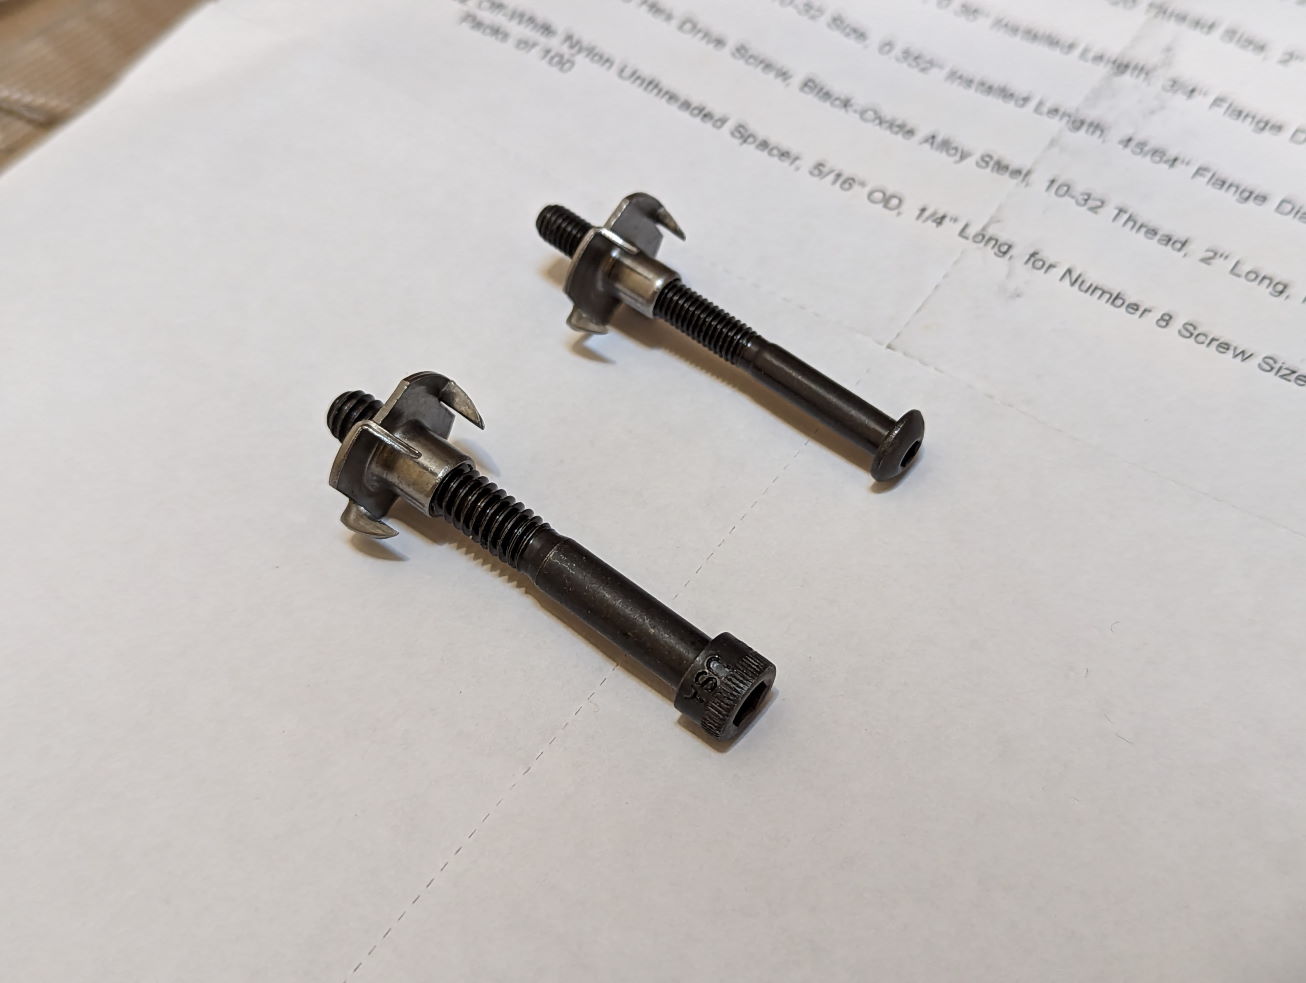
I purchased all the fasteners for the drivers from McMaster. For anyone interested, this is what I ordered:

Woofer
91251A550 Black-Oxide Socket Head Screw, 1/4"-20 x 2"
90975A307 Steel Tee Nut 1/4"-20 
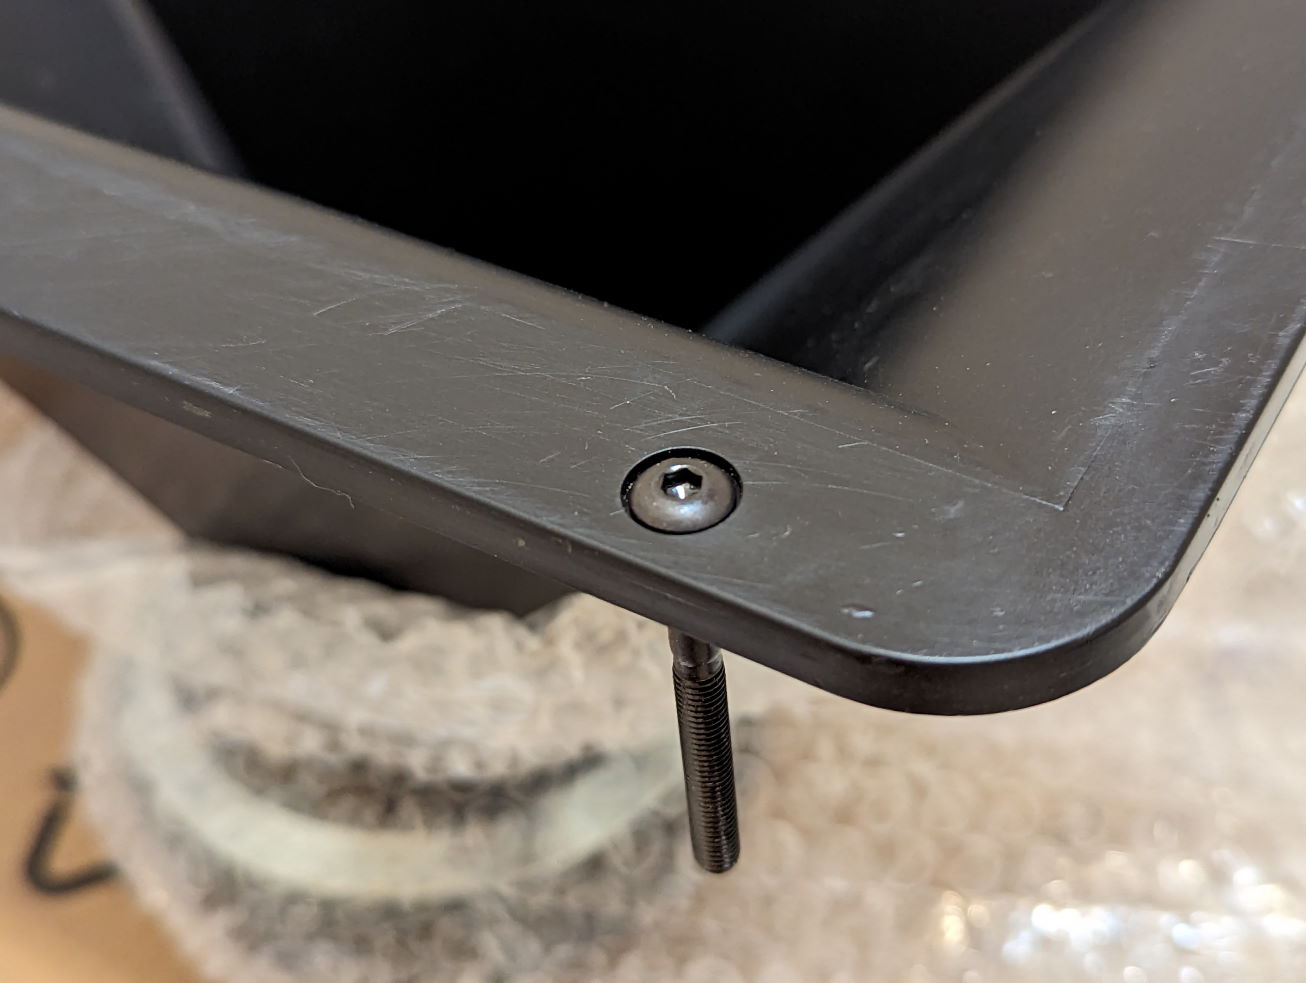
Waveguide
91255A278 Black-Oxide Button Head Hex Screw, 10-32 x 2"
90975A306 Steel Tee Nut 10-32 

Crossover boards
94639A342 Nylon Spacer, 5/16" OD, 1/4" Long, for Number 8 Screw Size

/forum/index.php?t=getfile&id=3364&private=0

/forum/index.php?t=getfile&id=3365&private=0

That's all for now!
  • Attachment: plate_a.jpg
    (Size: 233.68KB, Downloaded 385 times)
  • Attachment: plate_b.jpg
    (Size: 225.75KB, Downloaded 393 times)
  • Attachment: ive_got_wood.jpg
    (Size: 125.09KB, Downloaded 386 times)
  • Attachment: fasteners.jpg
    (Size: 86.61KB, Downloaded 386 times)
  • Attachment: wgscrew.jpg
    (Size: 97.69KB, Downloaded 385 times)
Re: My 4 Pi Build [message #97054 is a reply to message #97053] Tue, 10 October 2023 14:03 Go to previous messageGo to next message
Wayne Parham is currently offline  Wayne Parham
Messages: 18682
Registered: January 2001
Illuminati (33rd Degree)

Gorgeous! Those are stunning!

Hopefully I sent the "Care and feeding of your H290C Waveguide" document with the waveguide/horns. It mentions an option of painting with enamel to get a perfect finish. With the rest of the attention to detail in your speakers, you'll definitely want to take that step.

Lightly sand the face using 600 grit on a sanding block. Not much - just enough to remove the mold parting line. Don't sand any part of the flare, just sand the face. Then paint with spray enamel. You can take the waveguides to an auto paint shop if you want, but believe it or not, you can do a great job with a "rattle can" spray bottle.
Re: My 4 Pi Build [message #97055 is a reply to message #96988] Tue, 10 October 2023 16:53 Go to previous messageGo to next message
Unity_Coupled is currently offline  Unity_Coupled
Messages: 11
Registered: September 2023
Chancellor
Thanks. I did look over the Care and Feeding document. The touch-up is on my to-do list, but I'll probably wait until I'm closer to final assembly.
Re: My 4 Pi Build [message #97056 is a reply to message #97055] Tue, 10 October 2023 17:14 Go to previous messageGo to next message
Wayne Parham is currently offline  Wayne Parham
Messages: 18682
Registered: January 2001
Illuminati (33rd Degree)

Super groovy cool! https://audioroundtable.com/images/thumbs-up.gif
Re: My 4 Pi Build [message #97066 is a reply to message #96988] Sat, 14 October 2023 23:18 Go to previous messageGo to next message
Unity_Coupled is currently offline  Unity_Coupled
Messages: 11
Registered: September 2023
Chancellor
I may have goofed on the 1/4-20 screws and bought ones that are too long, since they are only partly threaded. It looks like the 2" ones are going to bottom out before applying sufficient clamping force to the frame of the woofer, since it will be mounted flush with the baffle. I've re-ordered the screws, this time in 1.5" length. (part no. 91251A546)

Just thought I'd put this out there in case anyone was going to copy my McMaster order.
Re: My 4 Pi Build [message #97069 is a reply to message #97066] Sun, 15 October 2023 09:35 Go to previous messageGo to next message
Wayne Parham is currently offline  Wayne Parham
Messages: 18682
Registered: January 2001
Illuminati (33rd Degree)

What a bummer! Then again, as problems go, that's a good one - super-easy to solve!
Re: My 4 Pi Build [message #97073 is a reply to message #96988] Mon, 16 October 2023 13:15 Go to previous messageGo to previous message
Unity_Coupled is currently offline  Unity_Coupled
Messages: 11
Registered: September 2023
Chancellor
Potentially there's another issue, this one not so easy (or cheap) to resolve. I suspected from the get-go that at least one of my drivers was reconed, due to the over-application of glue around the dust cap on one of the cones, and the absence of a part number stamped on the backsides. Connecting a battery with the positive end to the red terminal draws the cone inward, so the polarity is correct. I built a jig for plotting impedance with REW and this is what I measured (average of four sweeps for ea. driver):
/forum/index.php?t=getfile&id=3366&private=0

Compared to the JBL data, the impedance is not as smooth above 500hz, but it doesn't seem particularly bad either. As you've said in another post, the impedance notch at around 1k is a good indicator that the cone is aftermarket.

I have a single 2226H with an original cone and may decide to sell the 2226HPL's to purchase a second original H, but truthfully I prefer the HPL for the black outer ring. In any case, I'm going to wait until I can conduct final FR measurements and listening tests before making any decisions. I paid about $300 for both drivers, and if they're good enough I'm inclined to keep using them.
Previous Topic: Heat sink, Heat exchange for driver/cabinet
Next Topic: Five 2226s are here!
Goto Forum:


Current Time: Fri May 03 21:05:29 CDT 2024

Sponsoring Organizations

DIY Audio Projects
DIY Audio Projects
OddWatt Audio
OddWatt Audio
Pi Speakers
Pi Speakers
Prosound Shootout
Prosound Shootout
Smith & Larson Audio
Tubes For Amps
TubesForAmps.com

Lone Star Audiofest