| Re: 12 π basshorn - Coming together - Part 3 [message #47808 is a reply to message #47740] |
Mon, 26 September 2005 23:08  |
 |
 Wayne Parham
Messages: 18991
Registered: January 2001
|
Illuminati (33rd Degree) |
|
|
After the glue dries, paint the cabinet. Grab a gallon of truck bed liner and a course roller to provide the texture. The finish is easy to apply and very durable. Use an aerosol can to spray inner corners and other areas where the roller won't reach, then use the roller to cover the rest.
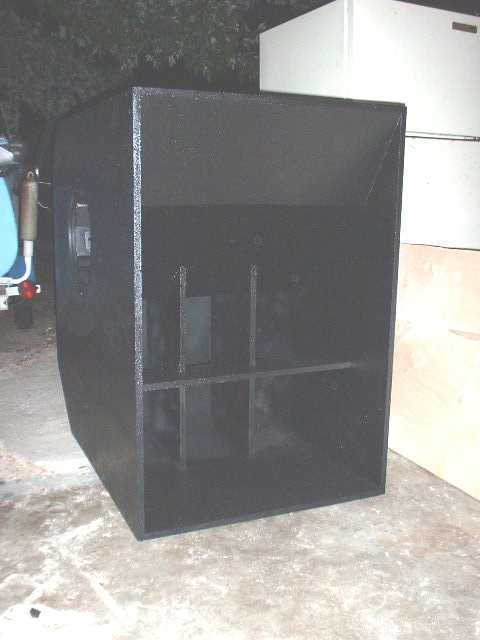 Finish applied
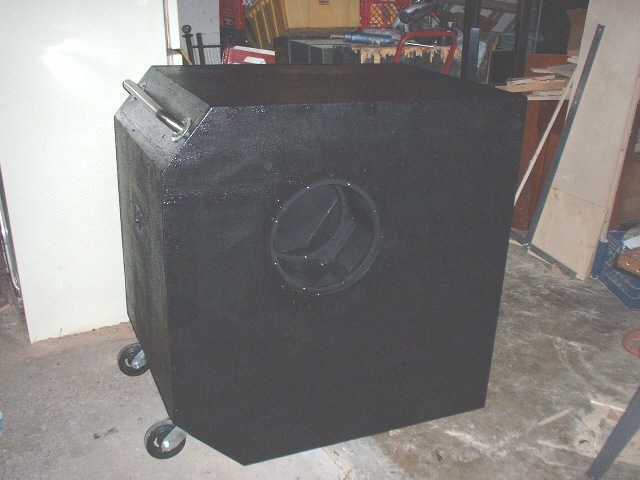 Side view of finished cabinet
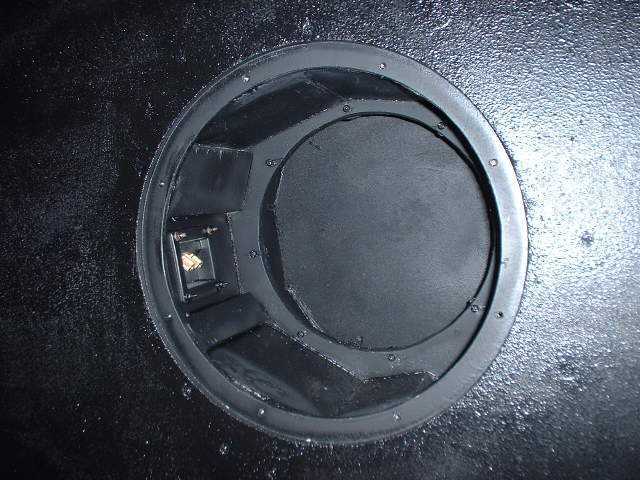 Ready for the drivers and heat exchanger
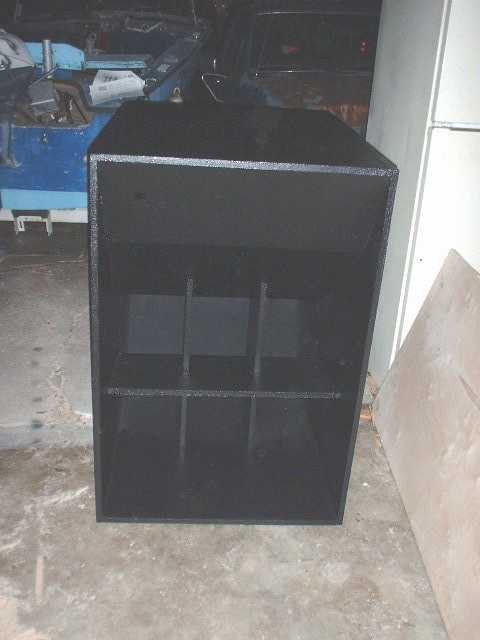 Front View
Use sheets of rubber or plastic for gasket material. The plastic used for making shower pans works well. Use the heat exchanger / access panel as a template and draw out a pattern, then cut it out with scissors and a hole punch.
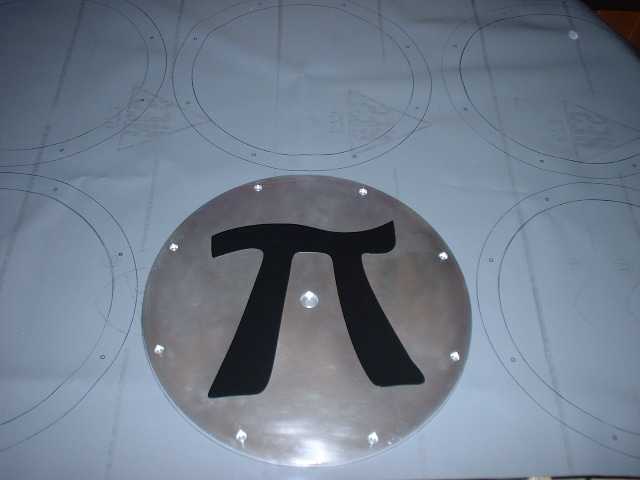 Drawing gasket outline, using access panel as a template
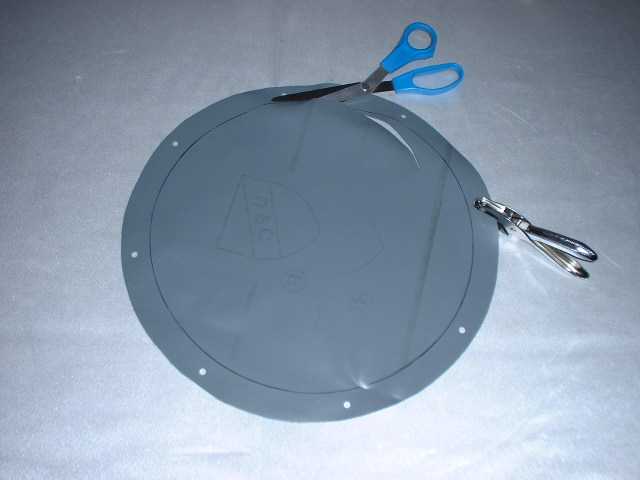 Cut gasket with scissors and a hole punch
Before instaling the woofers, remove the protective mesh from the cooling vents. It is just pressed in, and comes out very easily. A small screwdriver can be used to pry it out. Lightly sand the paint from the vent with very fine 400 or 600 grit sandpaper. You may have to remove a few burrs in the metal on some woofers. Then clean the area with a paper towel and apply heat conductive grease.
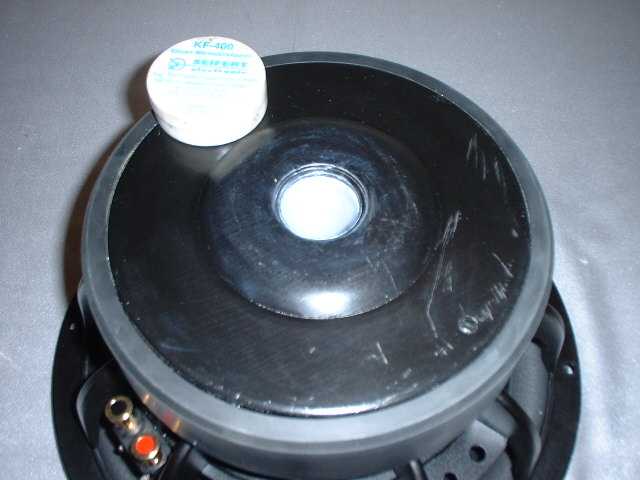 Heat conductive grease in woofer vent
Install the woofers and connect them to the internal connector panels. It's a good idea to check the polarity of each woofer from the rear panel using a 9 volt battery. With the battery "+" connected to the input connector "+", both woofers should move towards the front chamber and throat. That means one will move outward and the other will move inward.
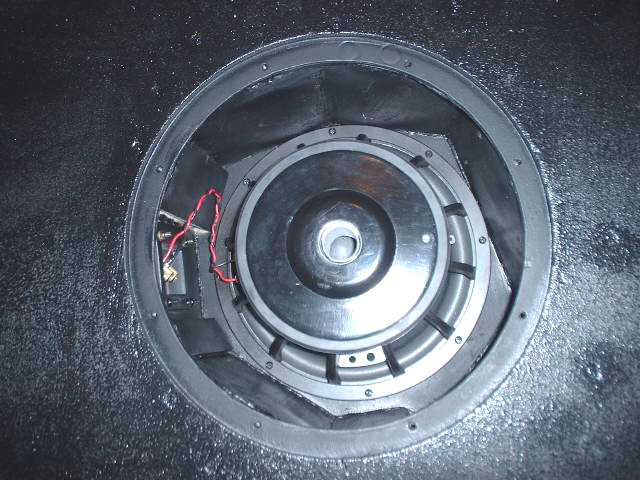 Woofers installed
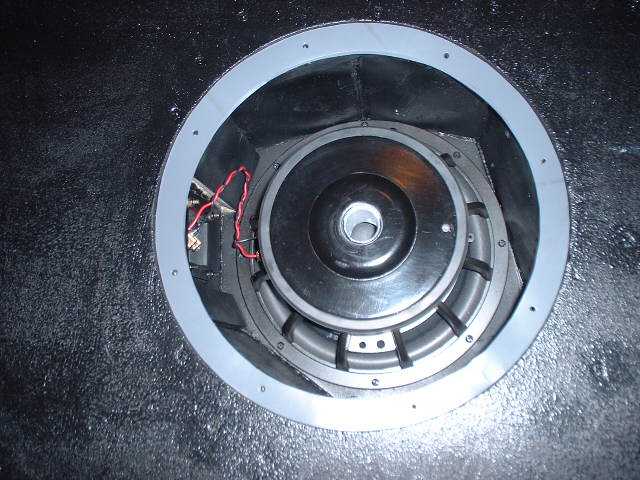 Gaskets in place
Install the heat exchanger / access panels and you're done!
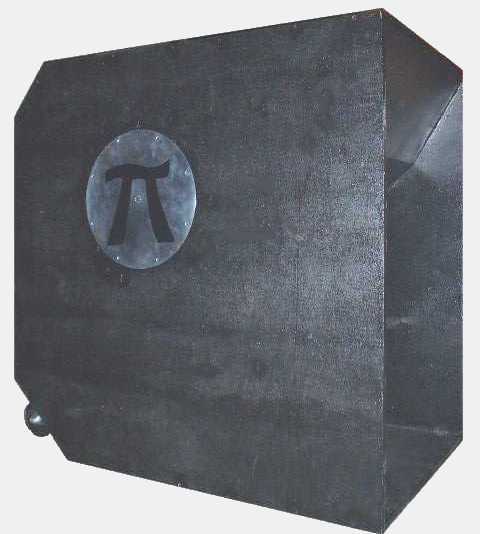 12π basshorn subwoofer, side view
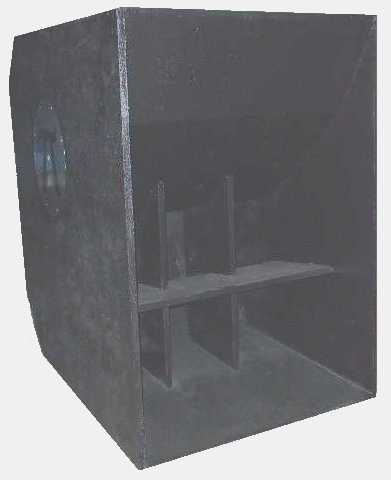 12π basshorn subwoofer, front view
 |
|
|
|


