| Re: 12 π basshorn - Coming together - Part 2 [message #47740 is a reply to message #47431] |
Sun, 18 September 2005 11:31   |
 |
 Wayne Parham
Messages: 19063
Registered: January 2001
|
Illuminati (33rd Degree) |
|
|
Now we build up the horn flare from the motor chamber outward. First, glue the throat panel brace in place. You might want to drill shallow holes and use a short 1/2" dowel section as a positioning pin.
 Motor chamber and throat panel brace
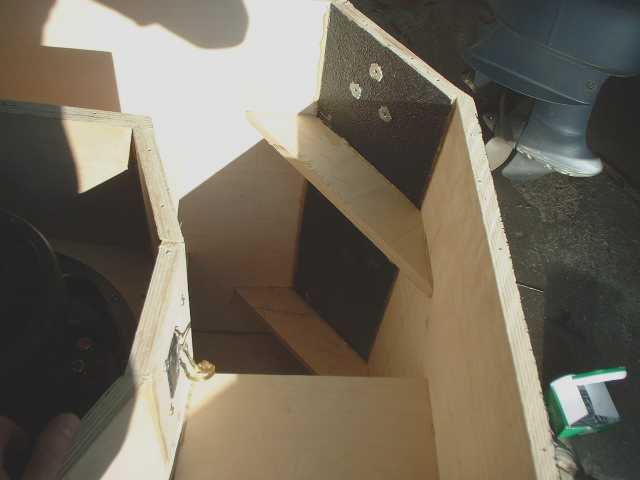
Attach the throat panel and the upper braces.
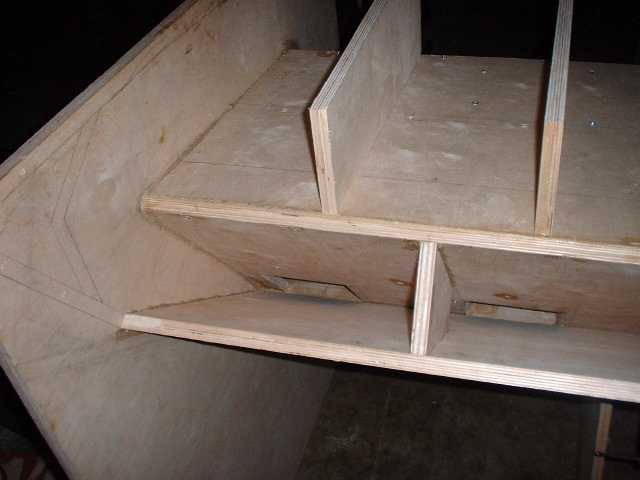 Throat expansion and braces
Attach the top and nose pieces. Both sides are attached to make sure fit is good. One side is glued and permanently attached, but the other side is only temporarily screwed in place.
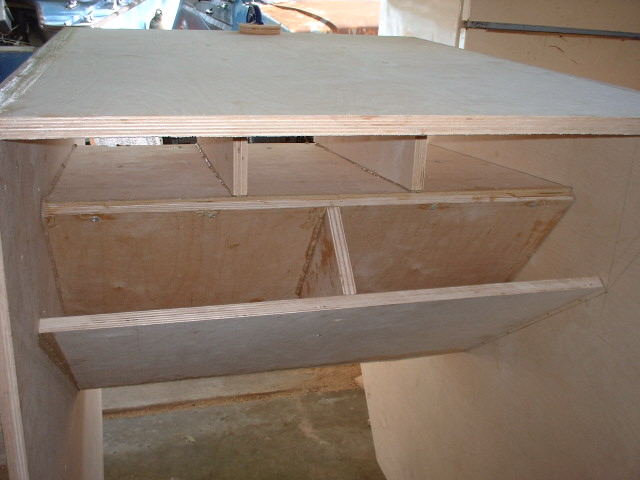 Throat panel and top
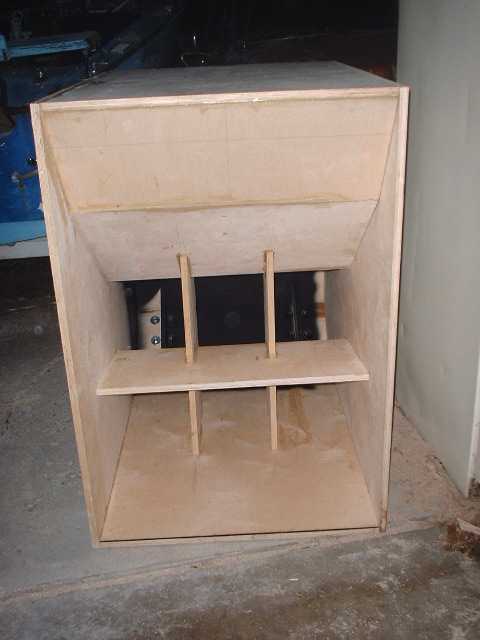
 Rear view of motor chamber with sides and top attached
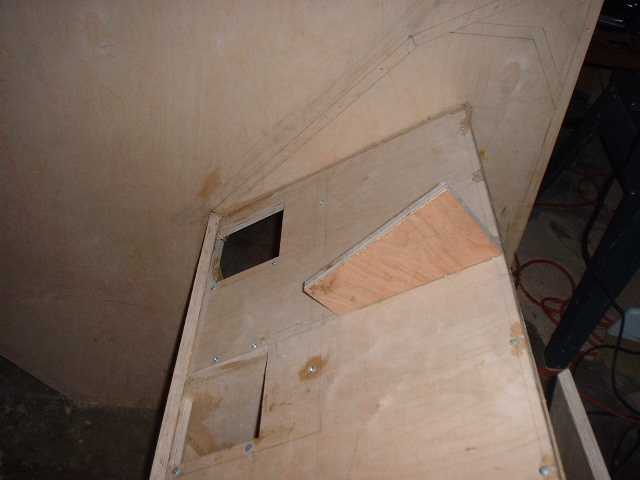
Prepare the back panel by cutting the connector panel hole and applying the finish coat. You won't want to paint after the panel is in place, so do it ahead of time. After it is dry, you can attach the back panel and connect the internal wiring. Notice the braces between motor chamber and back panel. Having the side mounted lets you check fit. This photo was taken after the back was already mounted and the side removed for easier access to horn internals.
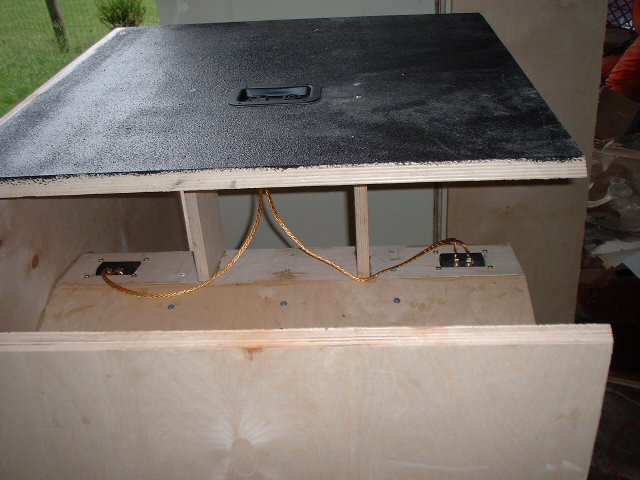 Internal wiring
Similarly, the angled pieces in back must have their finish coat applied in advance. The top piece mounts a handle and the bottom piece mounts castor wheels. Notice the holes drilled for the castor wheels in the picture below.
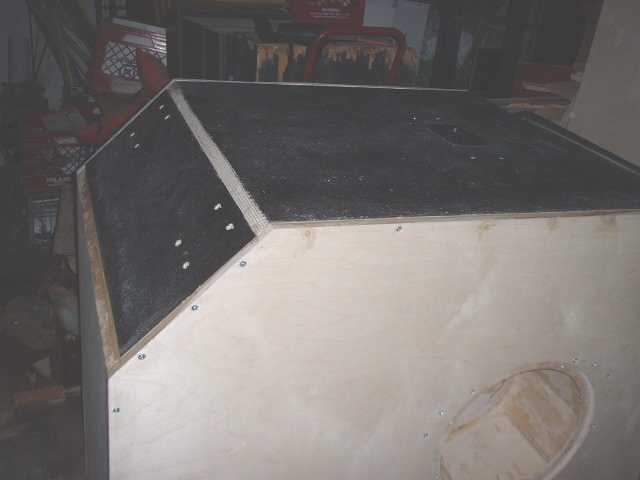 Back and Bottom
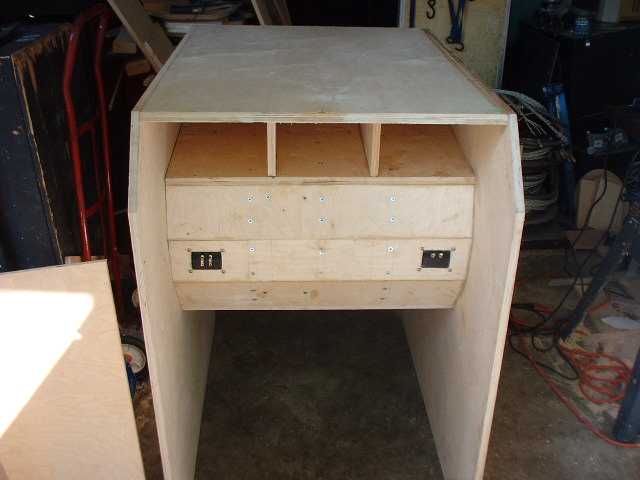
Cut holes and insert T-Nuts to mount the handle. Here we've test fit the handle before removing it again to provide the finish coat.
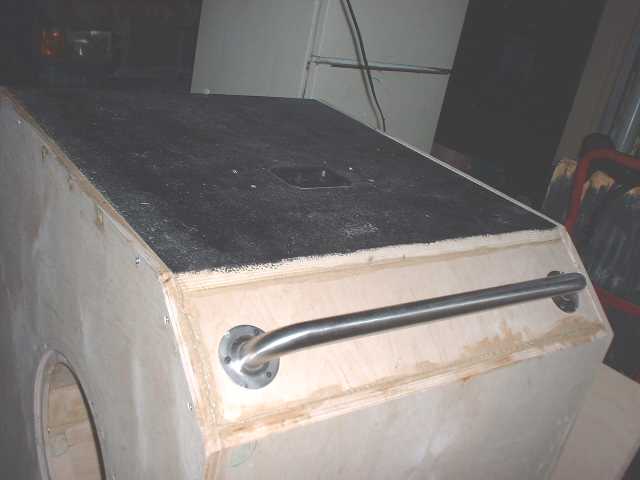 Back and top
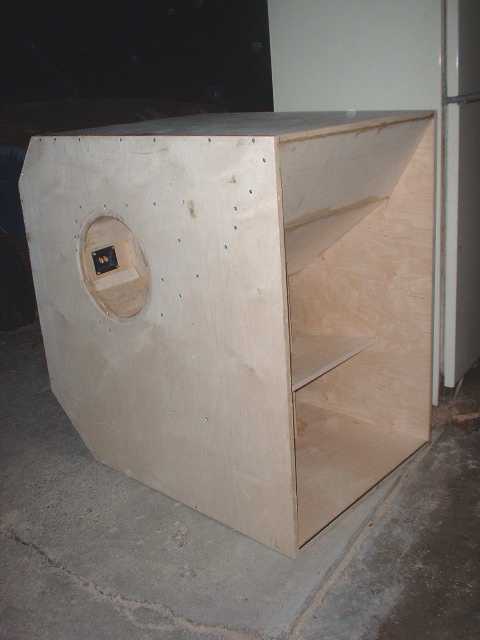
 Back and side
 Face down
Attach braces for the diagonal pieces, both top and bottom. The bottom ones should be placed immediately above the castor wheels, to provide strength in this area. The braces on the top panel should be placed near the handle mounts to provide extra strength too. Mount the wheels and handle.
 Bottom corner braces
 Top corner braces
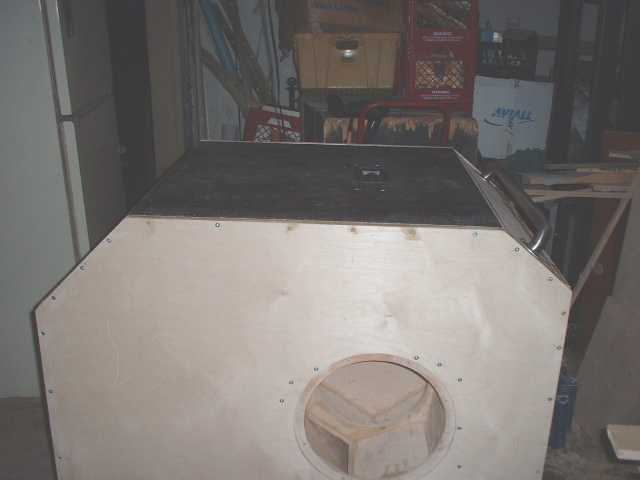
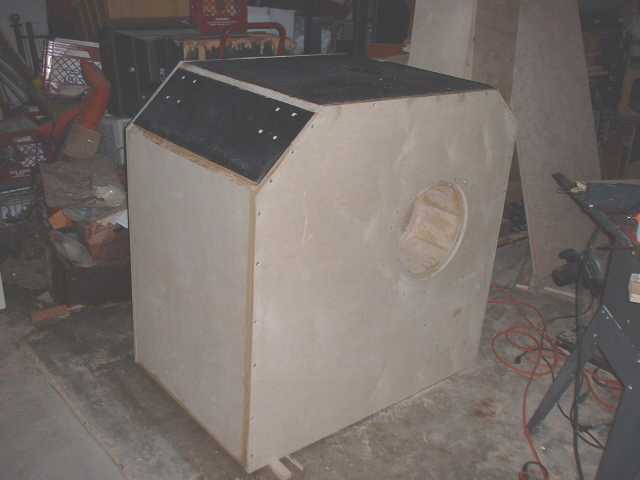
Add the braces for the mouth area, and then attach the side. Glue them in place and the horn is finished, ready for painting.
 Front view, before paint
 Side view, before paint
 |
|
|
|


 Posting Rules
 Members
 Search
 Help
Help Register
 Login
Login Get a T-Shirt!


")

