|
|
|
|
| Re: My 4 Pi Build [message #98758 is a reply to message #98757] |
Sun, 06 July 2025 17:39   |
 |
 Wayne Parham
Messages: 19064
Registered: January 2001
|
Illuminati (33rd Degree) |
|
|
Oooh, very nice!
Looks great!
On the woofer being 1/8" shy of flush - That's a total "don't worry about it" thing.
These speakers are purpose-designed to have a forward lobe that's pretty tall. The drivers are in-phase between the vertical nulls, where they become out-of-phase. And those vertical nulls occur above and below the speaker +/-20°. So fore/aft offsets of either woofer or tweeter simply shift the forward axis vertically. And when it's a small offset like that, we're talking about a very small angular difference.
You could calculate the shift made by moving the woofer forward 1/8" if you wanted, but I'm going to give a seat-of-the-pants guess of 0.25° to 0.5°, something like that. Tiny.
With a 40° vertical pattern, I don't mind vertical shifts of even a few degrees. I recommend stands with 3° to 5° tilt-back, to help cradle the speaker against the backrest, which is actually more of a lip than a rest. But my point is those stands shift the verticals to from about +22° to -18° to about +25° to -15°, all of which is great too.
While you're measuring stuff, find those vertical nulls. Put the microphone straight in front of the speakers, and then move the mic above and below the speakers 'til you find a sharp notch in the crossover region. Those are the vertical nulls.
To me, the biggest thing that makes imaging great is the horizontal toe-in. Cross the forward axes of the speakers just ahead of the listening area. When you do that, the "sweet spot" becomes "anywhere between the two speakers." Imaging is great throughout a fairly wide area.
|
|
|
|
| Re: My 4 Pi Build [message #98821 is a reply to message #96988] |
Tue, 02 September 2025 15:49 |
Unity_Coupled
Messages: 20
Registered: September 2023
|
Chancellor |
|
|
It has been a challenging two months since my last update, but through all of it I've managed to make significant progress on the project. During that time I was too busy to post so I'll pick up right where I left off:
I should preface by sharing the unfortunate fact that in my entire house, only one area is somewhat suitable for a 2-channel listening arrangement, which is currently occupied by my McIntosh/Altec A7 system. It was never a consideration when my family bought the property and I had little influence on the matter...my dad was hell-bent on acquiring a place with south-facing slopes on which "he" could plant vineyards. Early on he was still working full-time so it was up to my mom and me to plant nearly 5000 vines, as we didn't have enough extra money to hire help. That's a whole different story... Anyway, I digress.
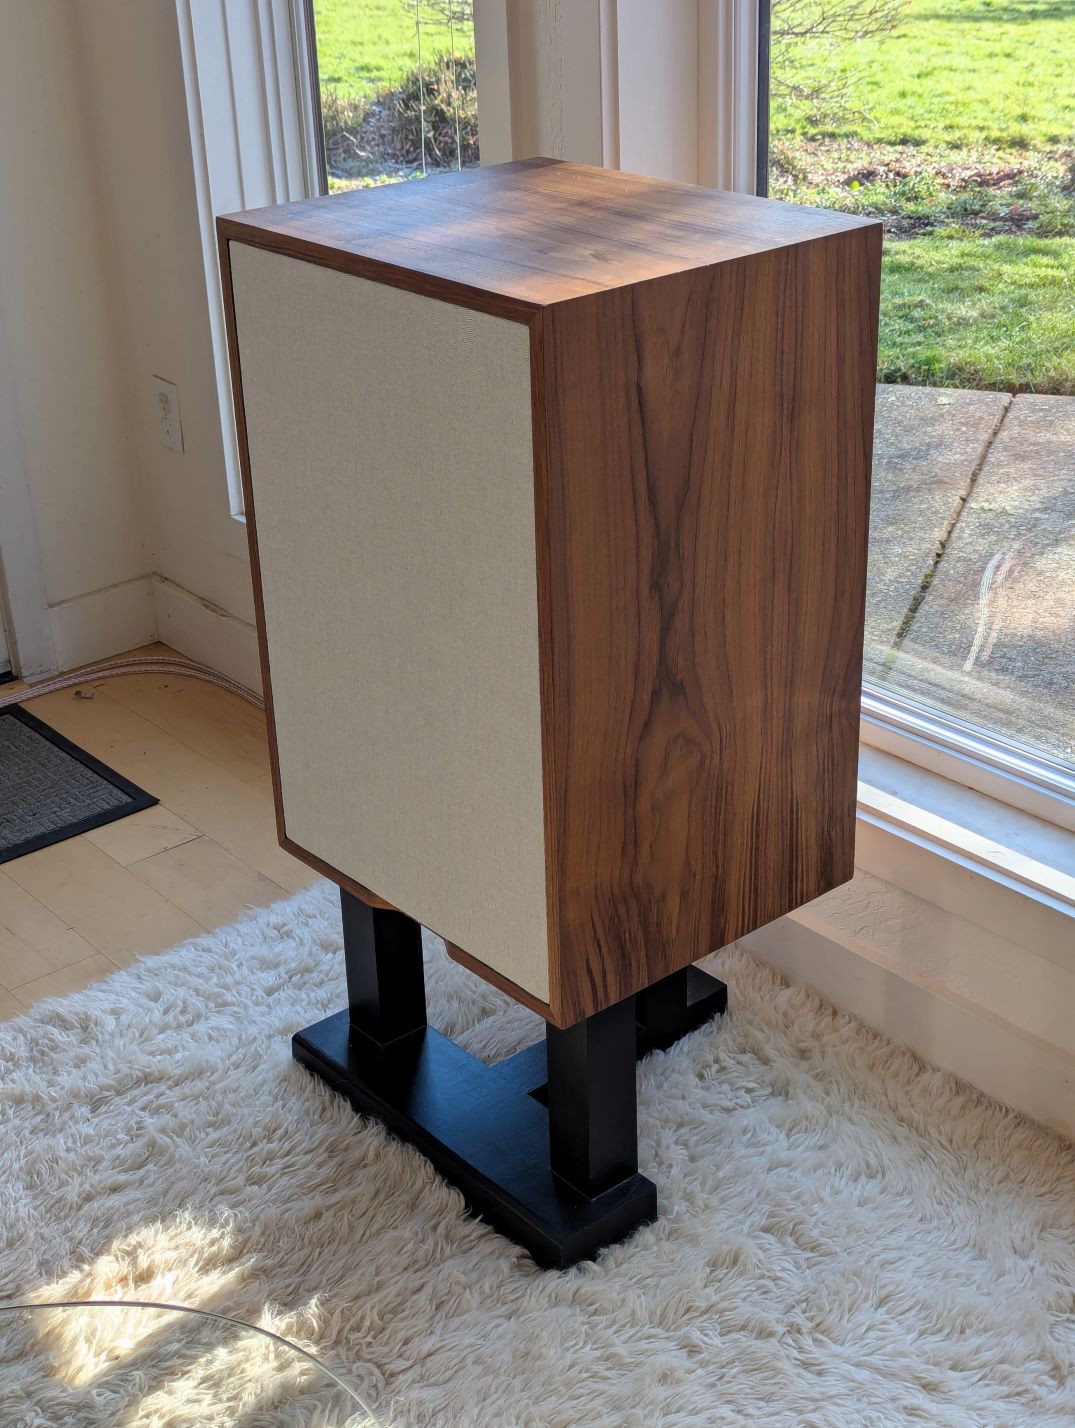
I remembered about some speaker stands I built years ago and dug them out of storage. They don't tilt, but they elevate the cabinets a foot off the floor...plus they look the part. After the kids went home I moved the speakers and gear temporarily in front of the angled living room couch which follows the rear wall with a 135-degree corner. The setup is still far from ideal but it allowed for a comfortable place to sit and listen with some distance between the Pi's without a boundary directly behind them.

It looks a little unusual with the extreme toe-in but the Pi's sound absolutely stellar while delivering a coherent soundstage across a wide listening area, just as advertised. For practical reasons this arrangement was short-lived and everything was returned to the other wall until I was ready to haul the speakers back down to the wood shop for finishing.
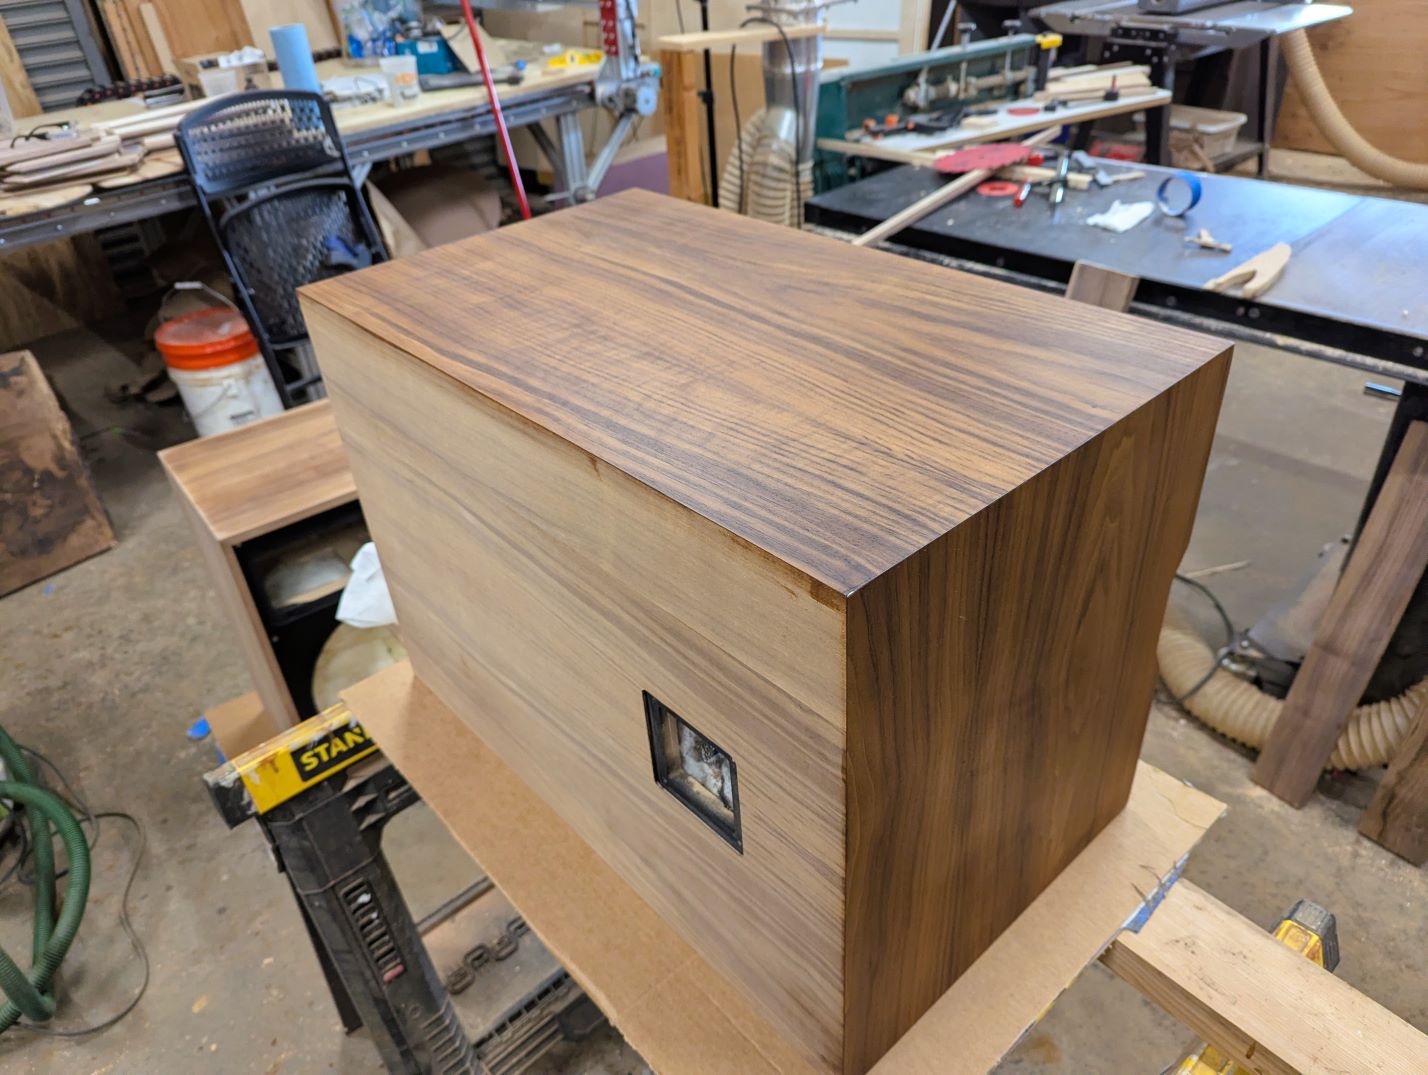
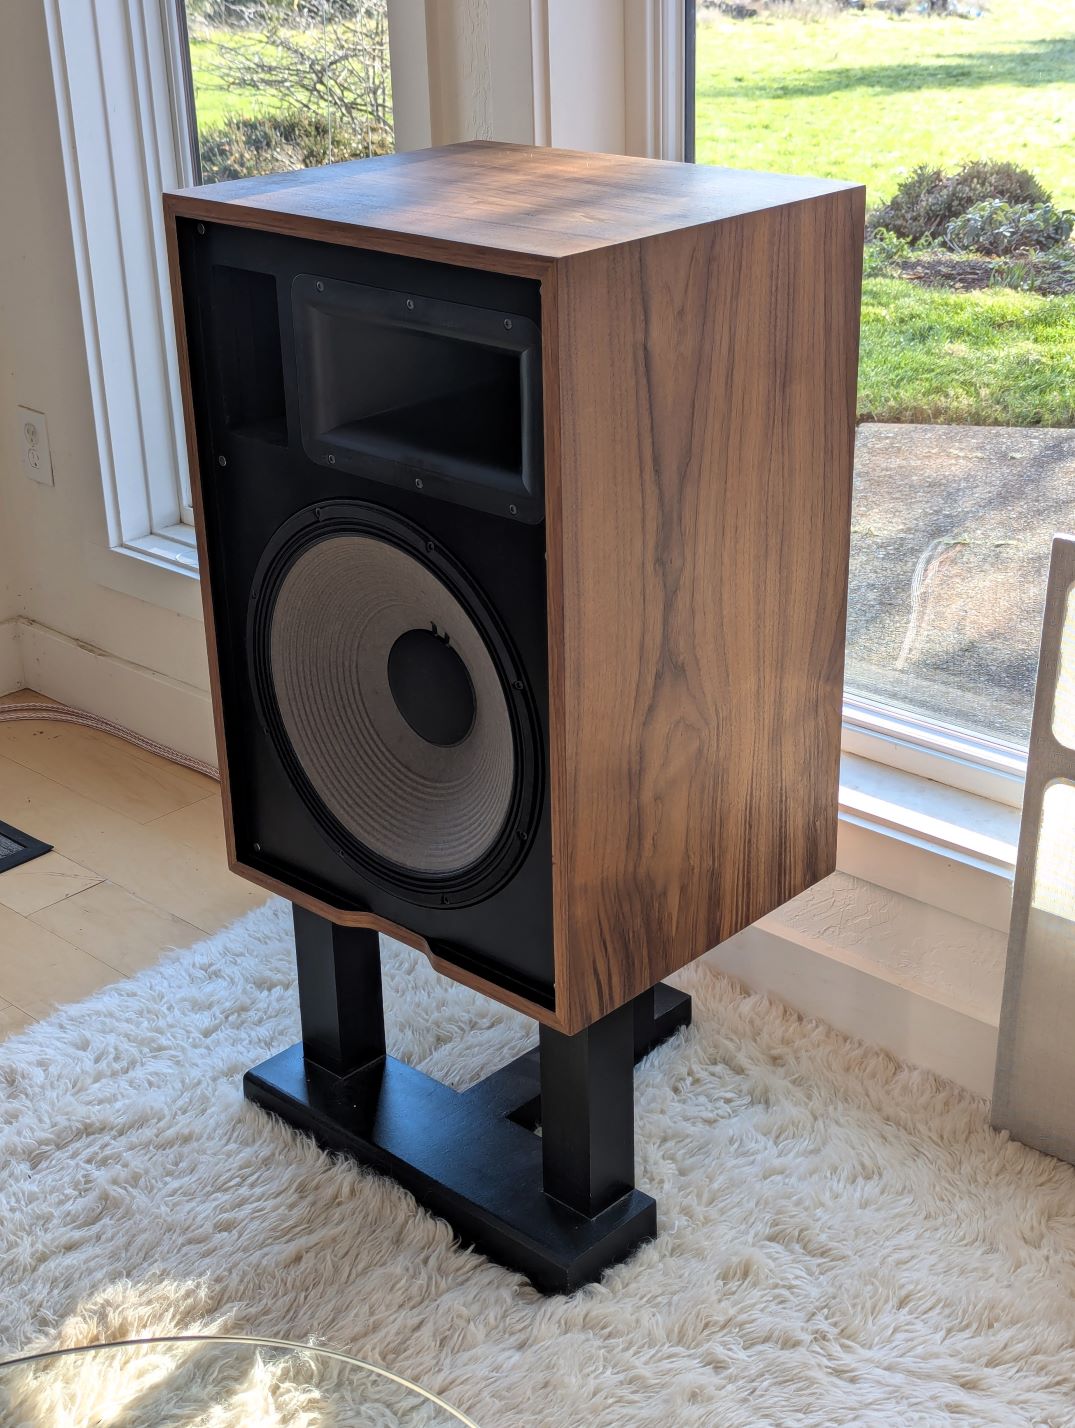
I began finishing by applying a few coats of satin black lacquer-based enamel paint to the front baffles and around the recesses for the terminal plates using Mohawk M104-S224. There are some light chisel marks that show through the paint along the edges where I removed excess glue but they're not obvious. In hindsight I should have spent more time sanding and prepping the baffles but any defects are going to be hidden behind grill cloth most of the time.

Iron-on edgebanding was added next and it was mostly straightforward, although applying the strips to the bottom edge with the grill access relief required some ingenuity and a couple of attempts. I ended up using my hot air station (for SMD soldering) to melt the glue and a veneer scraper to press it on.

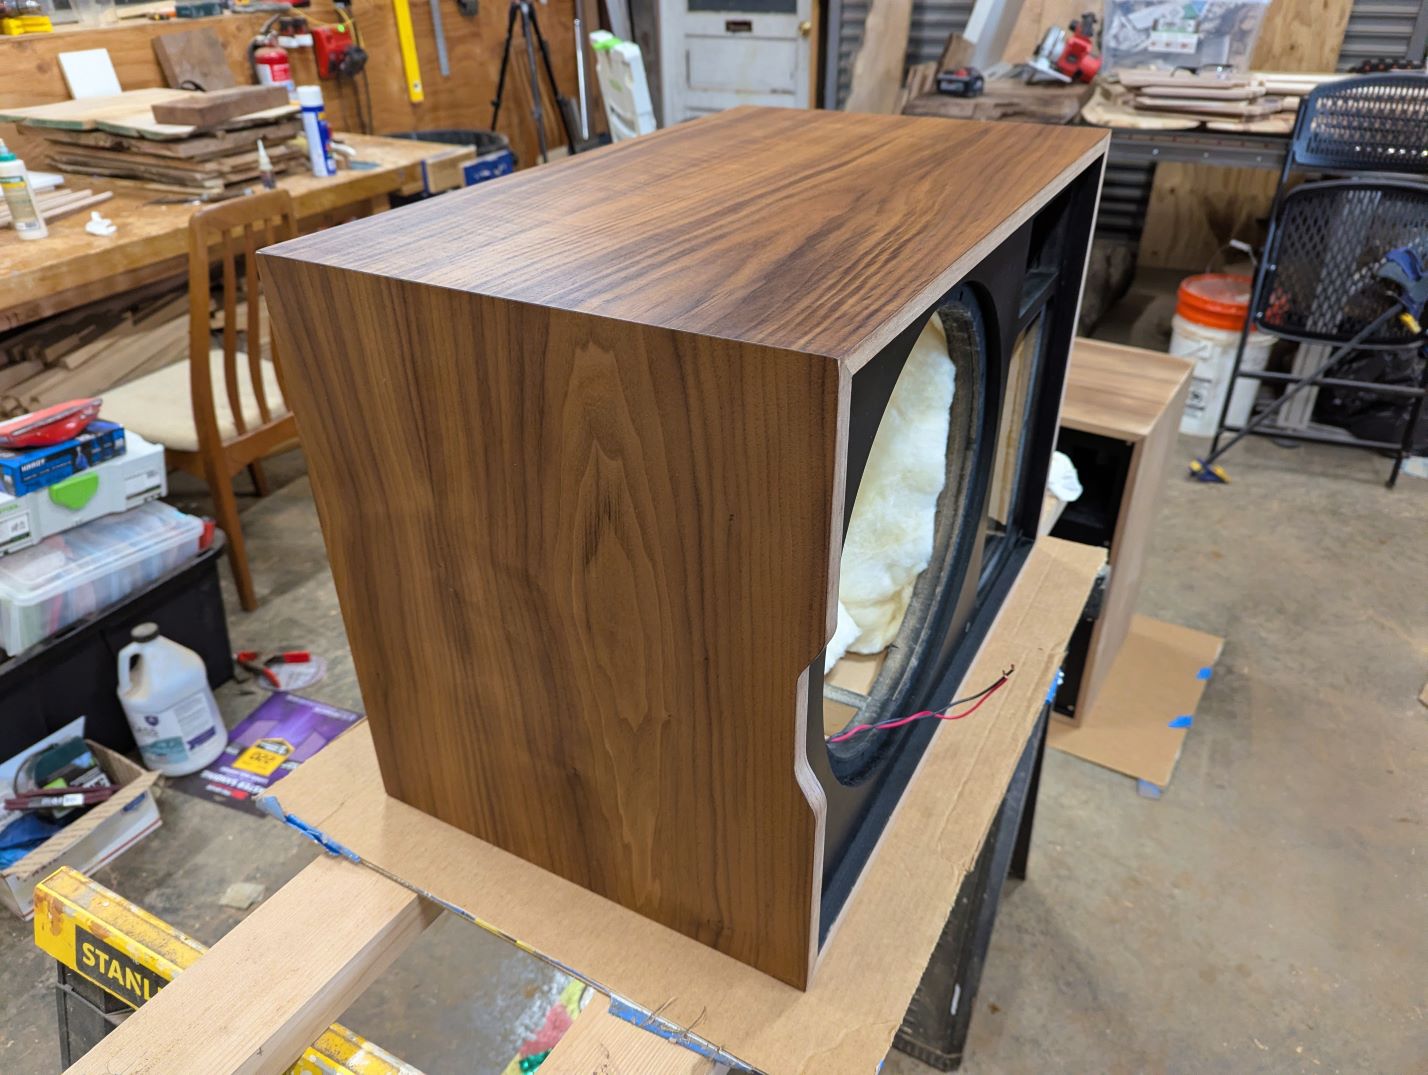
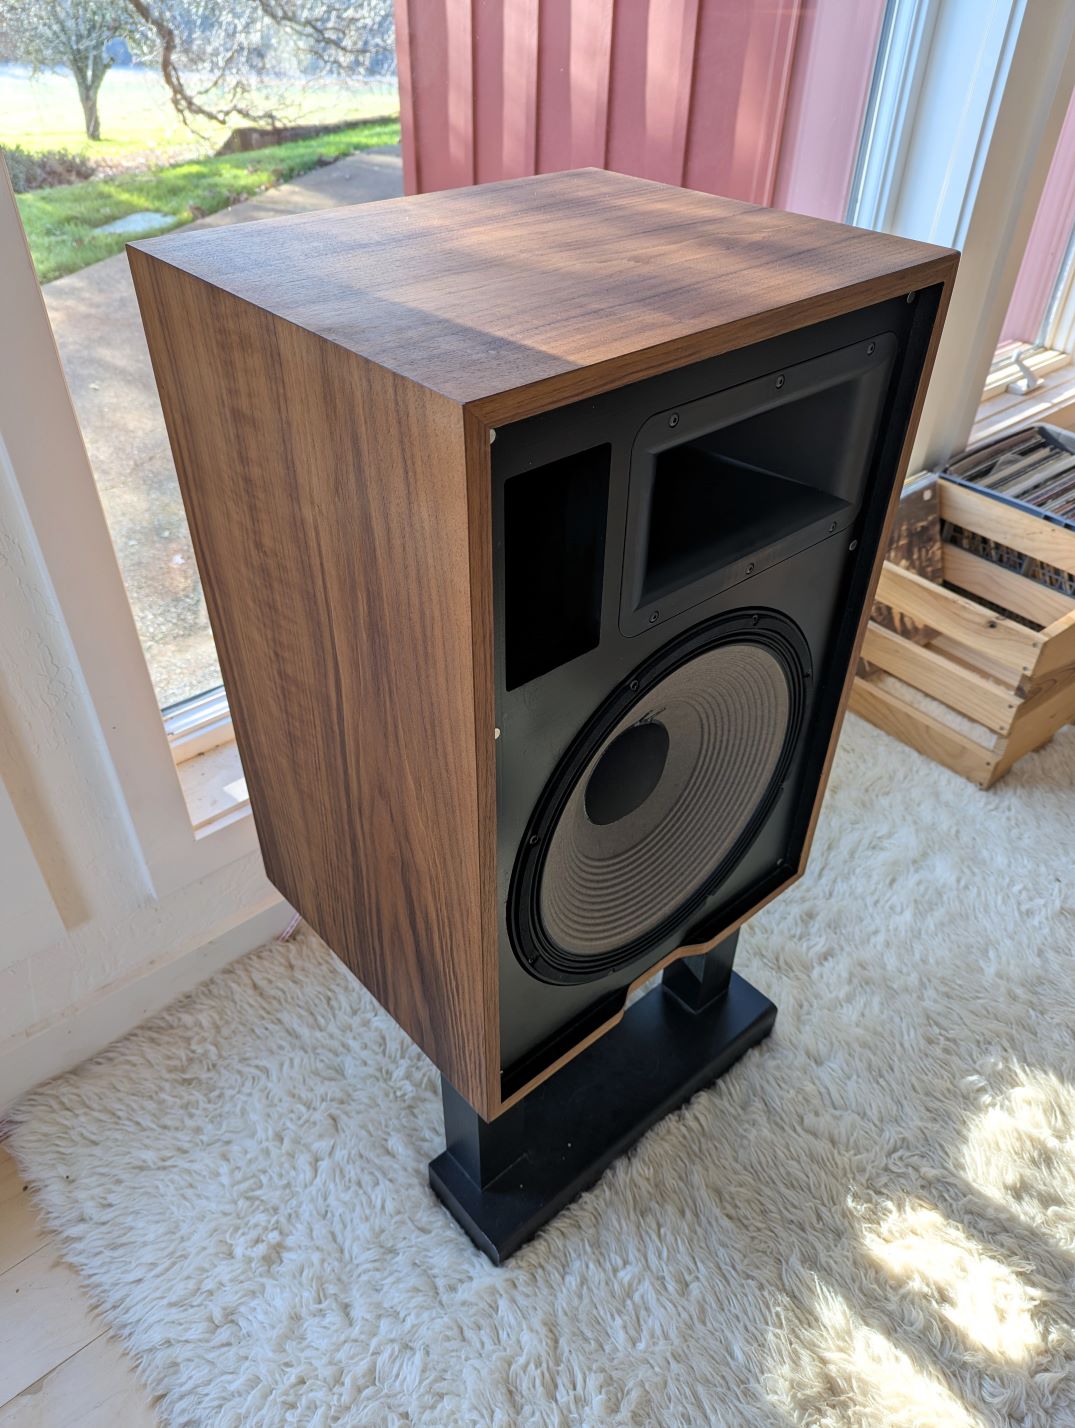
When I examined it again I wasn't especially happy with the grain pattern on the sheet of veneer I originally bought, so I went back to Tree Products and bought a couple more rolls (one extra to refinish a pair of Cornwalls...someday. You can see them in the photo below.). The selection was significantly better this time around and I found a sheet with some interesting grain patterns. The sections were cut out with a 1/2" oversize. Since the 4x8 sheet was divided into 16" strips I had to splice a couple segments together to have sufficient width for the backs.

Speaking truthfully, I wasn't looking forward to the veneering part since recovering from a mistake here would be exponentially more difficult than fixing an error during any other step of the process. After digesting a few hours of youtube videos on the subject I gained enough confidence to dive in, starting with the backs.

I proceeded to do the sides, then the tops and bottoms.


To my amazement, the cabinets turned out looking pretty good!

|
|
|
|
|
|
|
|
|
|
|
|
| Re: My 4 Pi Build [message #99179 is a reply to message #96988] |
Wed, 21 January 2026 14:14 |
Unity_Coupled
Messages: 20
Registered: September 2023
|
Chancellor |
|
|
I got tired of looking at the bare, pale walnut veneer and started researching finishing options.
A couple of seasoned woodworkers in my circle suggested Rubio Monocoat, which in theory takes only one application and is, as one of them put it, "idiot-proof" (we'll see about that!). I decided to go with the "pure" color which is untinted and should yield a natural oiled finish. This stuff is surprisingly expensive.
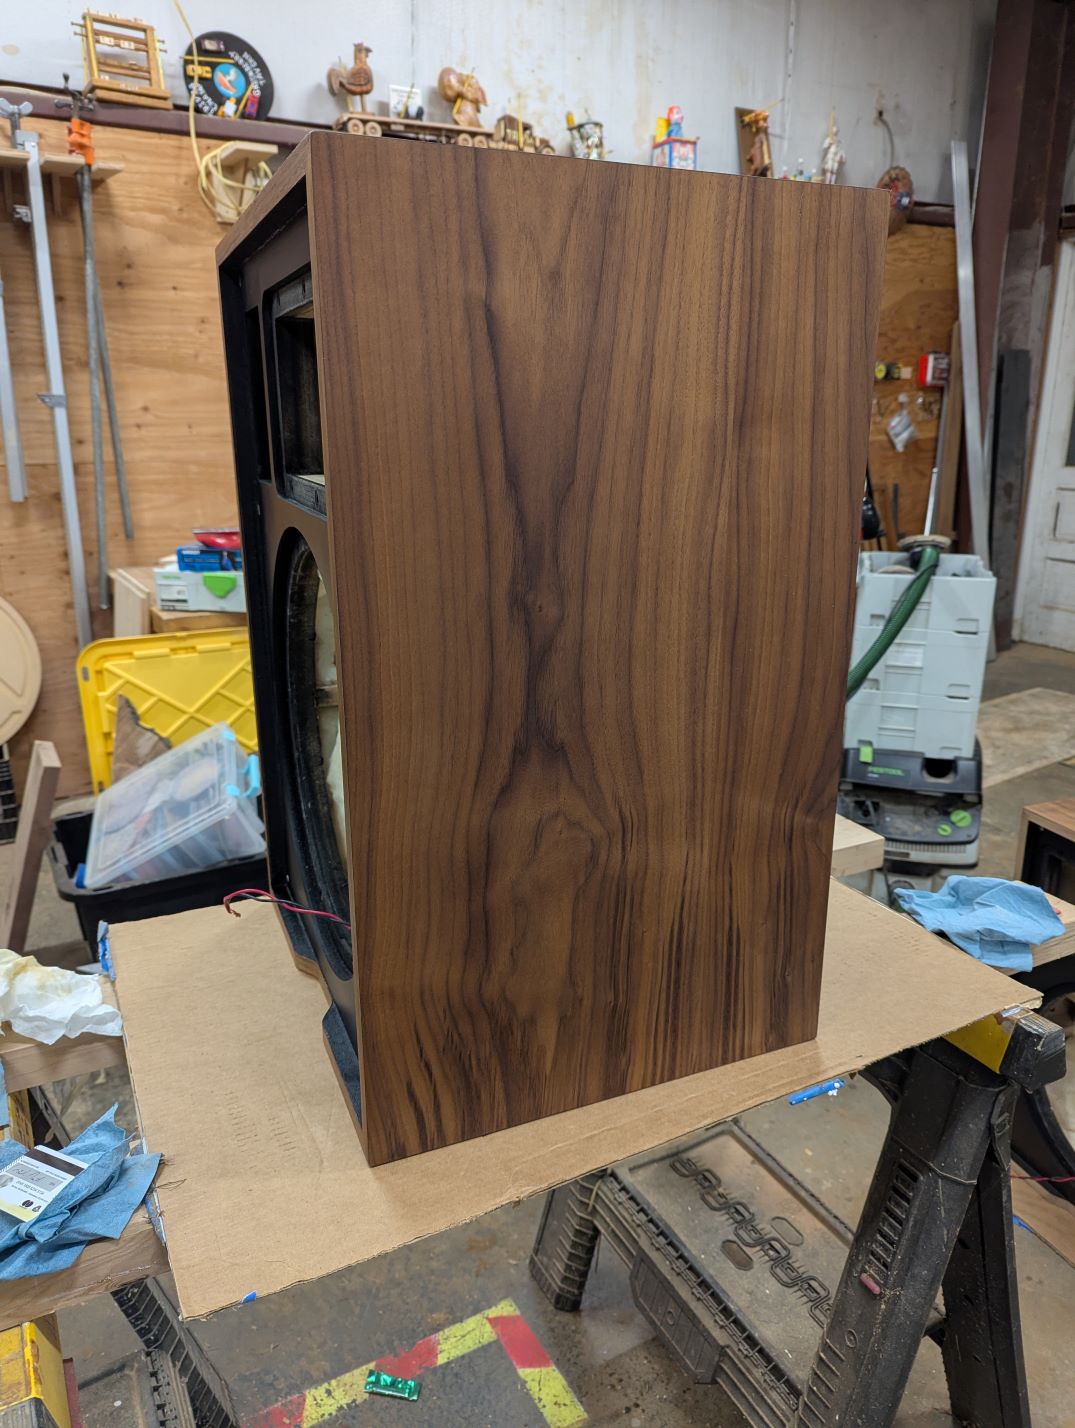
I admit I was somewhat apprehensive about the pronounced striping in the grain, but it's growing on me. If I did this build over again I would still try and find some "cleaner" veneer, although I like how it speaks to the unpredictability of natural wood.
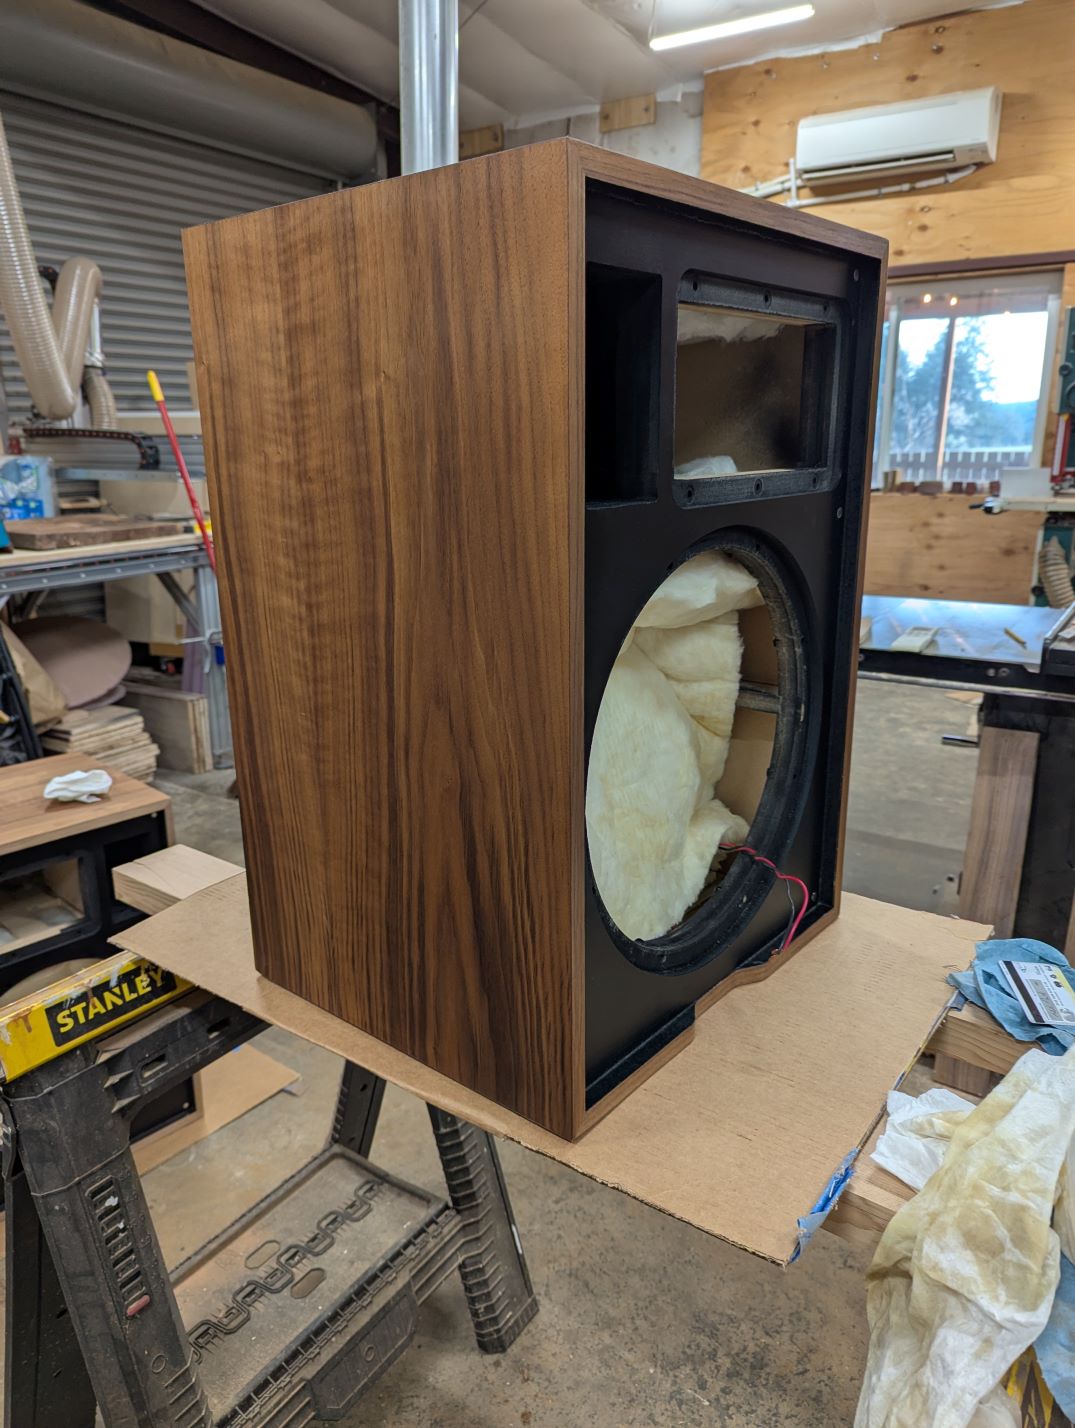
You can also see I added a 15" square piece of R13 insulation between the woofer and the lower brace. It seems to help to tighten the upper-midbass region but I don't have data to back it up. I think I might've used R11 in the rest of the cabinet which could contribute to the speakers' slightly elevated midbass. I still ought to take some measurements one of these days.
Some photos of the speakers complete... In the sunlight I can see a few thin spots in the finish as well as some finger marks, so some touchup may be needed, or it might possibly benefit from a second coat.
...And the listening space.
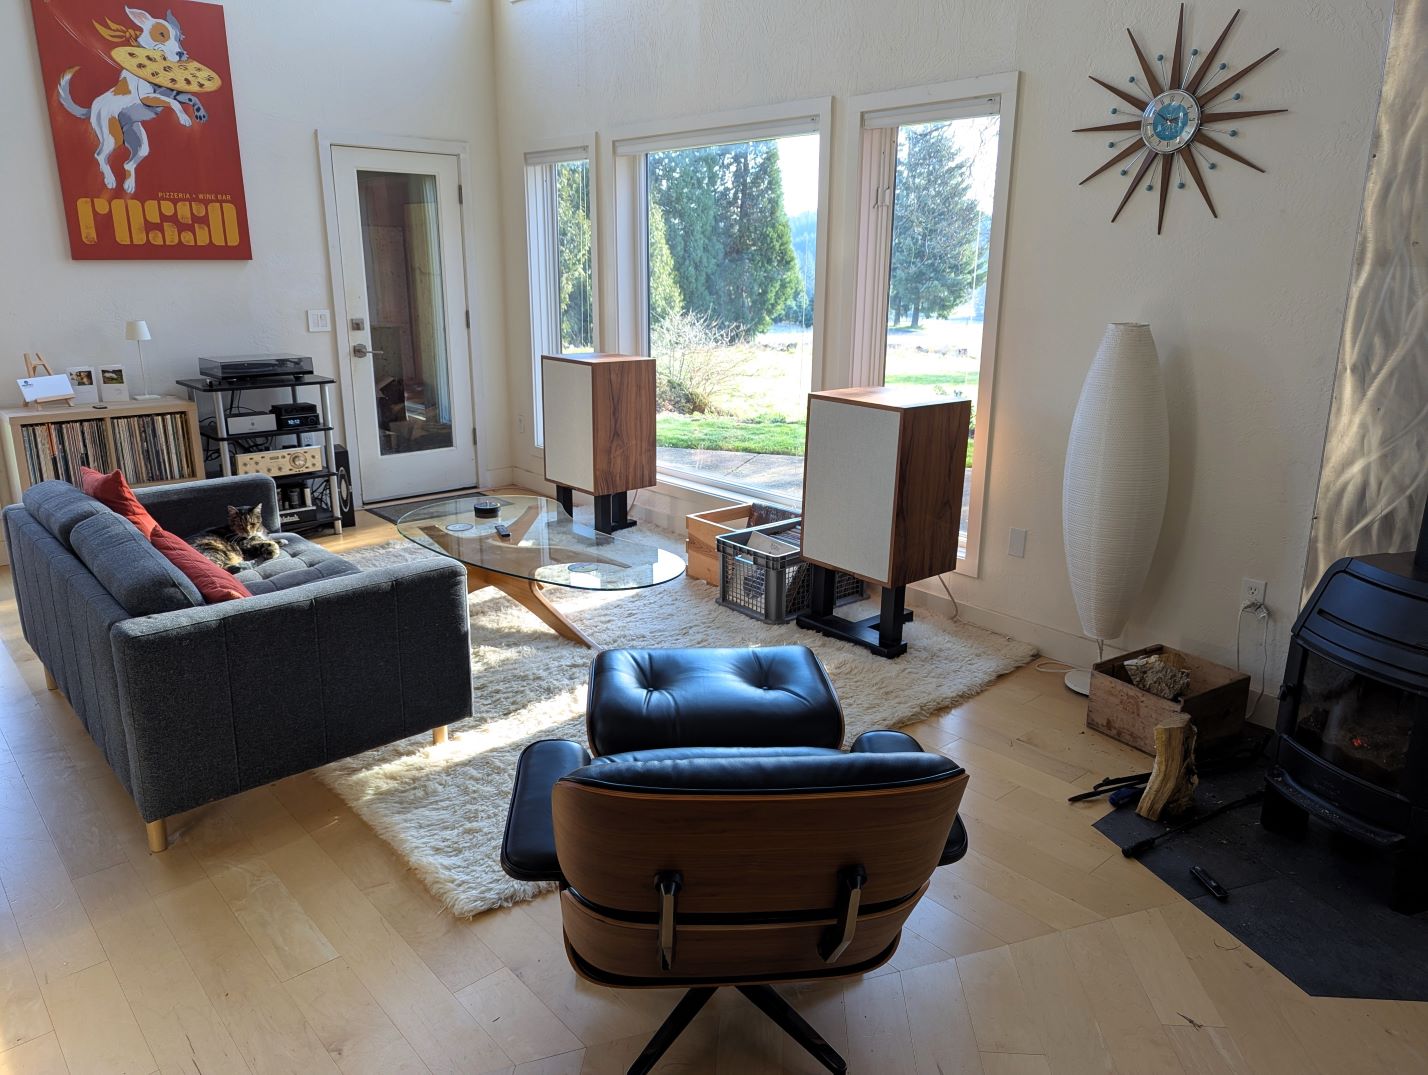
We usually have the speakers pointed straight out towards the kitchen as that's where we spend a lot of time, and frankly I think it looks better...but I toe them inward for "dedicated" listening sessions.
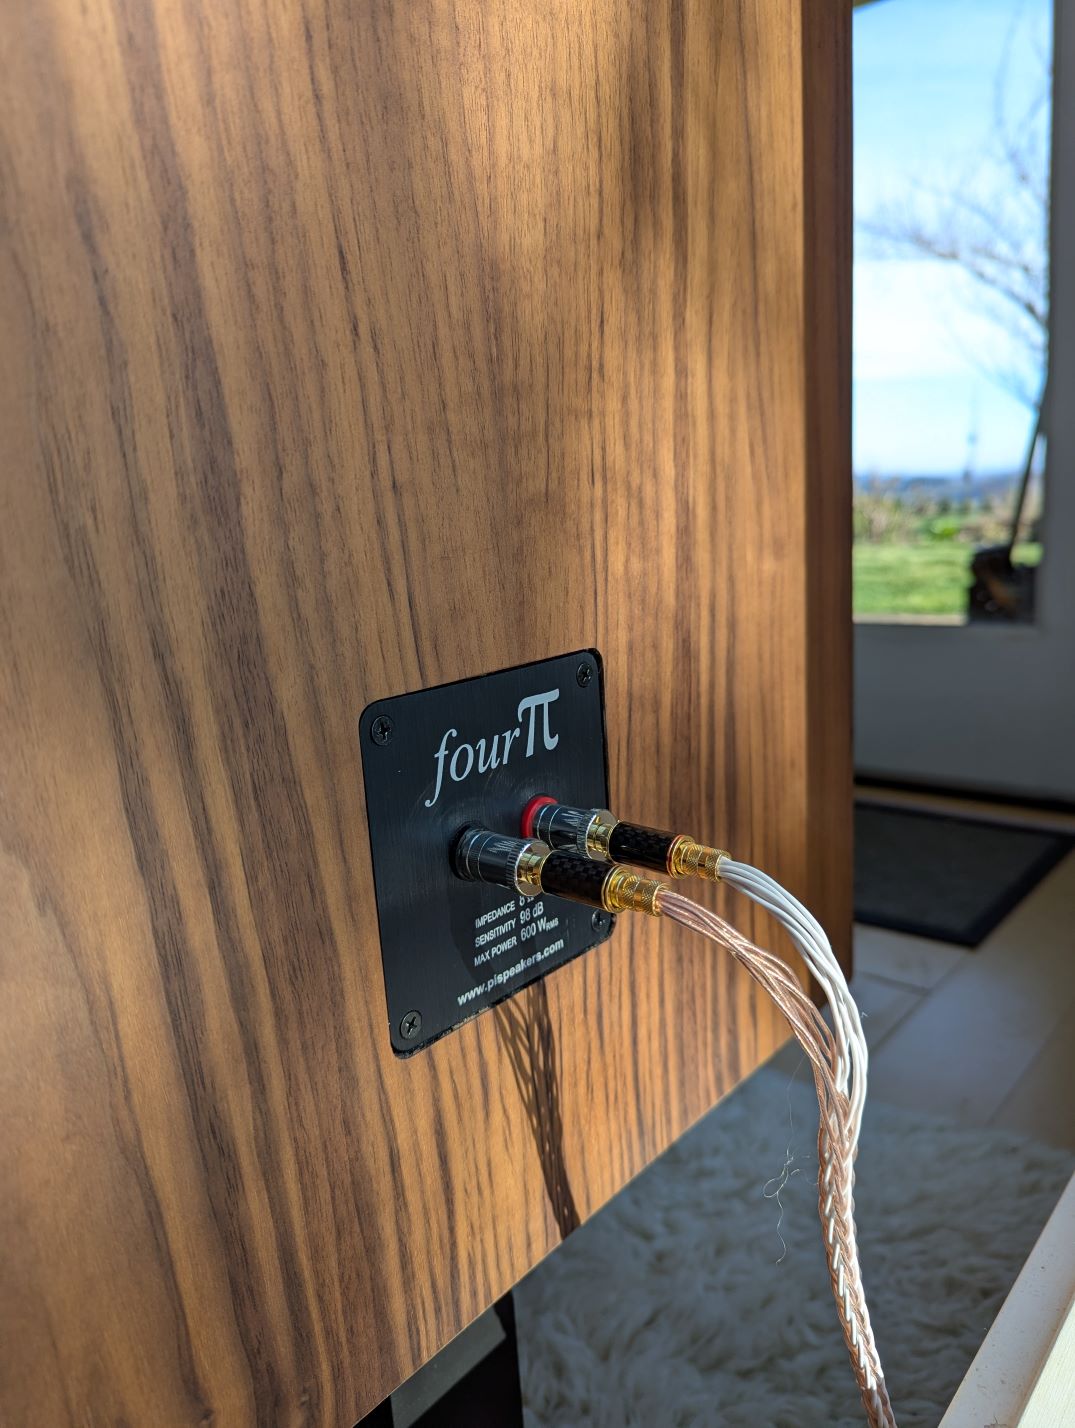
At some point I'll get a couple of "π" badges made for the grilles but in the meantime I'm happy to sit back and enjoy them. I'm having trouble finding the right words to articulate how good the Pi's sound on my MC-30's. I'm over the moon.
|
|
|
|
|
|


 Posting Rules
 Members
 Search
 Help
Help Register
 Login
Login Get a T-Shirt!


")

