Home » Sponsored » Pi Speakers » My 4 Pi Build
My 4 Pi Build [message #96988] Wed, 13 September 2023 21:20 Go to next message
Unity_Coupled is currently offline  Unity_Coupled
Messages: 11
Registered: September 2023
Chancellor
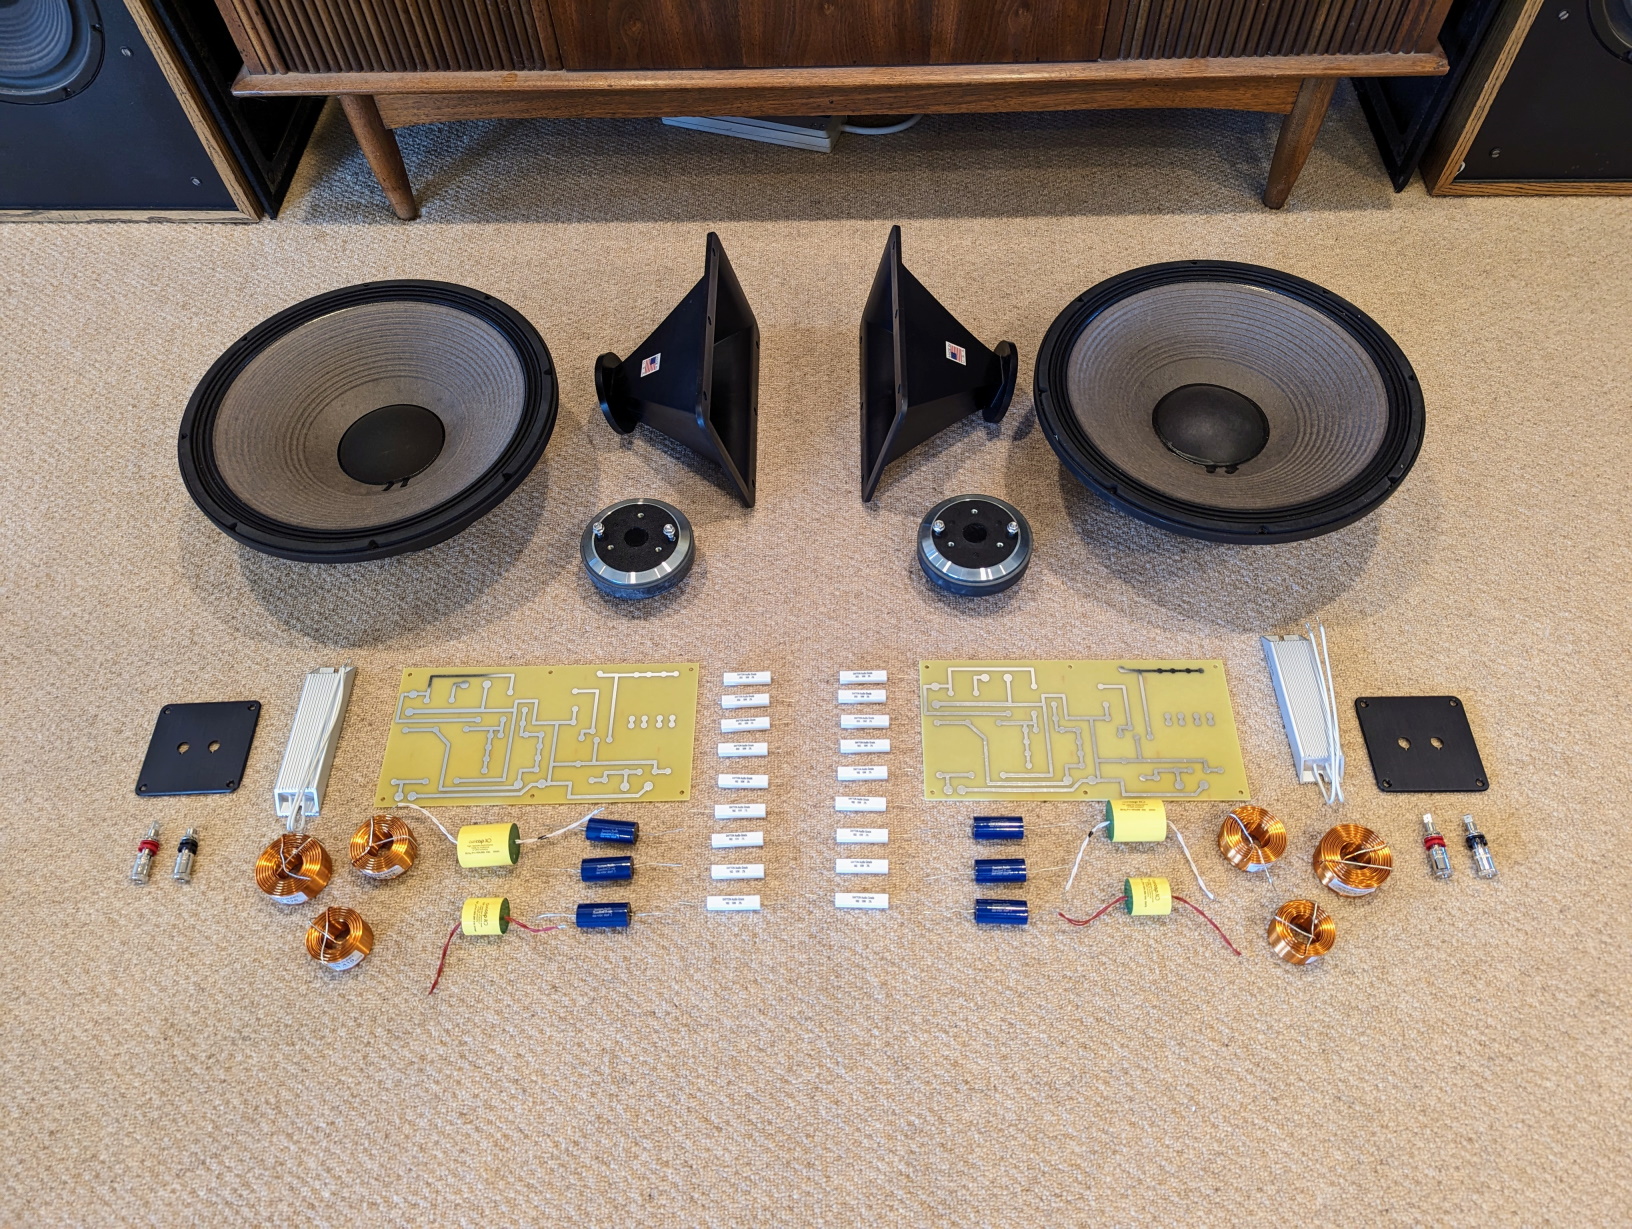
I've been itching to take on another high end audio project for a while, and became interested in Wayne's work, and the 4 Pi in particular after lurking around here for the past several years. Of course I don't need any more speakers, or projects for that matter...the farm keeps me busy enough as it is! But I thought this would be a fun departure from the usual rigamarole.

Wayne kindly provided the plans for the 4 Pi and I ordered the waveguides and crossover PCB's from him. I also took advantage of a few Labor Day sales and bought all the components I needed. I opted for a high end build with 2226HPLs and a pair of Denovo DNA-360's I had, which feature nearly identical performance and characteristics to the DE-250. The crossovers will use Auricaps for the high pass circuit and Z-caps for the low pass, and 15ga inductors all around. Resistors are the standard Dayton ceramic types, as I'm not convinced that resistors have a significant impact on the sound. I may still swap them to the Mills later on.

The plan will be to style the speakers similarly to Jensen's build here, with a couple changes: https://audioroundtable.com/forum/index.php?t=msg&goto=91675& I will be flush-mounting the drivers, and mine will have removable grill cloth inserts that come flush with the edges of the cabinets. I'm hoping to find some textured fabric that's akin to what Klipsch used on many of their heritage products to complete the look.

Well, enough blabber. Let's get to it!
/forum/index.php?t=getfile&id=3346&private=0

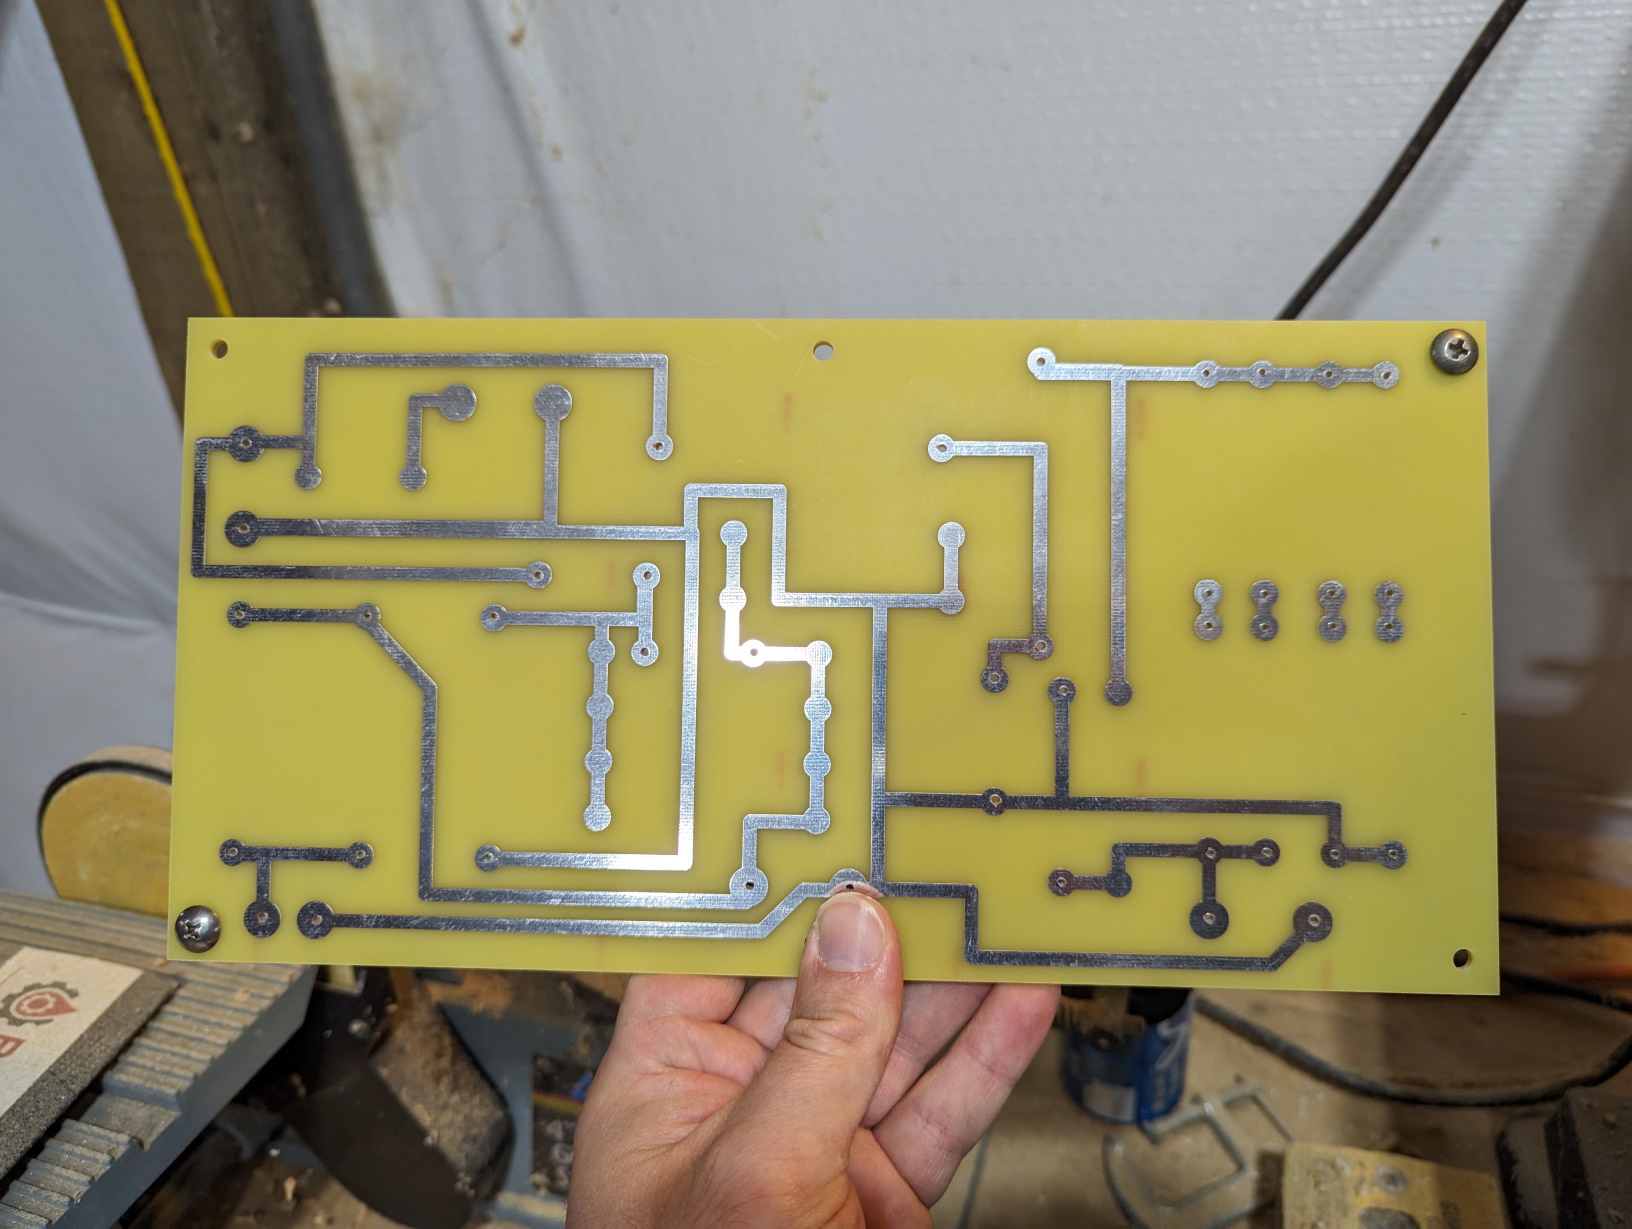
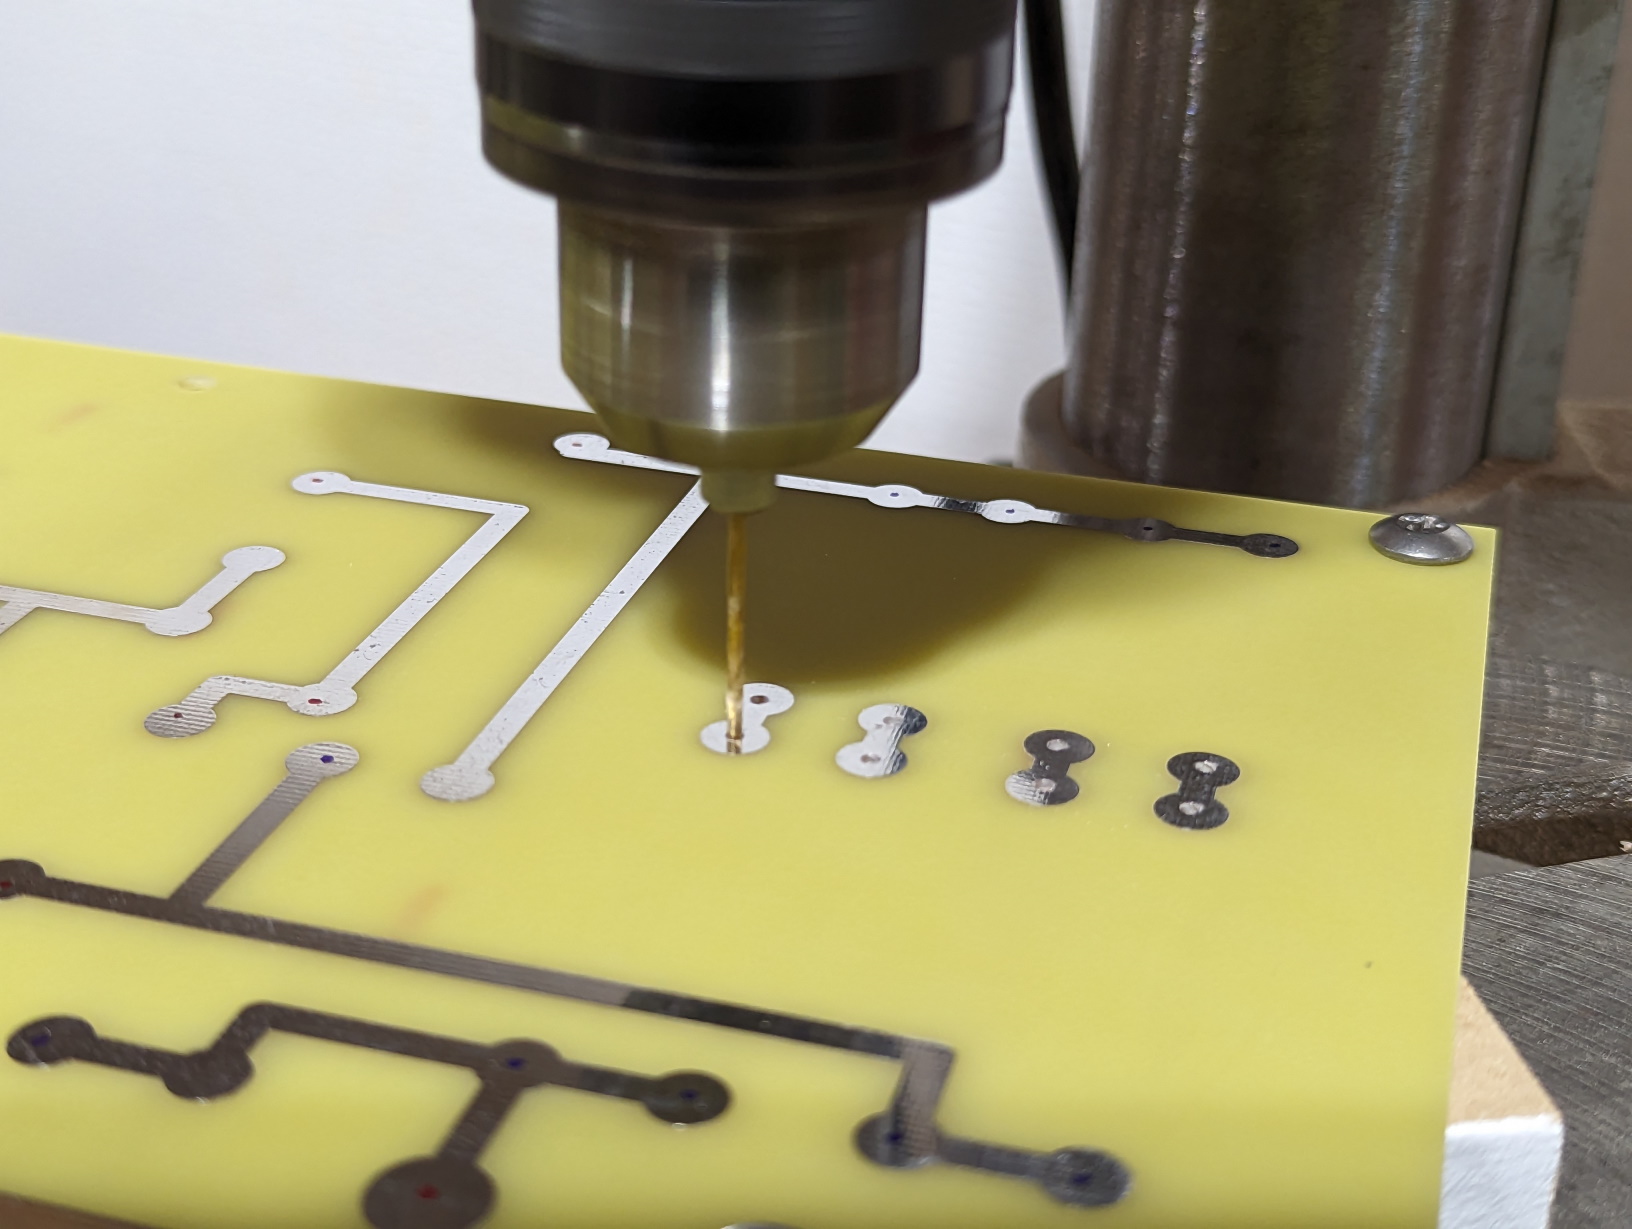
First order of business is to build the crossovers. I started by fastening both PCBs together and drilling holes in the appropriate spots. I used a 1/16" drill for the resistors and the Z-caps, and 5/64" for everything else.
/forum/index.php?t=getfile&id=3347&private=0

/forum/index.php?t=getfile&id=3348&private=0

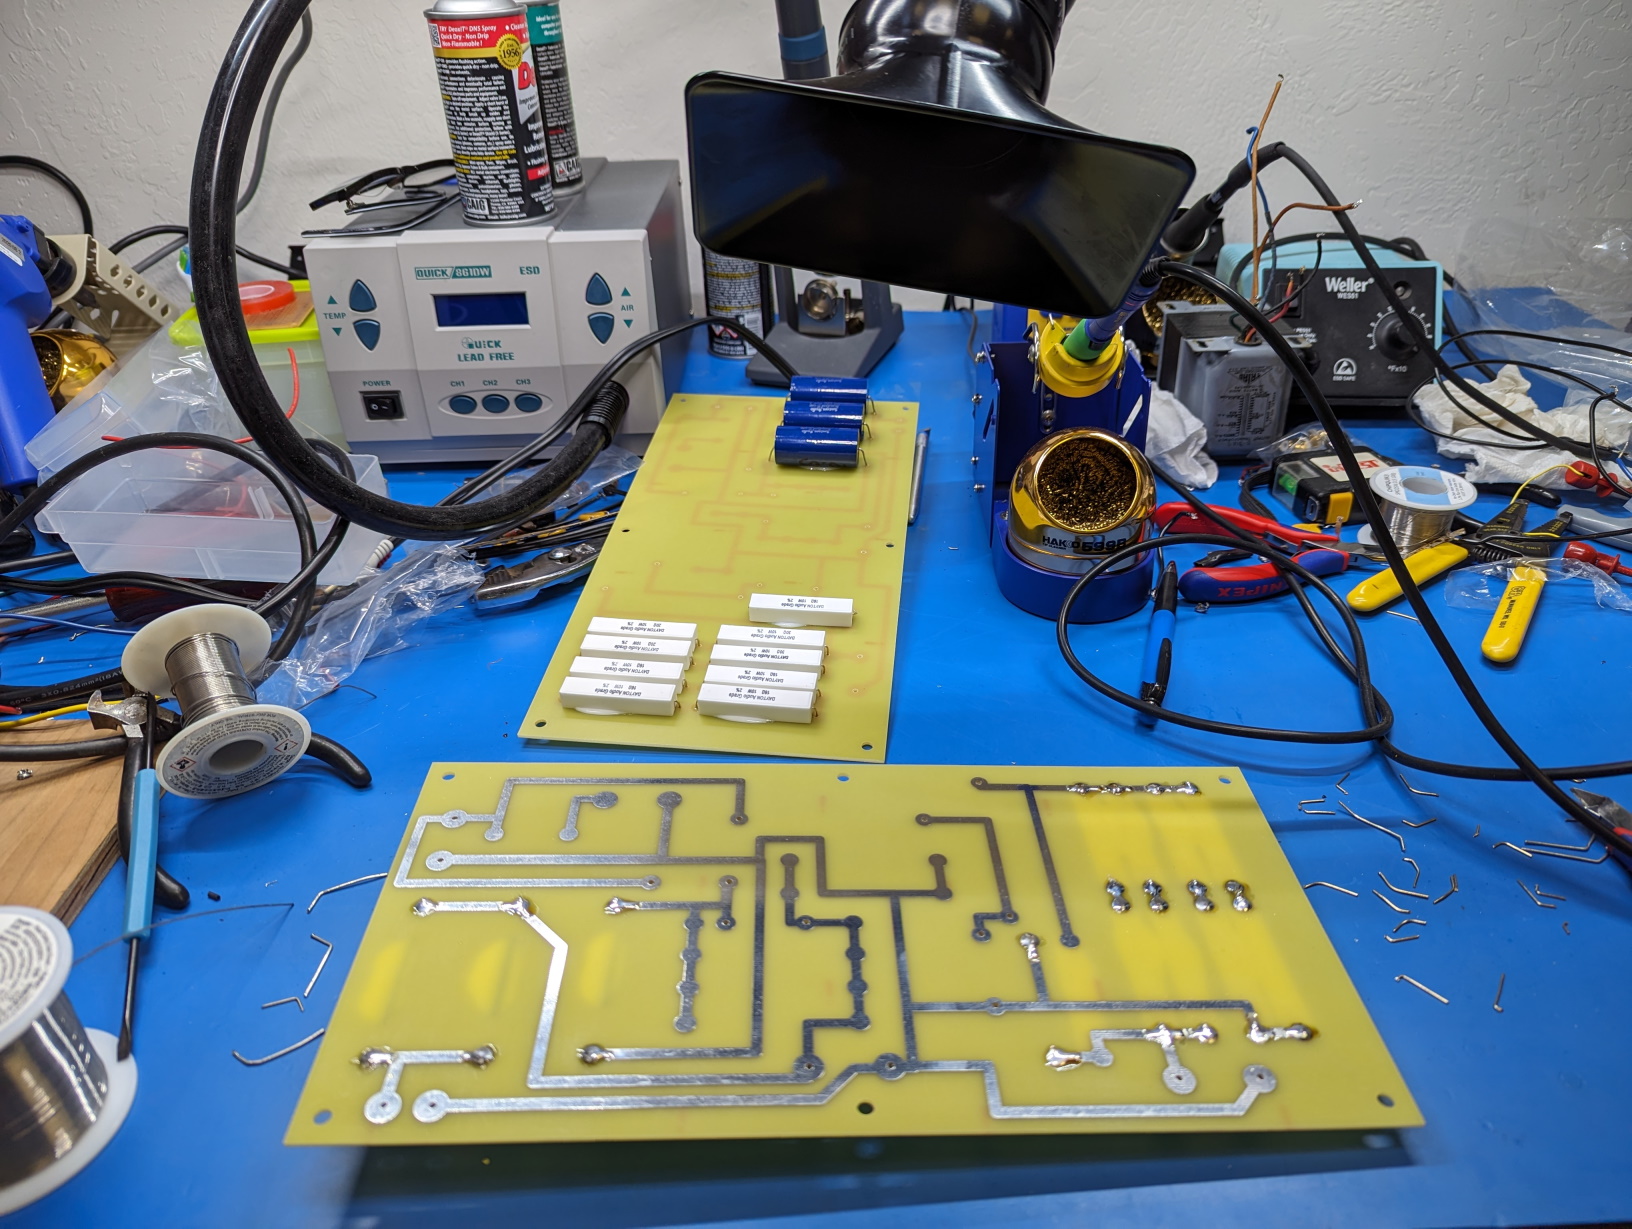
Components being glued to the board. I tightly kinked the leads underneath so they stay put.
/forum/index.php?t=getfile&id=3351&private=0

First round of soldering...
/forum/index.php?t=getfile&id=3352&private=0

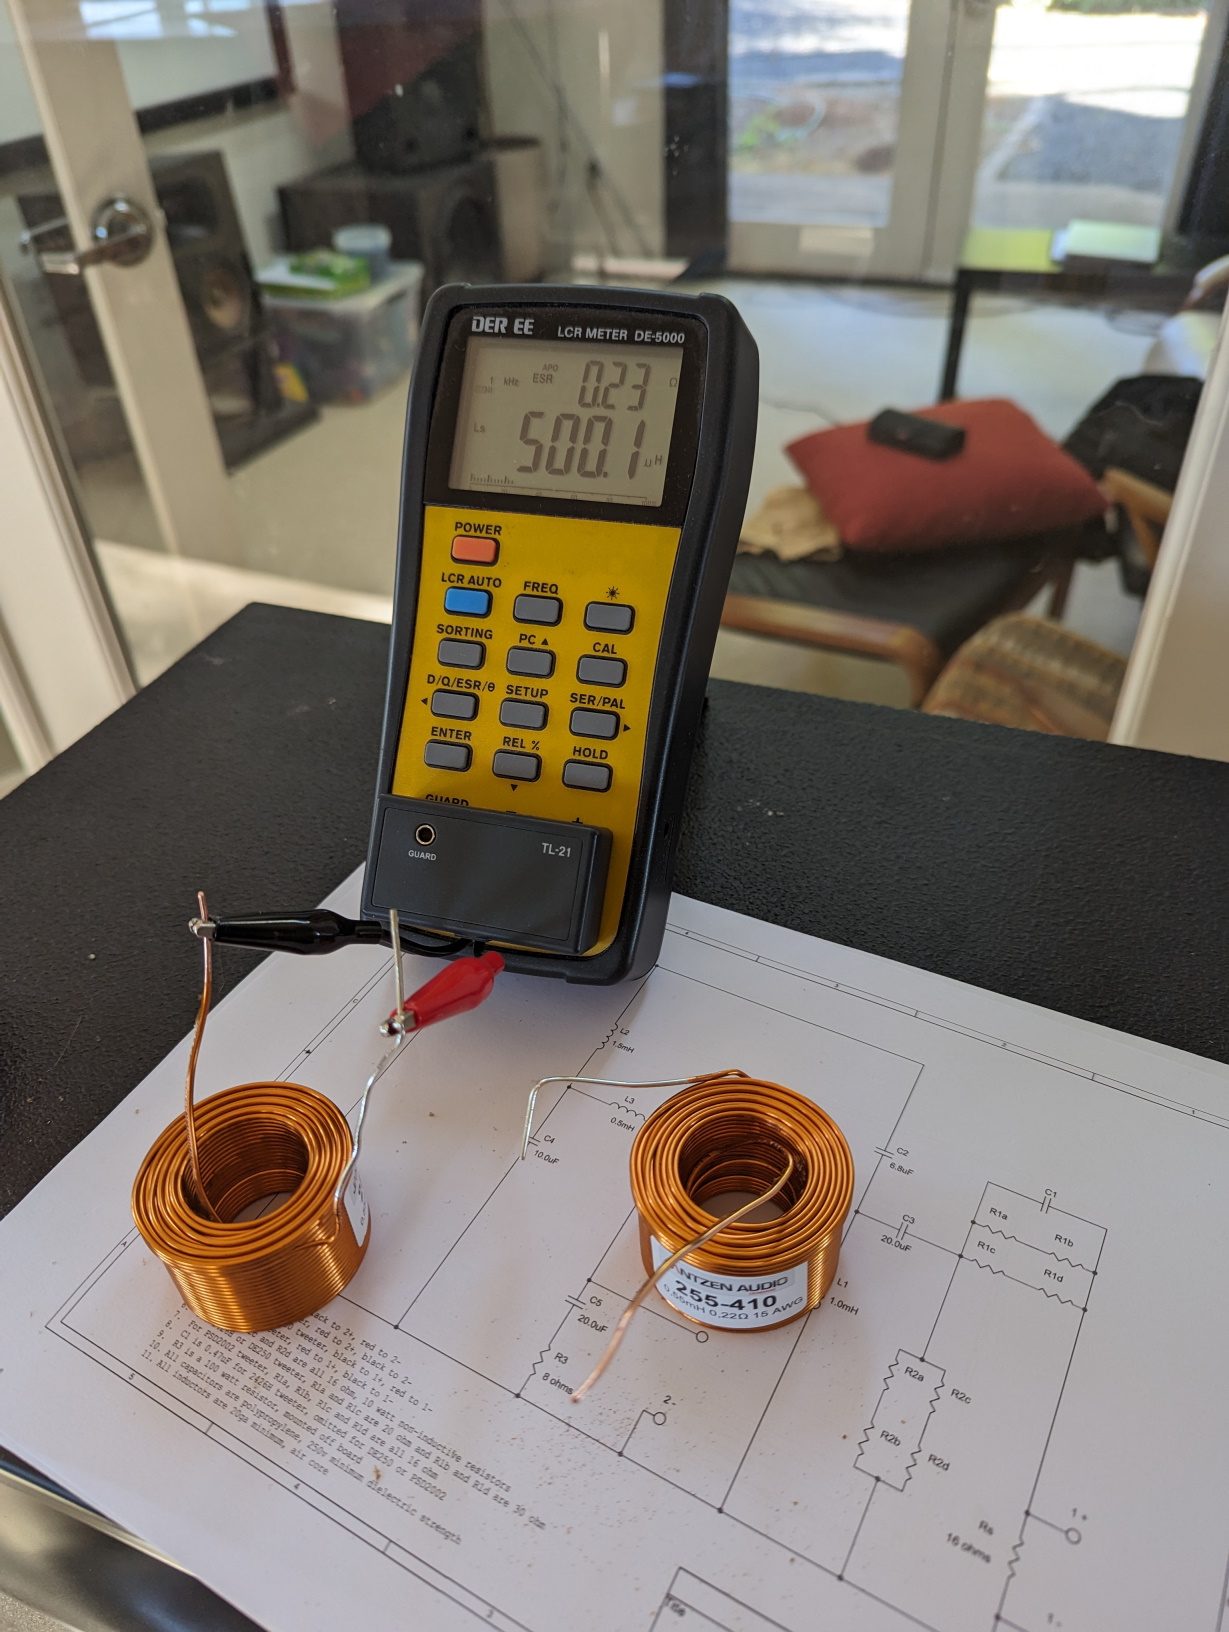
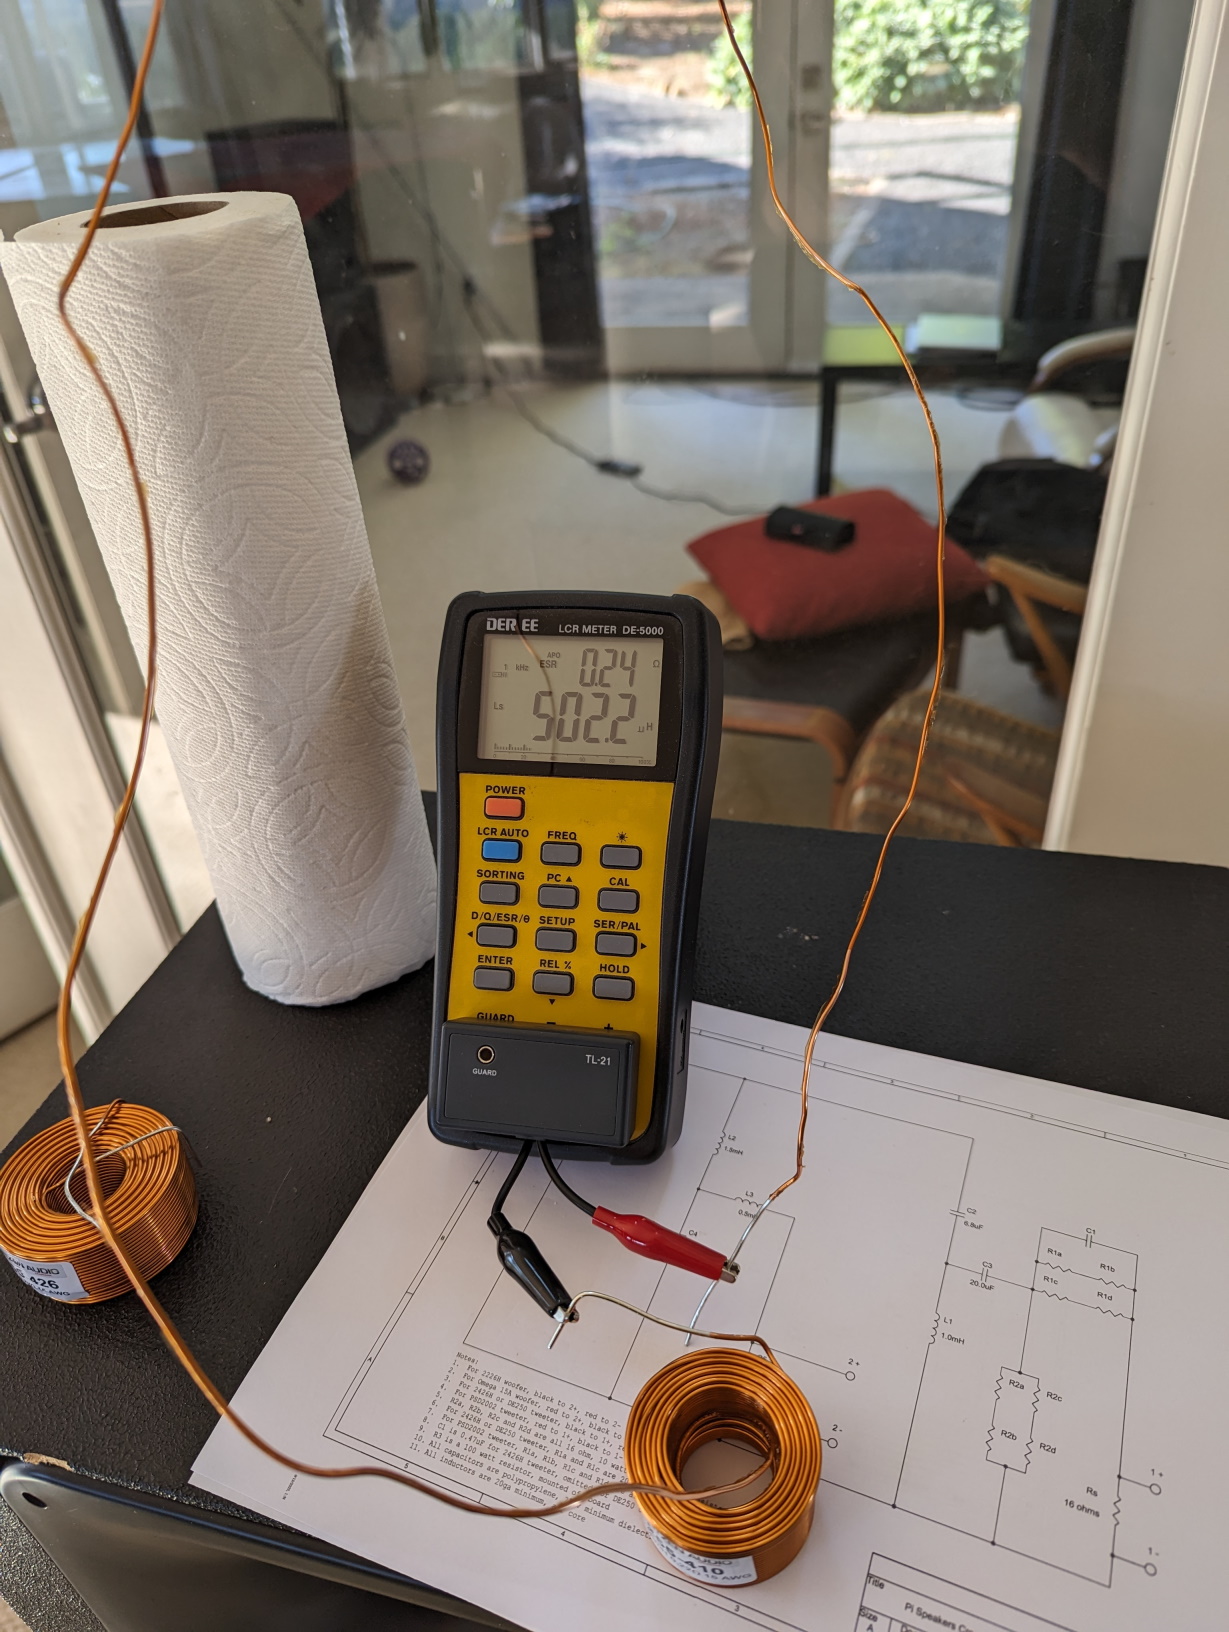
Parts Express did not have the 15ga. Jantzen inductors in 0.5mH, so I ordered them in 0.55mH and unwound them from the inside until I achieved the desired value.
/forum/index.php?t=getfile&id=3349&private=0

Close enough!
/forum/index.php?t=getfile&id=3350&private=0

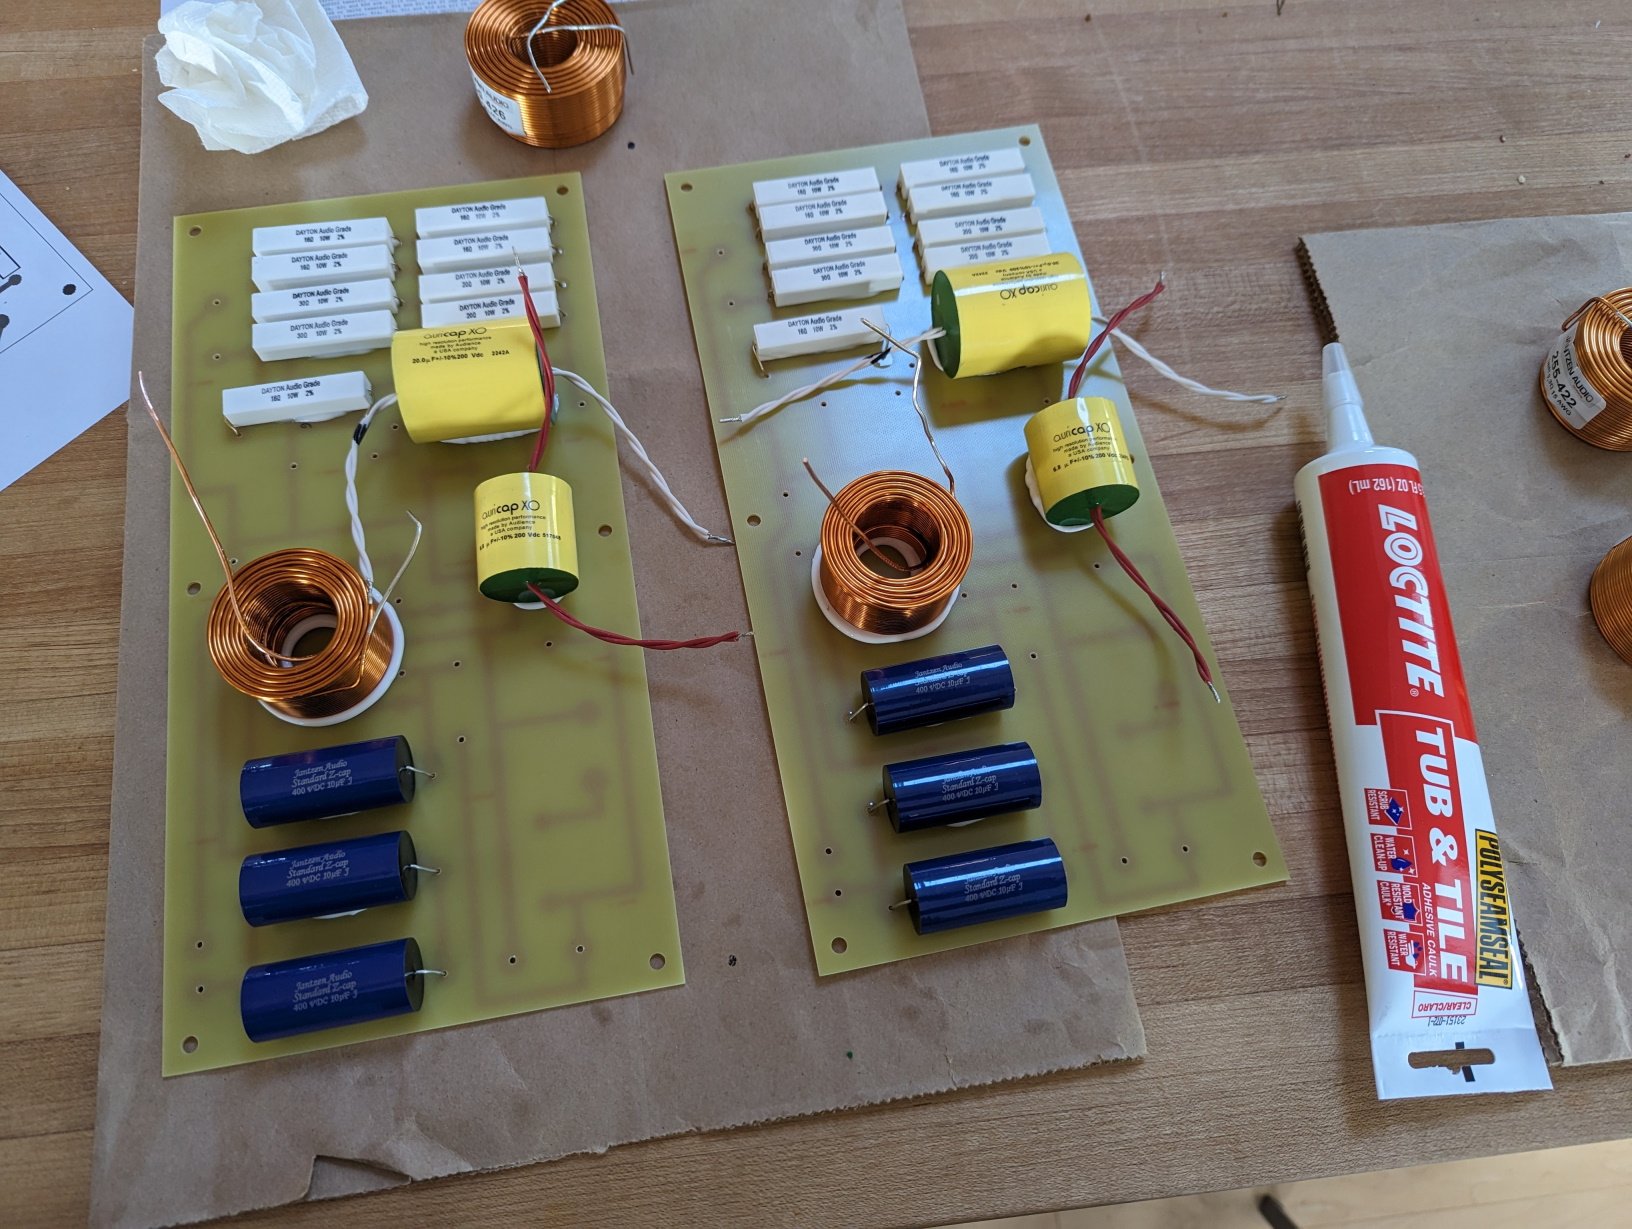
More components being adhered to the board. Audience recommends connecting the outside foil towards the input side of the high pass circuit, and the other side towards the tweeter input. I'm skeptical that it makes a difference but I did it anyway.
/forum/index.php?t=getfile&id=3353&private=0

This is where I stopped for the day, as I had other duties to attend to.
Re: My 4 Pi Build [message #96989 is a reply to message #96988] Wed, 13 September 2023 21:47 Go to previous messageGo to next message
compaddict is currently offline  compaddict
Messages: 86
Registered: April 2014
Location: Auburn, CA USA
Viscount
Nice!
Re: My 4 Pi Build [message #96990 is a reply to message #96988] Thu, 14 September 2023 08:29 Go to previous messageGo to next message
Wayne Parham is currently online  Wayne Parham
Messages: 18786
Registered: January 2001
Illuminati (33rd Degree)

Let the fun begin!
Re: My 4 Pi Build [message #96995 is a reply to message #96988] Sun, 17 September 2023 00:21 Go to previous messageGo to next message
Unity_Coupled is currently offline  Unity_Coupled
Messages: 11
Registered: September 2023
Chancellor
It might be a little early in the project, but I've been mulling over finishing options while I wait for the silicone to cure on the crossovers. I always liked the mid-century modern aesthetic of vintage Dynaco and A.R. speakers with light-colored grilles, and I'd like to try and emulate that in the Pis.

The cabinets will be constructed with MDF...I'm thinking I'll veneer them in quarter-sawn American Walnut, which will then be oiled and rubbed into a satin finish. Baffles will be doubled and painted black.

Grille cloth will be stretched over frames that will attach to the fronts of the cabinets with velcro. I've found a couple fabrics that I think would look the part.

Here's one: https://www.midwestspeakerrepair.com/shop/speaker-cloth-foam/grille-cloth/designer-architect-cloth/gc-144-off-white-speaker-fabric/

Here's another ("swan" color): https://shop.guilfordofmaine.com/acoustic-fabric/intermix/

Finally, I'm hoping to take it the whole 3.14 yards and produce a couple of "π" badges that will mount to the grille fronts.

Here's a render depicting how I hope these will end up looking...

/forum/index.php?t=getfile&id=3355&private=0
Re: My 4 Pi Build [message #96996 is a reply to message #96995] Sun, 17 September 2023 09:18 Go to previous messageGo to next message
Wayne Parham is currently online  Wayne Parham
Messages: 18786
Registered: January 2001
Illuminati (33rd Degree)

That looks really sweet! I love it!

Sometimes, when repairing an old tube radio, the grille cloth will be discolored or ripped and needs replacement. When I encounter one of those, I usually get a replacement cloth at Antique Electronic Supply. Old radios usually have a patterned cloth, but sometimes have a solid color like what you're looking for. So AES might be a good source for you too.
Re: My 4 Pi Build [message #96997 is a reply to message #96988] Sun, 17 September 2023 14:11 Go to previous messageGo to next message
Unity_Coupled is currently offline  Unity_Coupled
Messages: 11
Registered: September 2023
Chancellor
Thanks, Wayne. AES has been my go-to supplier for parts whenever I work on tube gear, although Tube Depot has had better prices on F&T caps lately. I just placed an order for a Sansui SM-80 I'm working on...the chassis is chock-full with old PIO caps! Not the good (sealed) kind that last, unfortunately, as most are leaking out. I looked through their selection of speaker fabric but nothing resonated with me.
Re: My 4 Pi Build [message #97005 is a reply to message #96997] Tue, 19 September 2023 06:58 Go to previous messageGo to next message
Rusty is currently offline  Rusty
Messages: 1187
Registered: May 2018
Location: Kansas City Missouri
Illuminati (3rd Degree)
I like your light white grill cloth contrasting with the dark walnut like finish. That is a classic style that never goes out of it. Rich walnut veneer done well is beautiful I think. You can DO it!
Re: My 4 Pi Build [message #97006 is a reply to message #96988] Tue, 19 September 2023 09:07 Go to previous messageGo to next message
Unity_Coupled is currently offline  Unity_Coupled
Messages: 11
Registered: September 2023
Chancellor
Thanks, Rusty. I've never veneered anything in my life, but I'm fortunate to have a brother who is a cabinetmaker and could guide me through it.

I got tired of waiting for the silicone to cure, so I tossed the crossover boards in my food dehydrator and left them for 24 hours at around 115F. This proved to be rather effective, and after letting the assemblies return to room temperature I finished soldering them up.
/forum/index.php?t=getfile&id=3356&private=0

Here are the crossovers undergoing burn-in. I shunted across the caps in the zobel circuit so the 100W resistor would act as a dummy load, and added a 8R resistor to the tweeter output.
/forum/index.php?t=getfile&id=3357&private=0
Re: My 4 Pi Build [message #97007 is a reply to message #97006] Tue, 19 September 2023 10:00 Go to previous messageGo to next message
Wayne Parham is currently online  Wayne Parham
Messages: 18786
Registered: January 2001
Illuminati (33rd Degree)

That silicon takes forever to cure, doesn't it?!!

Your dehydrator idea is hysterical, but clever too!

I always let the silicon cure for at least a couple weeks before shipping. But really, I have found it takes months to fully cure. After a few hours, the skin begins to form and within a day or so, it has hardened to the touch but the skin is actually very thin. After a few weeks, the skin has thickened enough to be strong enough for shipping, but even then, if the boards receive a really big impact, the adhesive can fail. When that happens, you can see that the inside has still not cured. I have found it doesn't fully cure - all the way through - for several months.
Re: My 4 Pi Build [message #97008 is a reply to message #97007] Tue, 19 September 2023 10:59 Go to previous messageGo to previous message
Unity_Coupled is currently offline  Unity_Coupled
Messages: 11
Registered: September 2023
Chancellor
It's taking a long time indeed. My goal was to reach the point where I could handle them (carefully) and finish the soldering, but there's still some white showing through the globs. I would leave them in the dryer for a whole week if I could, but we have several buckets of fruit from our garden that we need to preserve first. My one comment on the crossover PCBs is I wish the traces were arranged such that zip ties could be installed around the coils for extra security. I'm thinking about mounting the boards on the bottom of the cabs to minimize the stress of gravity.
Previous Topic: Heat sink, Heat exchange for driver/cabinet
Next Topic: Five 2226s are here!
Goto Forum:


Current Time: Sun Nov 24 10:11:31 CST 2024

Sponsoring Organizations

DIY Audio Projects
DIY Audio Projects
OddWatt Audio
OddWatt Audio
Pi Speakers
Pi Speakers
Prosound Shootout
Prosound Shootout
Miller Audio
Miller Audio
Tubes For Amps
TubesForAmps.com

Lone Star Audiofest