|
|
|
|
|
|
|
|
|
|
|
|
|
|
| Re: 3 PI build [message #79022 is a reply to message #78971] |
Wed, 22 January 2014 14:50   |
 BFP
BFP
Messages: 48
Registered: May 2009
|
Baron |
|
|
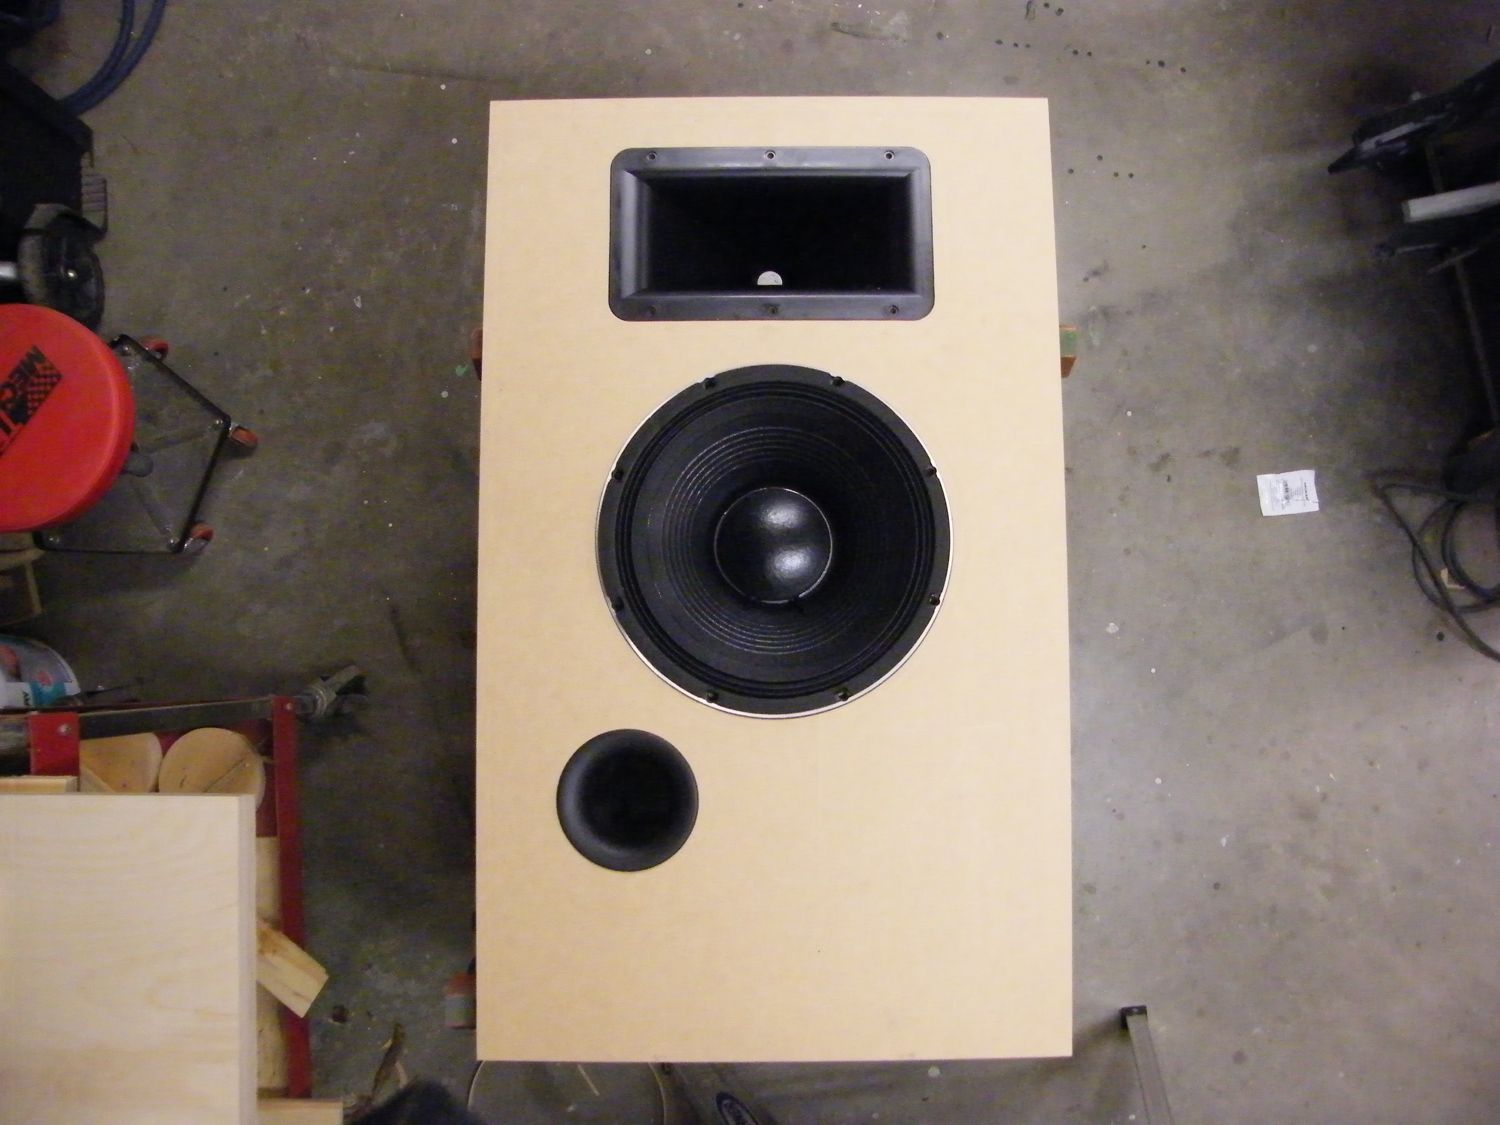
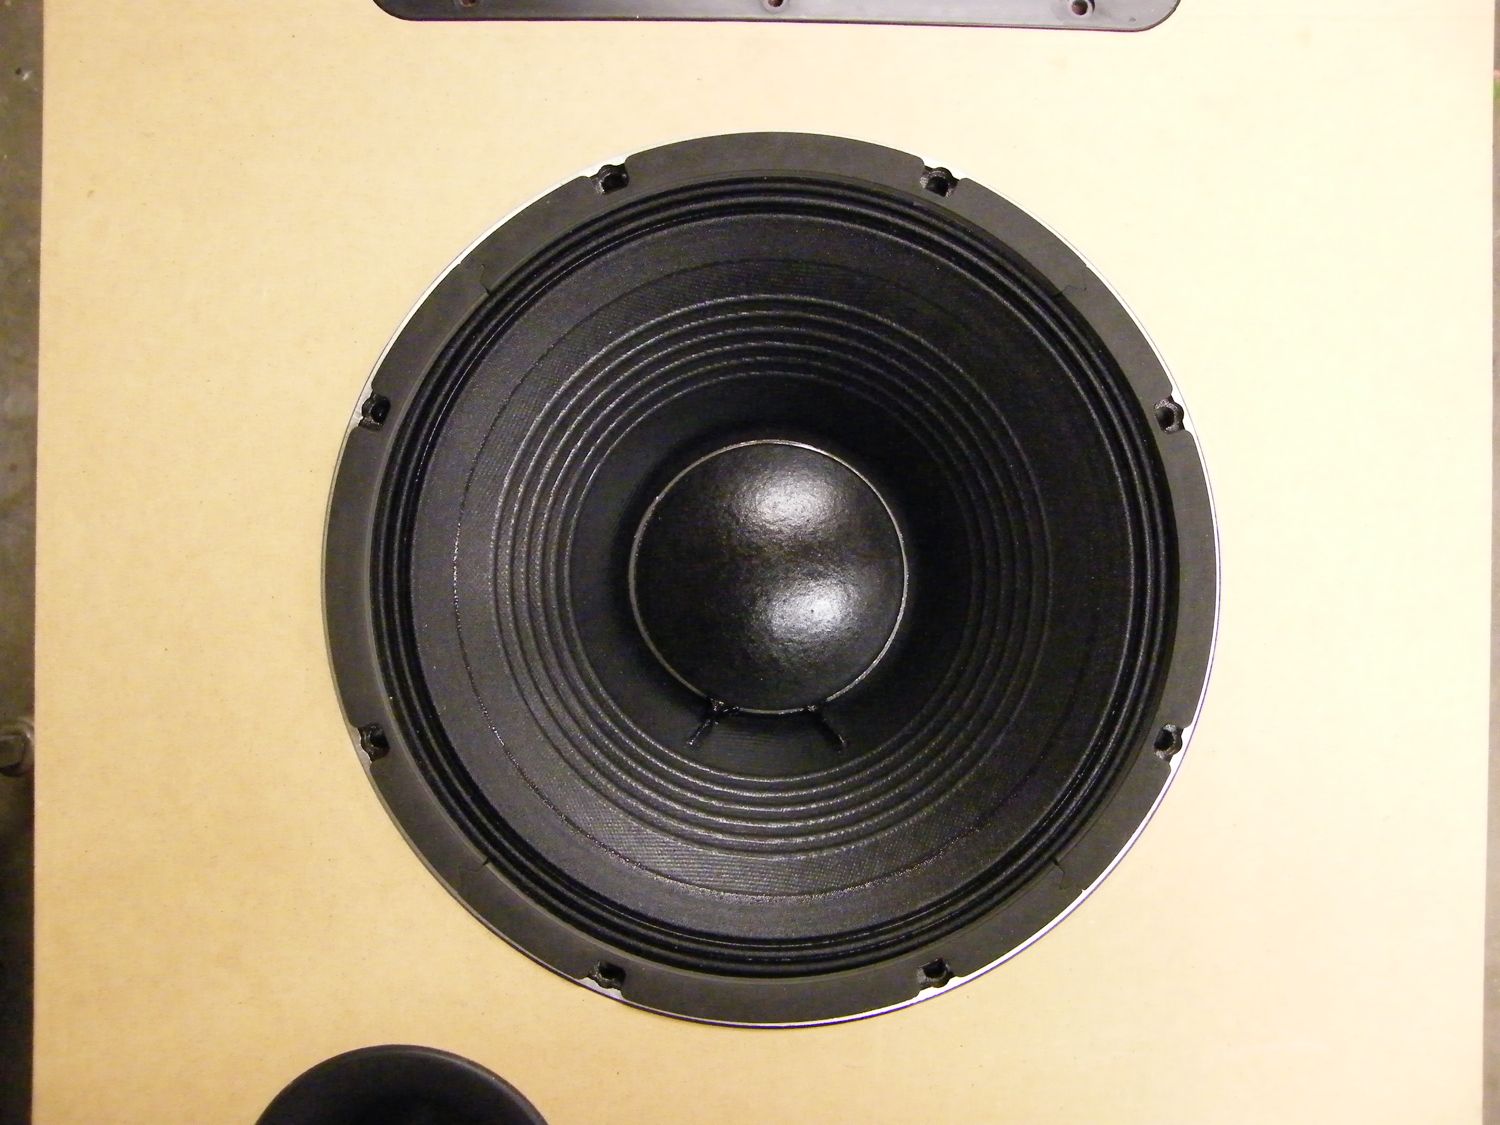
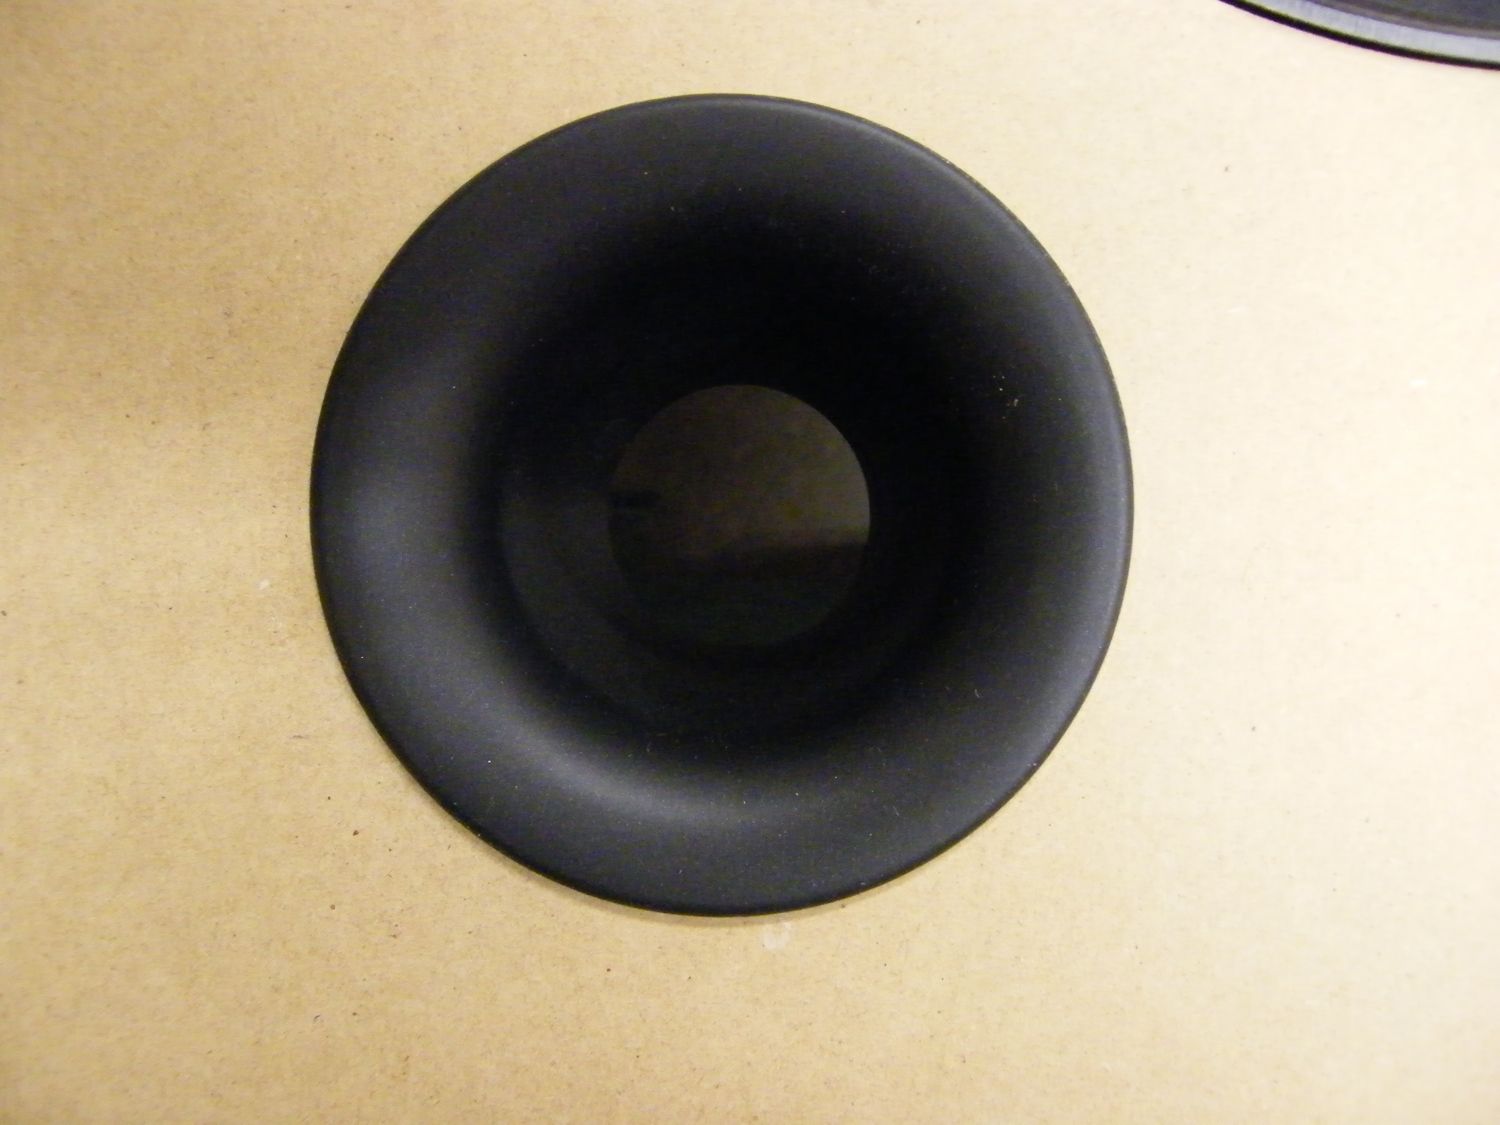
OK, It's time to stick the drivers/port in a baffle and see what they look like. Pretty nice! These woofers are a really nice looking driver. They look very well made and the magnet/voice coil and venting are all huge.
Next the T nuts get installed in the baffle. I used 1/4" t nuts for the woofer. The woofer mounting holes will take 1/4". However, it's a close fit without much room for error. I set the woofer in the baffle, shimmed it tight, marked it's position and used a 1/4" forstner bit in a portable drill to make centre marks for each hole. I then used a drill press to drill the through holes. This ensures a hole perpendicular to the baffles. The tolerance is too close to hand drill these IME. If I did not have the drill press I would use the smaller #10 T nuts which leave room for error. The holes all lined up fine in the end. I also cutout the crossover access hole in the back panel and added the 1/4" Tnuts for the crossover cover.
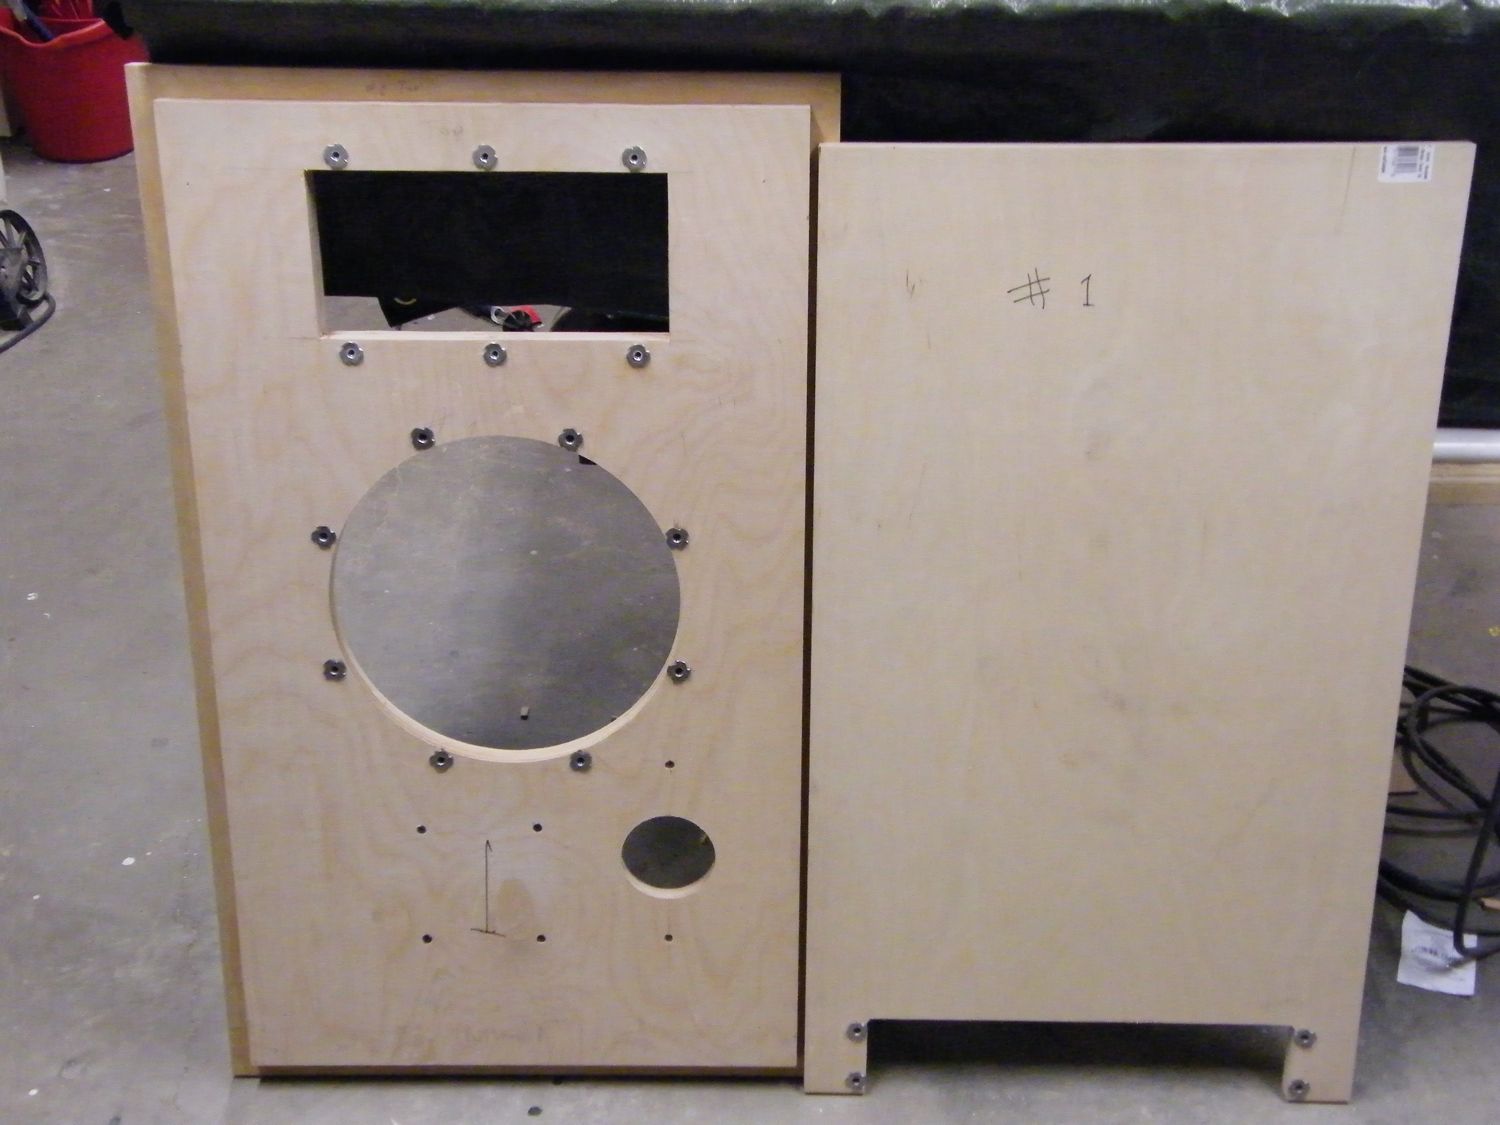
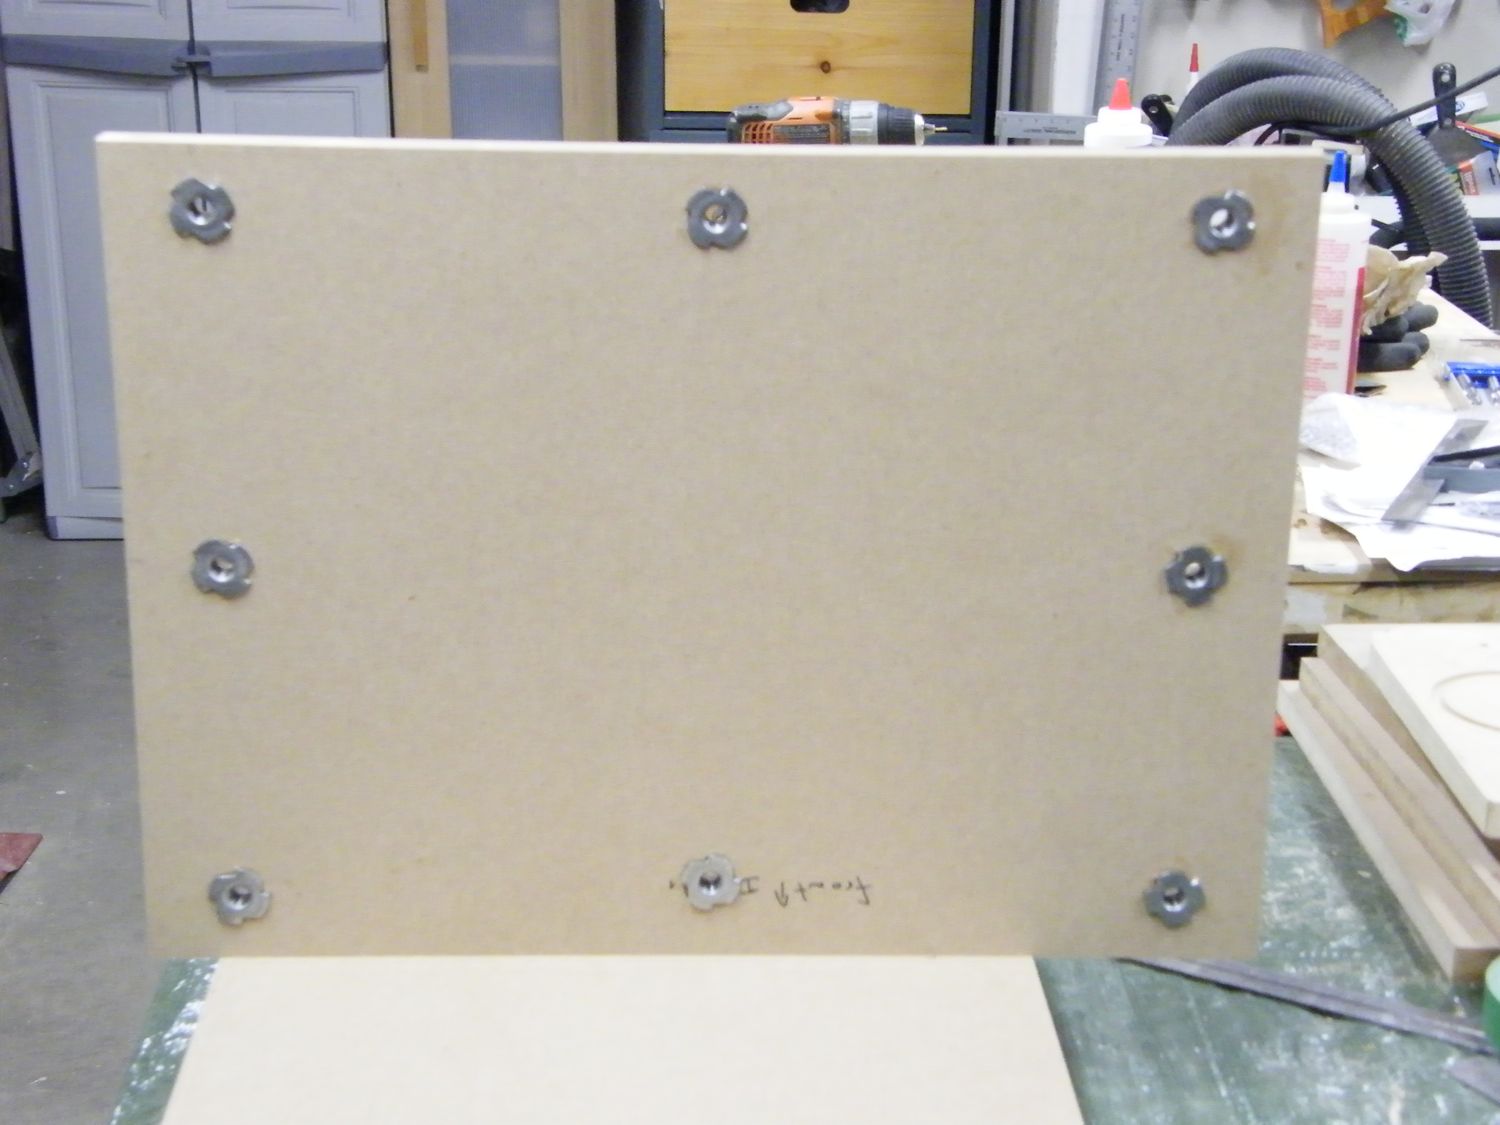
I wanted to add T nuts to the bottom so I could add spikes/feet or a base/stand. I used 3/8" T nuts and installed 8 of them to make sure I could securely bolt up a stand if needed.
-
 Attachment: DSCF9562.jpg
(Size: 152.82KB, Downloaded 8946 times)
-
 Attachment: DSCF9564.jpg
(Size: 178.76KB, Downloaded 8894 times)
-
 Attachment: DSCF9565.jpg
(Size: 132.10KB, Downloaded 8928 times)
-
 Attachment: DSCF9570.jpg
(Size: 139.23KB, Downloaded 8861 times)
-
 Attachment: DSCF9571.jpg
(Size: 131.58KB, Downloaded 8880 times)
|
|
|
|
|
|
|
|


