|
Home » Sponsored » Pi Speakers » Notes on Ironing Veneer, Using Watco and ... a distress signal?
| Notes on Ironing Veneer, Using Watco and ... a distress signal? [message #75448] |
Wed, 06 February 2013 13:54  |
 Bill Epstein
Messages: 1088
Registered: May 2009
Location: Smoky Mts. USA
|
Illuminati (2nd Degree) |
|
|
Working in a bedroom, among other things, means a one-speaker-at-a-time production run which really slows things down. In the finishing stages, that also means taking extra care that the finish, if tinted, needs to be carefully controlled.
Those restrictions, together with the so-so quality of the veneer and a veneering issue I'll get into later, pointed toward using Watco, a Linseed Oil-based finish. The time factor also meant no fancy mixing of artists colors with the oil to make a custom color; I want to hear these speakers, not put'm in a museum.
Overall, I'm pretty happy with using a hot iron and Yellow PVA adhesive (Titebond II) to apply unbacked veneer. The only problem I had that seems unique to the process is that in a few places, the glue bled through to the face. Anyone who has glued up a cabinet and allowed glue to remain on the surface knows what happens when you go to apply stain: the glue prevents the stain from penetrating and you're left with a light-colored blotch with little grain. When I have some time, I'm going to experiment with coating the back of some left-over veneer with Shellac, then doing the glue-up.
It's important to allow the glue to thoroughly dry on both surfaces before using the iron. That said, if you wait too long, which I did on one cabinet, enough moisture drys out from the glue that it doesn't re-melt properly which results in bubbles and loose edges after the veneer cools. I found that wetting the loose areas with a water mist from a spray bottle I keep handy solved that problem but, in a few places, caused more bleed-thru.
I couldn't find the hard rubber roller that I use to apply PPR adhesive and so used a short nap paint roller to apply the Titebond. The result was a slightly uneven coating that leaves faint ridges after the ironing. That surprised me. I had thought the melting would eliminate that possibility. I highly recommend that anyone going forward with this technique purchase one of the rollers that are sold at Home Centers for smoothing out plastic laminate when using contact adhesive. They're worthless for that (you want a piece of soft pine 2x4 with rounded edges) but wonderful at evenly spreading glue!
There was some cracking/splitting of the leaves as the heat was applied but the nature of the process, heat and pressure, much like Hide Glue, left little to repair. It does reveal though, how chancy multi-leaf glue-ups would be.
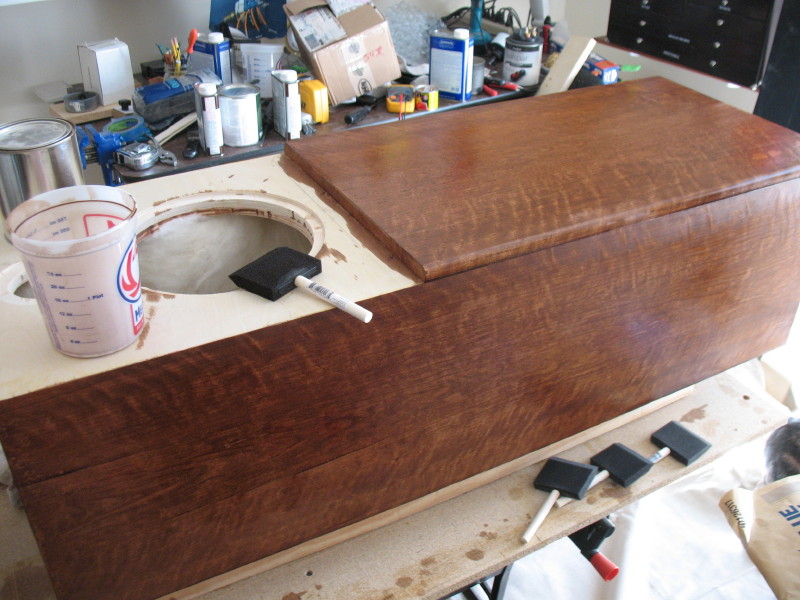
The veneer remained pale-reddish-beigeish even during the long period of construction so I discarded my usual technique for Cherry of a 2 Lb. cut of Amber Shellac, padded on. Instead I went with the old standby, Watco Danish Oil and, in another departure, (I always use Natural) I opted for their Cherry colored version. Disappointing! Pale, unnatural, red! I fooled around with mixing Winton Oil colors on a piece of veneer hot glued to a board but decided for the above reasons not to spend anymore time with good old Burnt Umber, Van Dyke brown, etc. While very useful mixed with Linseed Oil for repairs, it doesn't lend itself to large batches. At least not with my limited skills.
I decided instead to mix Watco Dark Walnut with the Cherry and a 50/50 mixture gave me a blend darker than I wanted but with enough red highlights. The darker blend, I hope, will better allow hiding the bleed thru's (see the 2 blotches at far right, center in the pic?) and other imperfections, using Tage Frids method of applying Watco.

The directions on the can tell you to apply a generous amount of oil, wait 20 or 30 minutes, then wipe off any excess. Apply several coats, then wax. What the famous woodworking teacher did, which is especially good on open-pored wood like Oak and Mahogany, was to apply a really generous amount and leave it to dry overnight. Next day, apply another large serving of oil (it's a reactive finish, subsequent coats melt into previous) and immediately sand the wet surface with 220 grit paper on a hard sanding block. What a mess of oil and sawdust you'll make! It's Glorious! Smear and sand that glop around until the entire surface is gloppy. Did I mention you must be gloved and have lots of sandpaper? Now walk away...yup, leave the mess to dry. Next day, rub it smooth with 0000 steel wool. It's gorgeous; all imperfections filled and smooth as a baby's tochas
All your linseed-oil soaked rags must be placed in water-filled baggies after use and in the garbage. Linseed oil is subject to spontaneous combustion
I'm hoping this finish method will help cover the areas with glue bleed-thru. What blemishes remain will be taken care of with the above-mentioned artists colors. Then a cuppla coats of Spar Varnish (it's Amber hue should help with the Cherry color) and done.
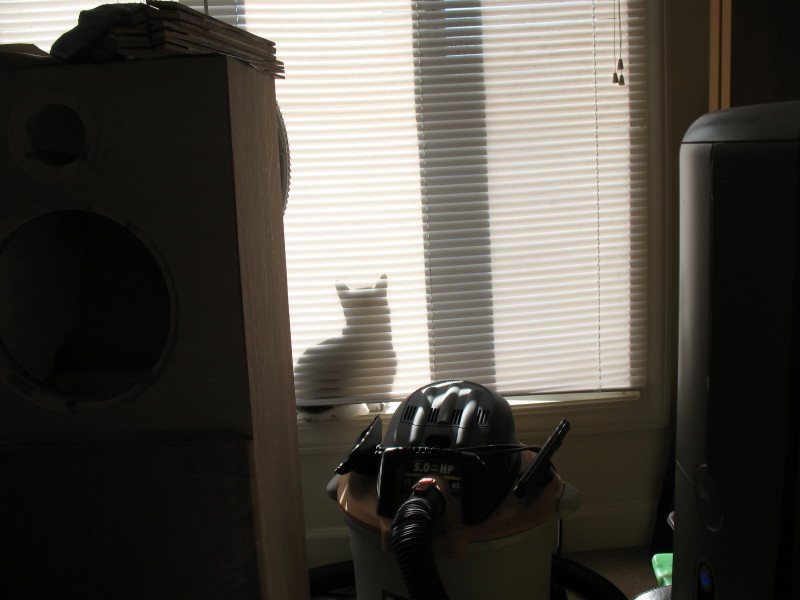
Now about that distress signal...
The Horror! It's Darth Shop-Vac, somebody light the Cat Signal!

|
|
|
|
|
|
|
|
Goto Forum:
Current Time: Sat Jan 24 02:12:17 CST 2026
|


