Several people have asked me for detailed instructions showing how to install cooling plugs. So I've written up a pictorial description of the process. Some of this is in the 12π basshorn build write-up, on page 3. But I'll go into a little more detail here.The cooling plug is a radiant cooler which is inserted into the center cooling vent of a loudspeaker. A speaker's vent provides forced air convection cooling of the voice coil. The cooling plug is designed to allow vent airflow through it, and to augment this cooling mechanism by additionally wicking away heat radiated into the pole piece. It works best when it is inserted well into the vent so that surface area contact between the pole piece and cooling plug is maximized.
Speakers usually have a mesh pressed into the vent which prevents debris from falling into it during installation or handling. The cooling vent is large enough that material might fall into it and become trapped in the area behind the protective cap. When the cooling plug is inserted, the mesh is no longer needed because the plug blocks the vent and debris cannot easily fall into it.
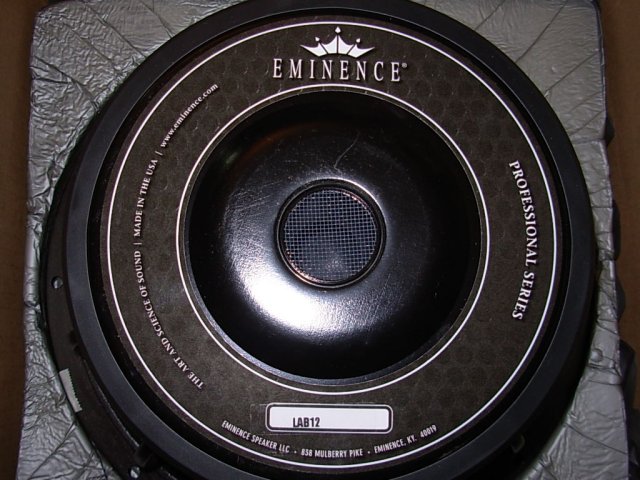 Mesh in cooling vent
The first thing is to remove the protective mesh in the cooling vent. It is pressed in, and comes out quite easily. Use a jeweler's screwdriver, pick or nail to pry it out with. It doesn't take a lot of force to do; Some practically fall out.
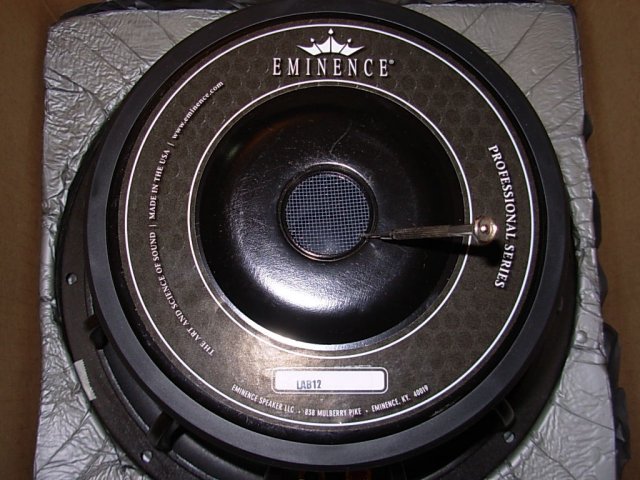 Use a jeweler's screwdriver, pick or nail
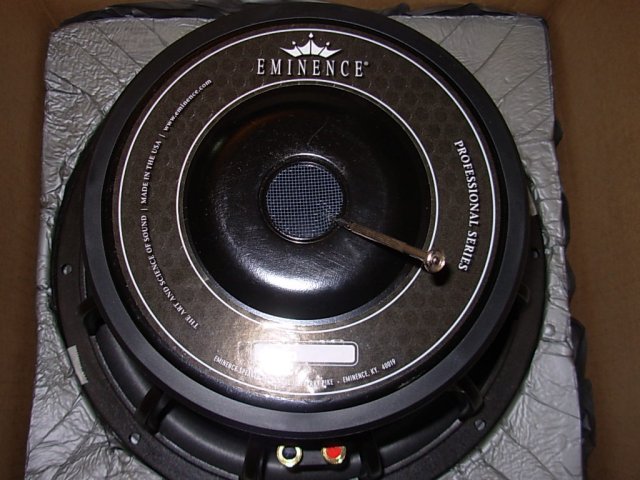 Lift up on mesh
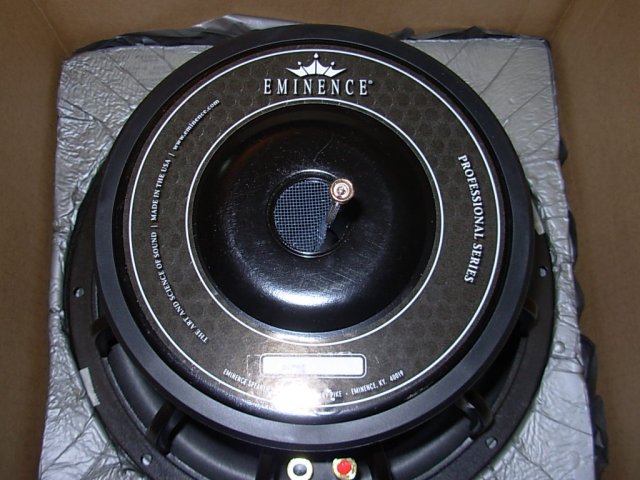 Pry out the mesh
When the mesh is removed, you can see the inside vent. It is painted to prevent rust. The paint will act as a thermal resistance, so it is good to remove it and apply heat conductive grease instead. The grease will prevent rust and will provide better heat transfer from pole piece to cooling plug.
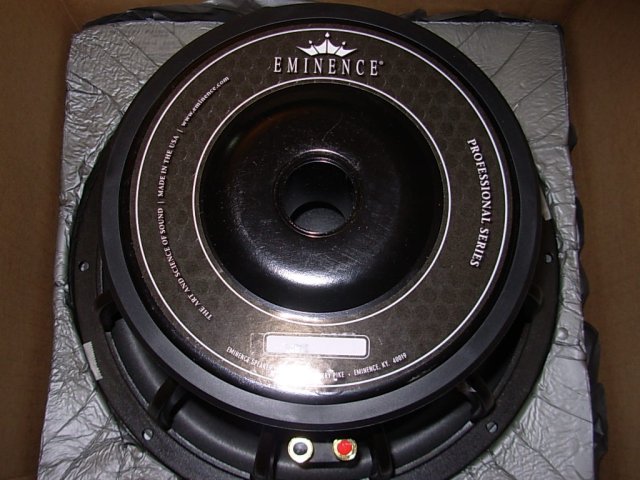 Mesh removed, showing vent interior
Use a piece of fine grit sandpaper, 400 to 600 grit. The best size is small enough to work with, but not so small it can easily fall into the vent. If it falls in, you will have a very difficult time getting it out. So I strongly suggest using a paper strip large enough it cannot fall into the vent; That way you won't worry about it.
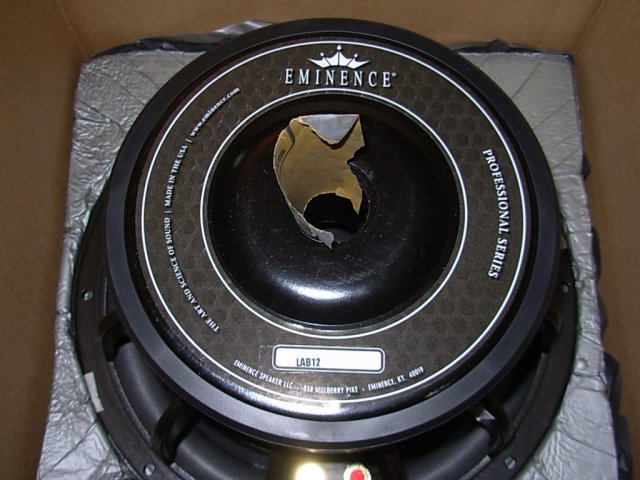 Sandpaper to remove paint from vent
You don't have to sand long. All you want to do is to remove the paint, which just takes a few swipes. The paint dust will not hurt anything, but wipe it out with a cloth anyway. That way you can look into the vent and see that the metal is exposed on the whole surface.
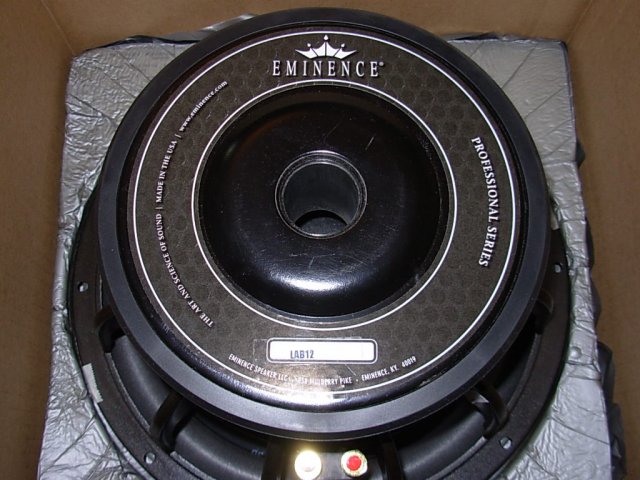 Paint removed in vent exposing bare metal
Apply a film of heat conductive grease inside the vent. This will serve to protect the exposed metal and will also provide a better thermal interface between the pole piece and cooling plug.
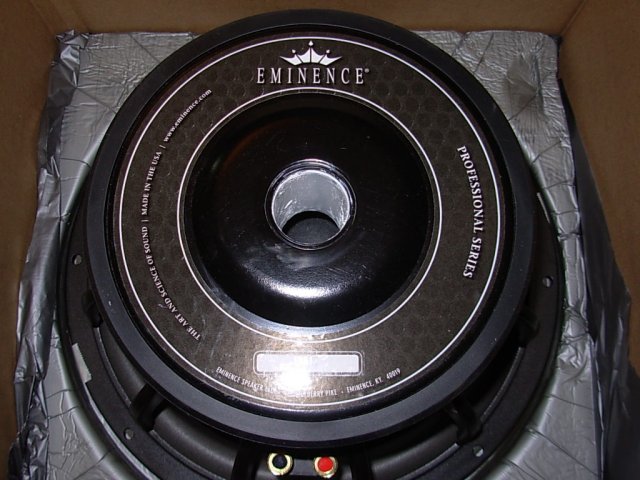 Thermal grease applied to vent
The driver is now ready for insertion of the cooling plug. It can be stored this way or used immediately.


