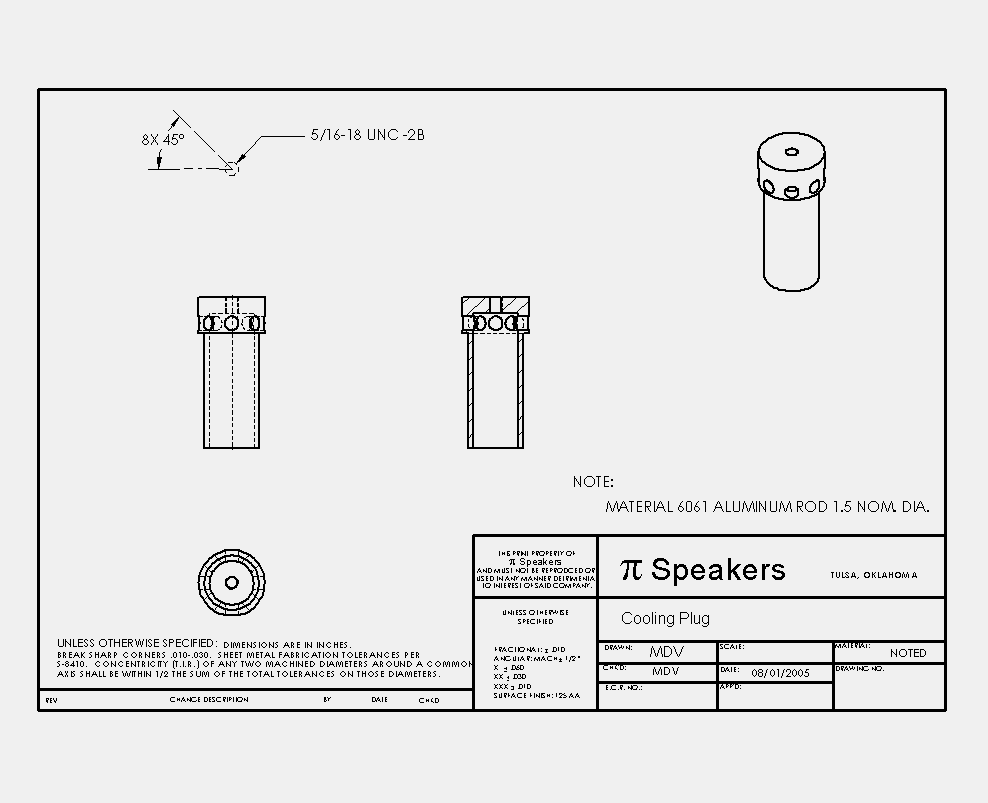
To insert images directly in your posts, you will want to use the <img src> tag. That's HTML, and you can use it to do a lot of things within posts, like make tables, bullets, different character fonts, links, etc. If you just want to put a single picture at the top of your post, you can put the image file URL in the field called "Optional Image URL". That's an easy way to do it.Regarding the cooling plug, I've made two different types. The original prototype had 2.675" shank and 0.8125" stop. It works well in a 12π (or just about anything else) but the extraordinary close fit between the woofer and side panel of the LABhorn prompted us to have a version made with a thinner stop. The cross-drilled holes are cut with their axis at 30 degrees from the cooling plug center axis. It's a tight fit. But the area is sufficient to support the airflow at full excursion. The angle of the vents may actually help flow. We checked T/S and both plugs worked well without modifying Fts, so that's all we really cared about as far as airflow was concerned. The main thing was that it didn't create a backpressure that increased driver Fts.
There is a balance between increasing heat conduction and reducing pressure drop. Conduction is improved by leaving a lot of aluminum in the plug. Pressure drop is reduced by removing aluminum and increasing vent flow. Of course, there comes a point where flow is good enough that there is very little pressure drop at any passband frequency at full excursion. There is no point exceding this amount of venting, as it would only reduce heat conduction. And vent area is not the only thing that affects flow. Other things like position, direction, shape and other features also affect flow characteristics. So the real trick to making the cooling plug work well is to get enough venting that there is no pressure drop but no more, because you want heat conduction through the aluminum to be maximized.
One last thing. Several people have written about the cooling plug and a common misconception seems to be that the plug will work all by itself. It won't. A heat exchanger must be attached. In the case of the 12π and LABhorn, the heat exchanger also serves as the access plate. On other models, it may be located elsewhere. A simple plate of aluminum is all that is required, and I think 6" to 8" round or square would be sufficient.


