|
Home » Sponsored » Pi Speakers » My 4 Pi Build
| My 4 Pi Build [message #96988] |
Wed, 13 September 2023 21:20  |
 Unity_Coupled
Messages: 11
Registered: September 2023
|
Chancellor |
|
|
I've been itching to take on another high end audio project for a while, and became interested in Wayne's work, and the 4 Pi in particular after lurking around here for the past several years. Of course I don't need any more speakers, or projects for that matter...the farm keeps me busy enough as it is! But I thought this would be a fun departure from the usual rigamarole.
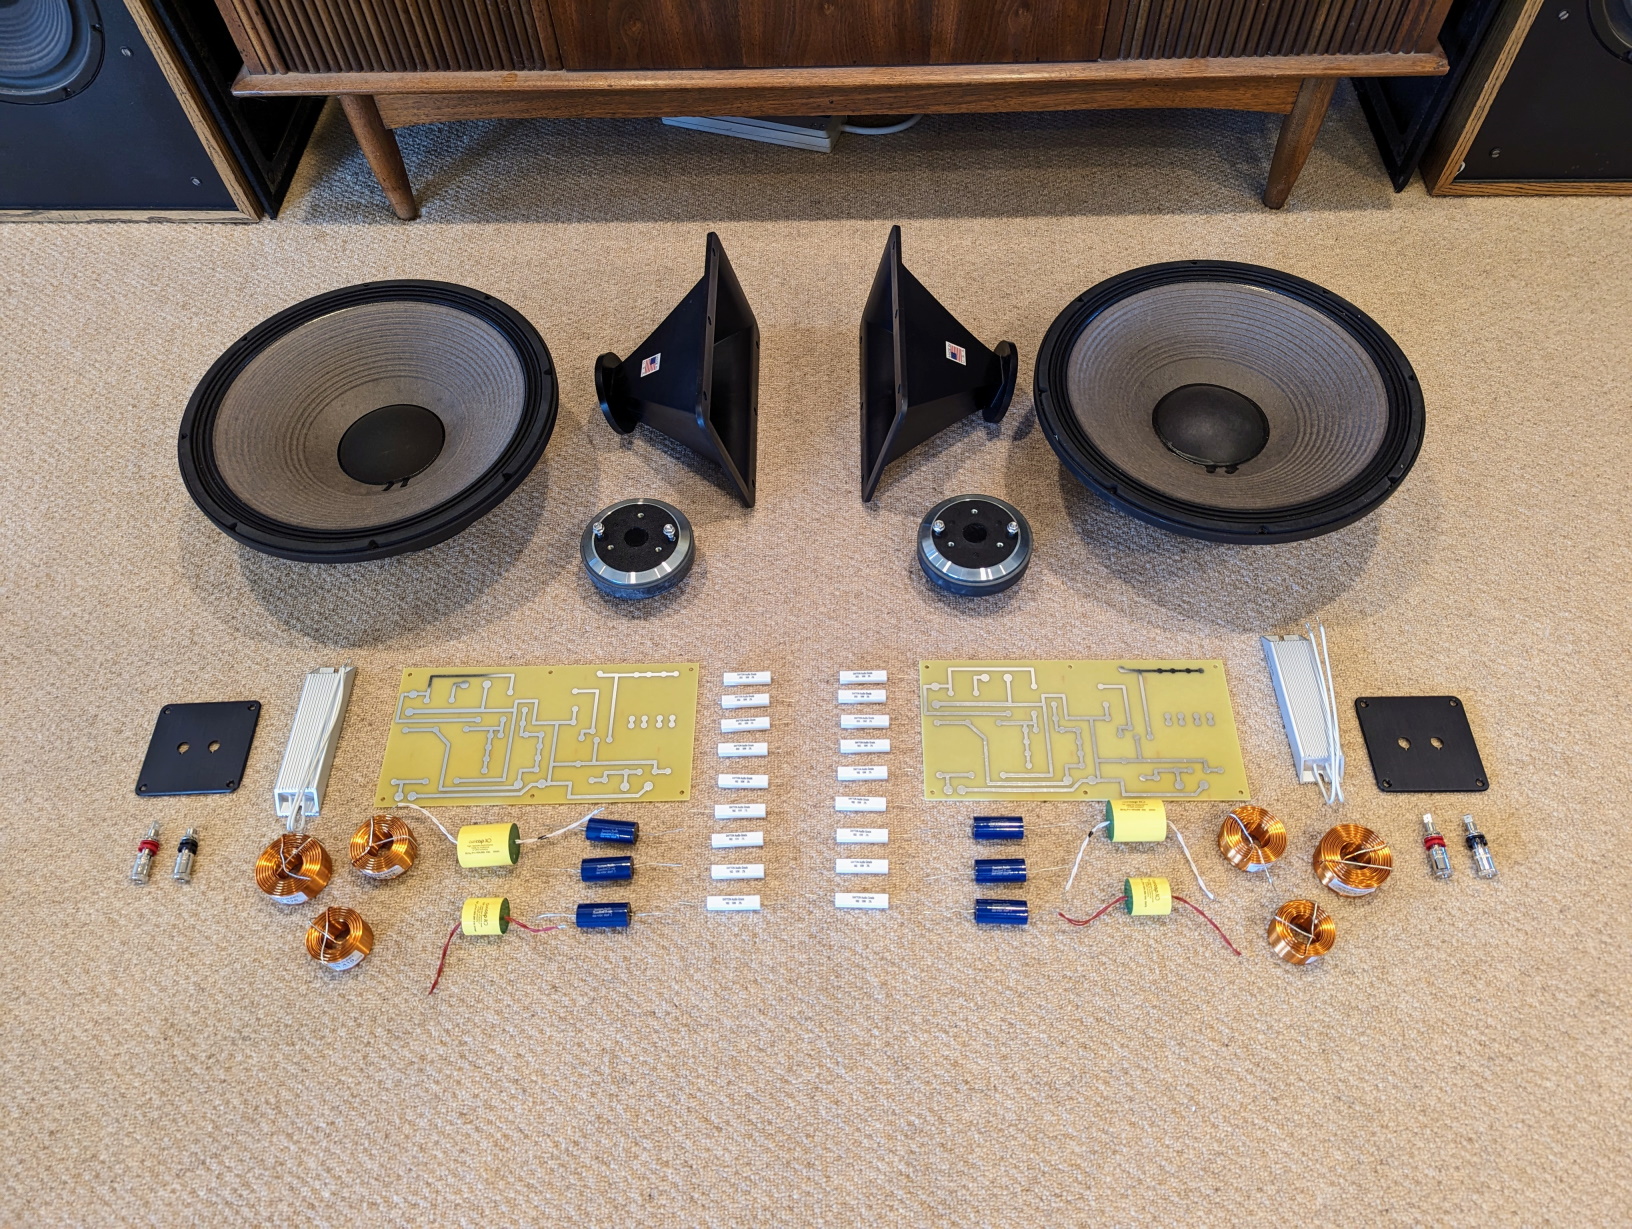
Wayne kindly provided the plans for the 4 Pi and I ordered the waveguides and crossover PCB's from him. I also took advantage of a few Labor Day sales and bought all the components I needed. I opted for a high end build with 2226HPLs and a pair of Denovo DNA-360's I had, which feature nearly identical performance and characteristics to the DE-250. The crossovers will use Auricaps for the high pass circuit and Z-caps for the low pass, and 15ga inductors all around. Resistors are the standard Dayton ceramic types, as I'm not convinced that resistors have a significant impact on the sound. I may still swap them to the Mills later on.
The plan will be to style the speakers similarly to Jensen's build here, with a couple changes: https://audioroundtable.com/forum/index.php?t=msg&goto=91675& I will be flush-mounting the drivers, and mine will have removable grill cloth inserts that come flush with the edges of the cabinets. I'm hoping to find some textured fabric that's akin to what Klipsch used on many of their heritage products to complete the look.
Well, enough blabber. Let's get to it!
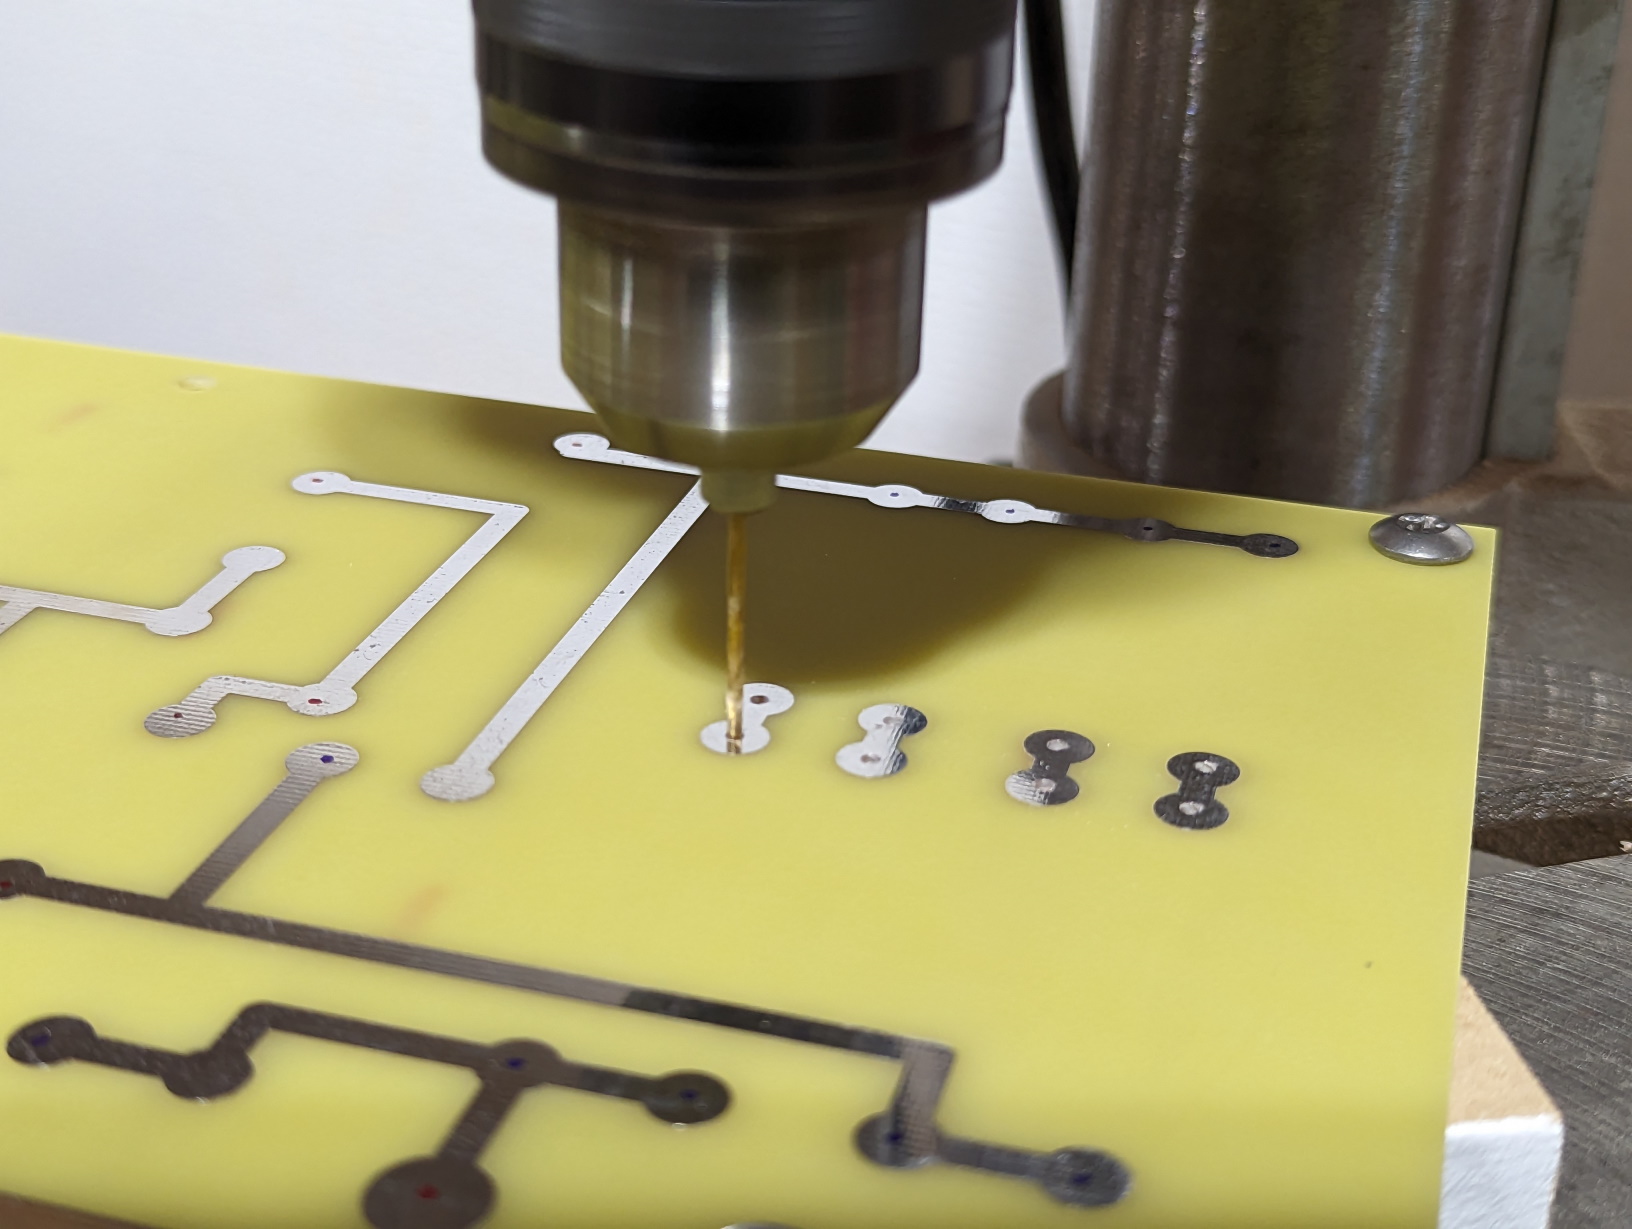
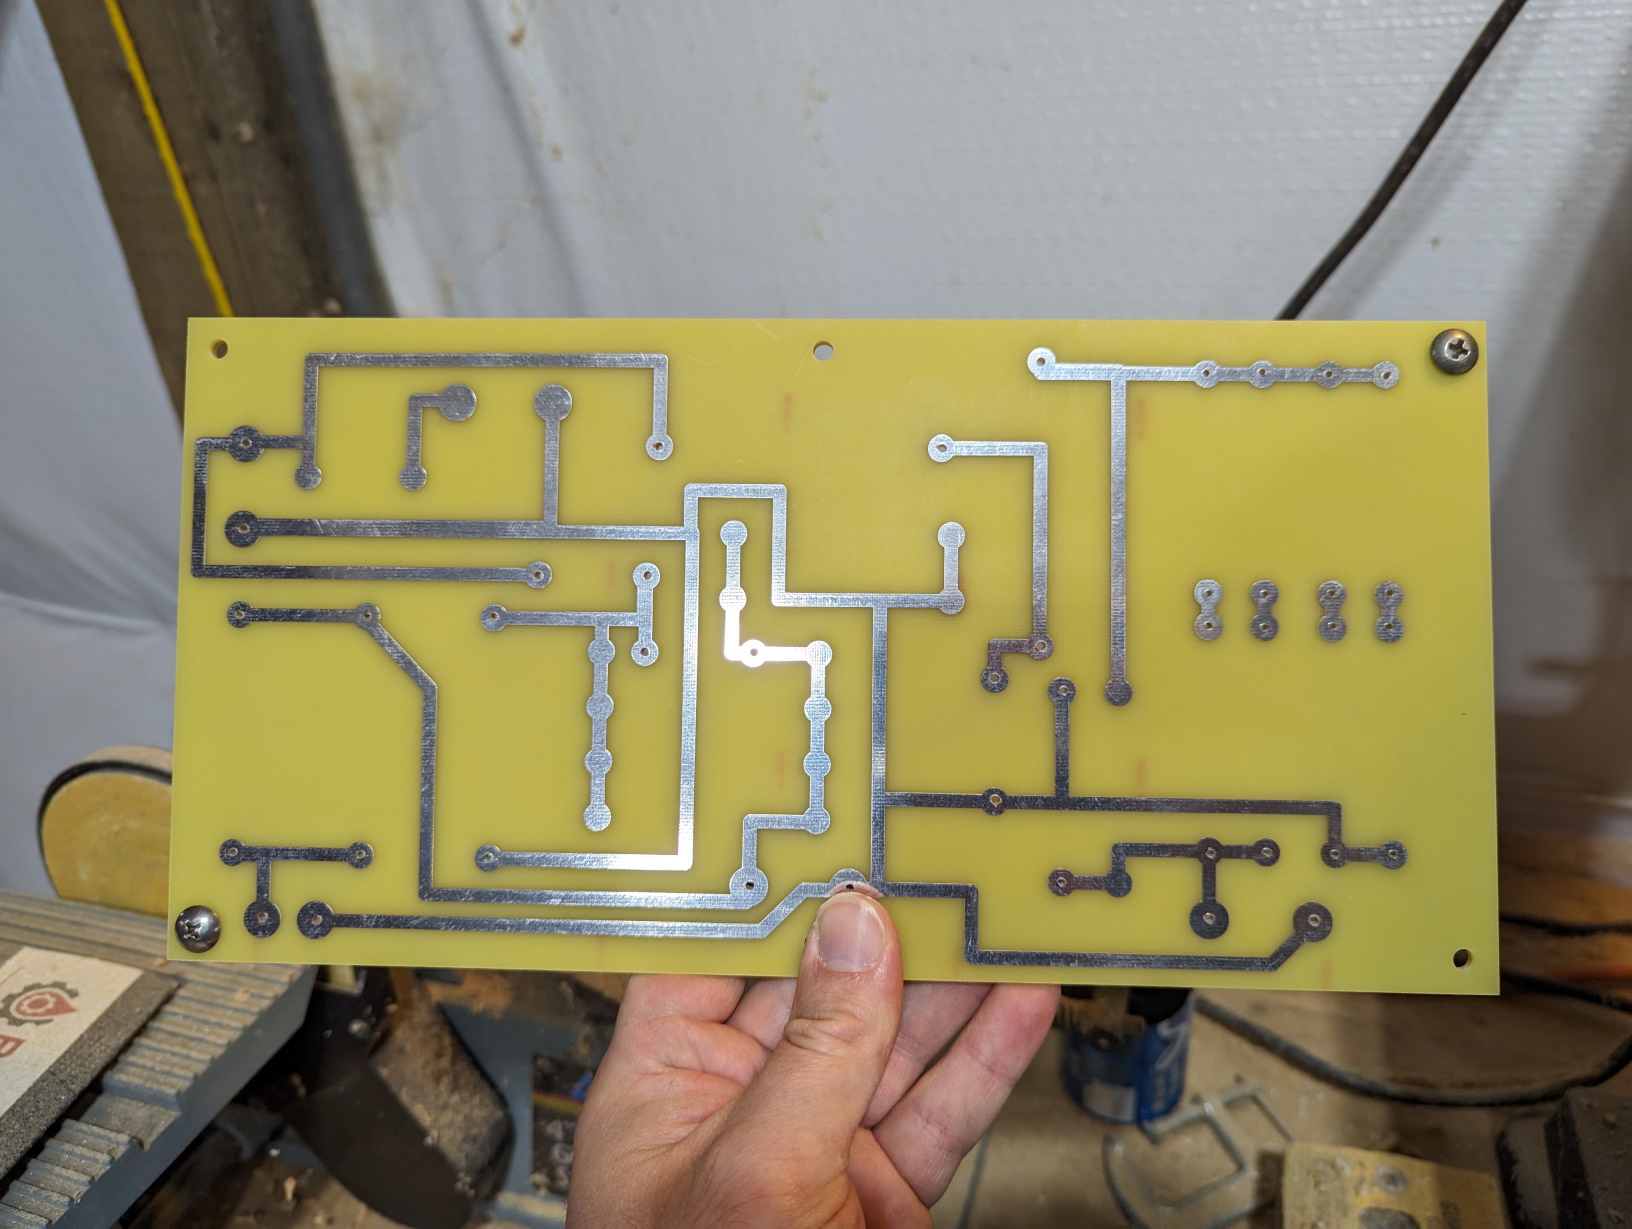
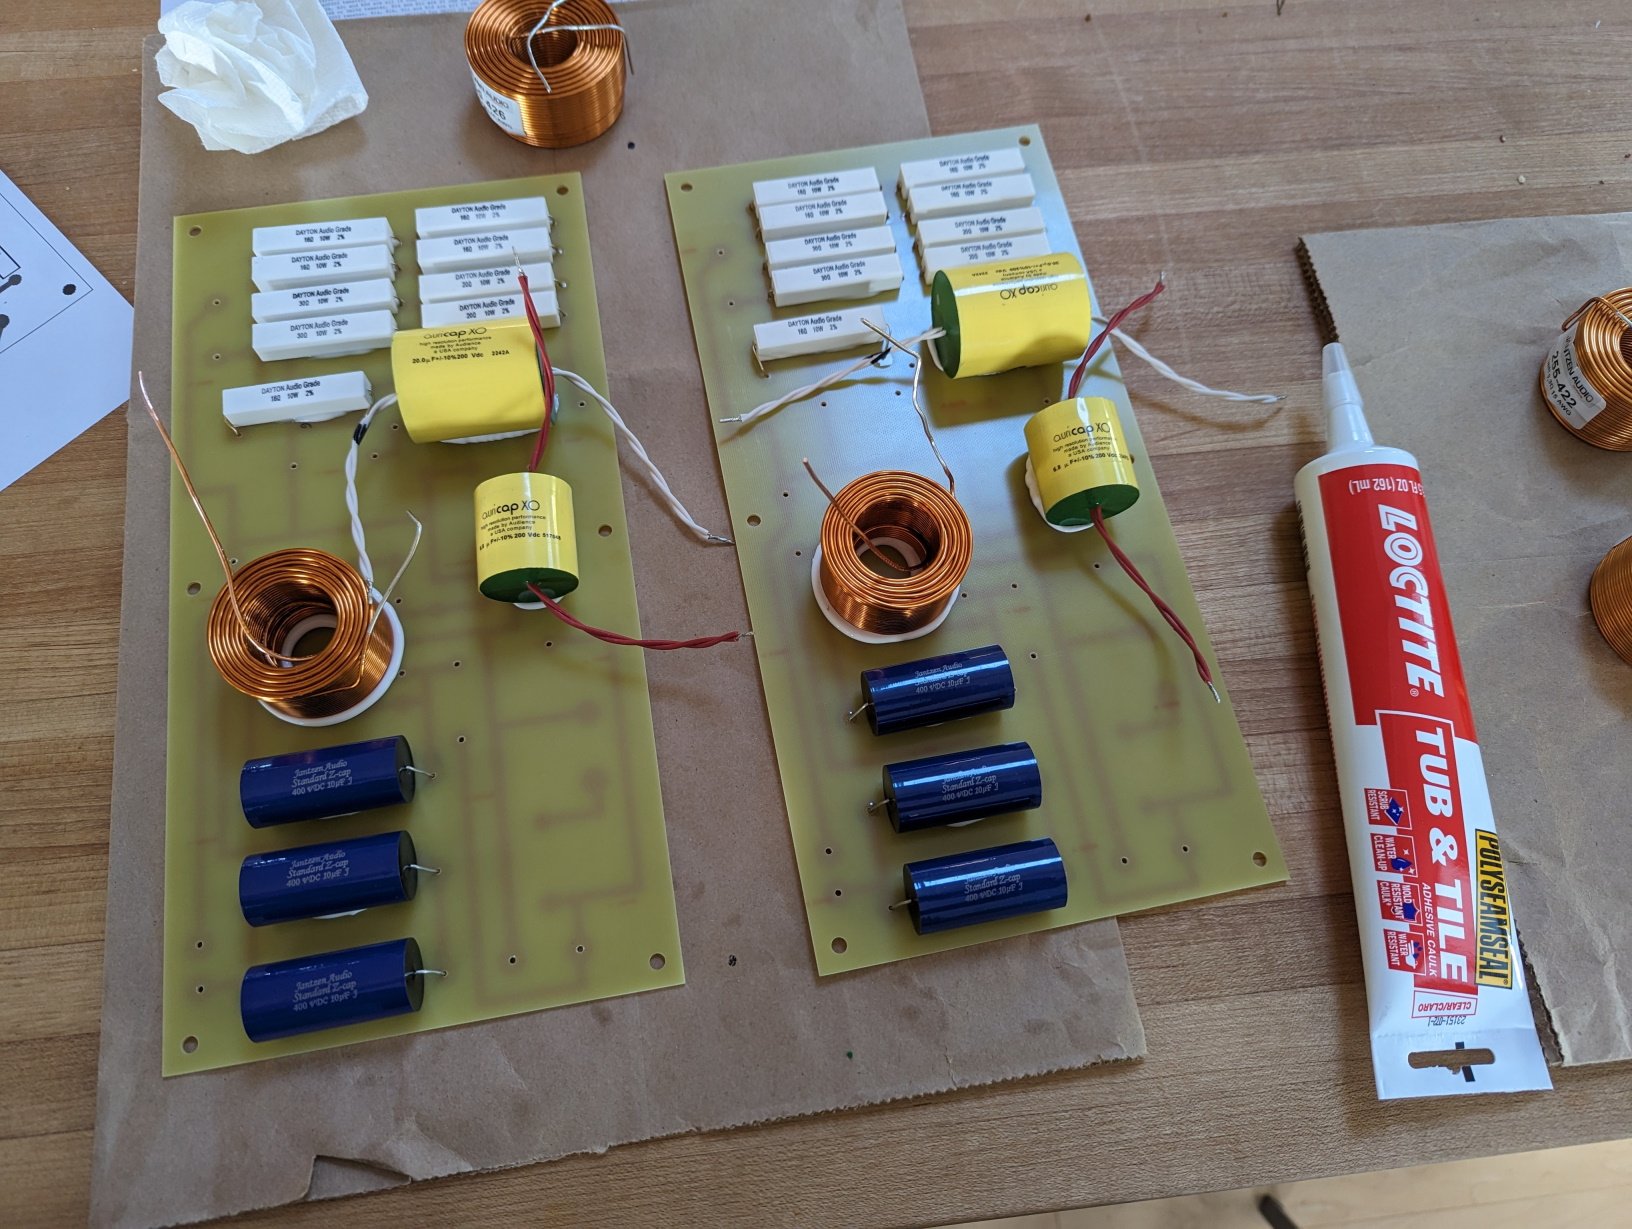
First order of business is to build the crossovers. I started by fastening both PCBs together and drilling holes in the appropriate spots. I used a 1/16" drill for the resistors and the Z-caps, and 5/64" for everything else.
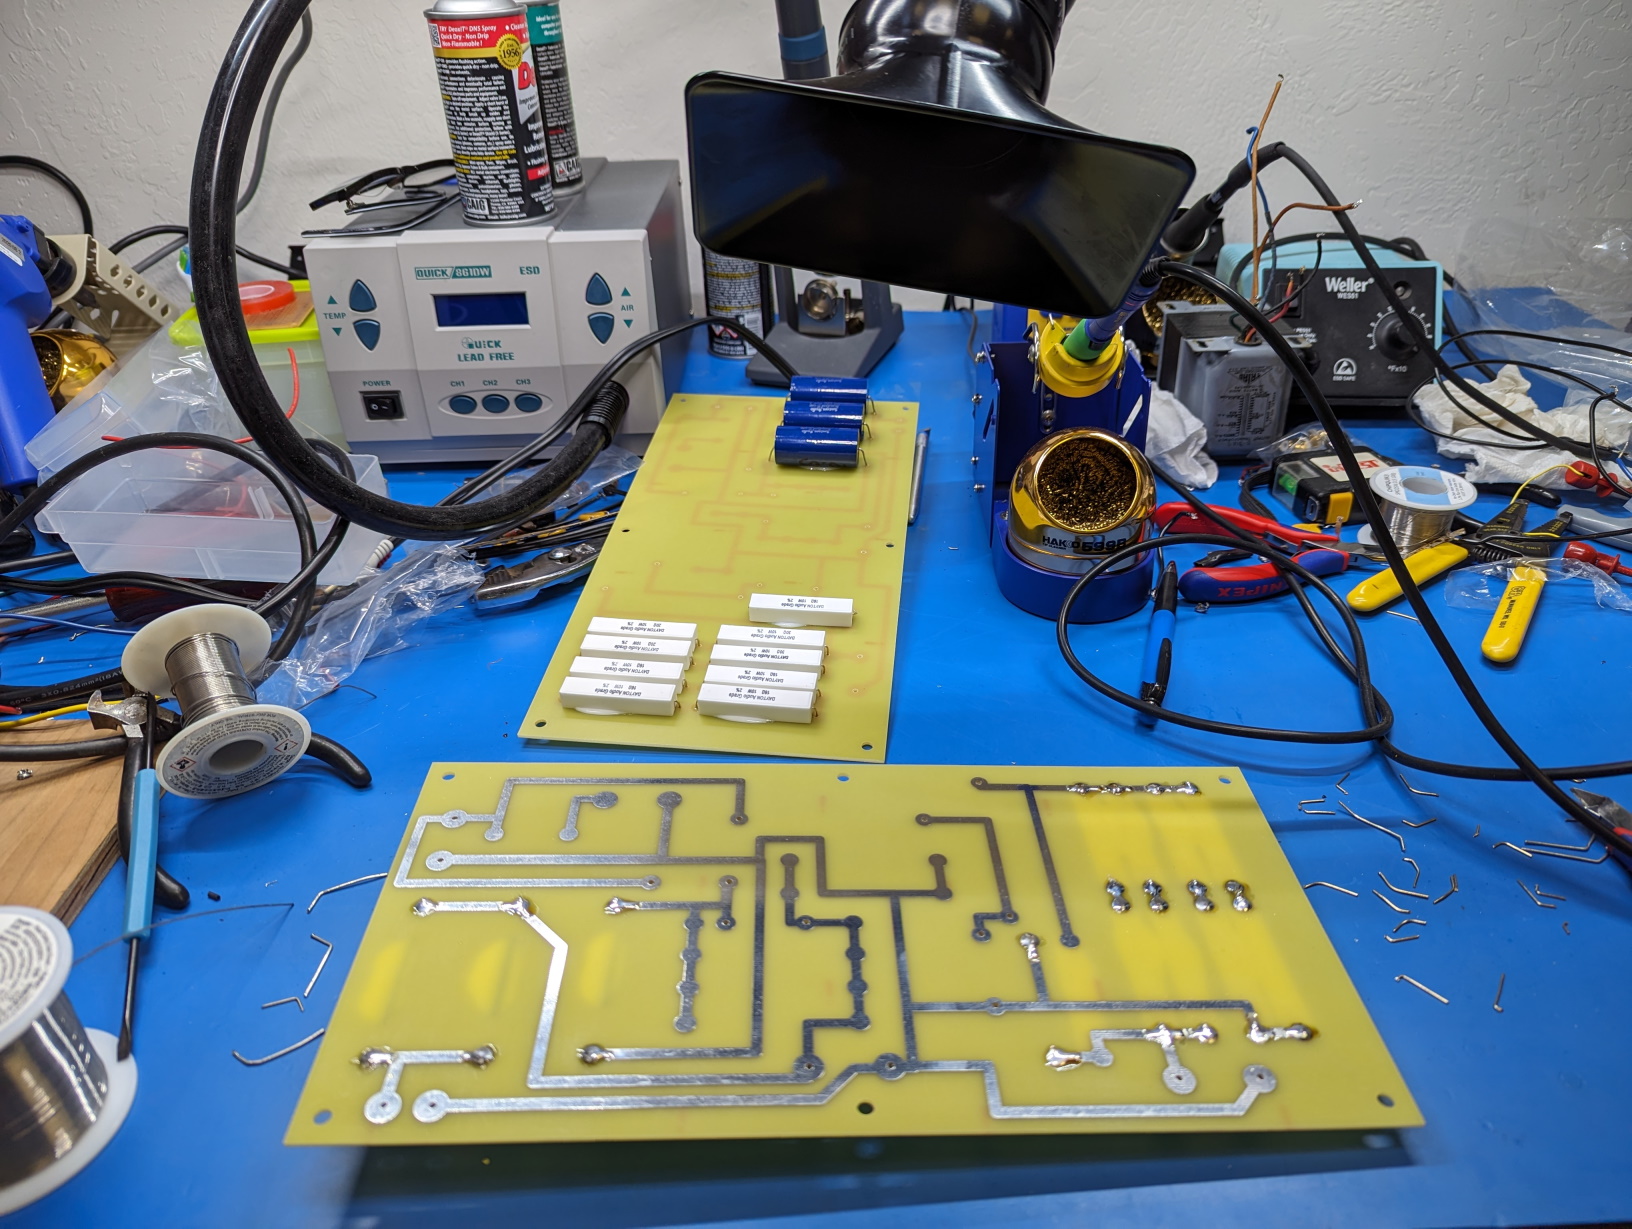
Components being glued to the board. I tightly kinked the leads underneath so they stay put.

First round of soldering...
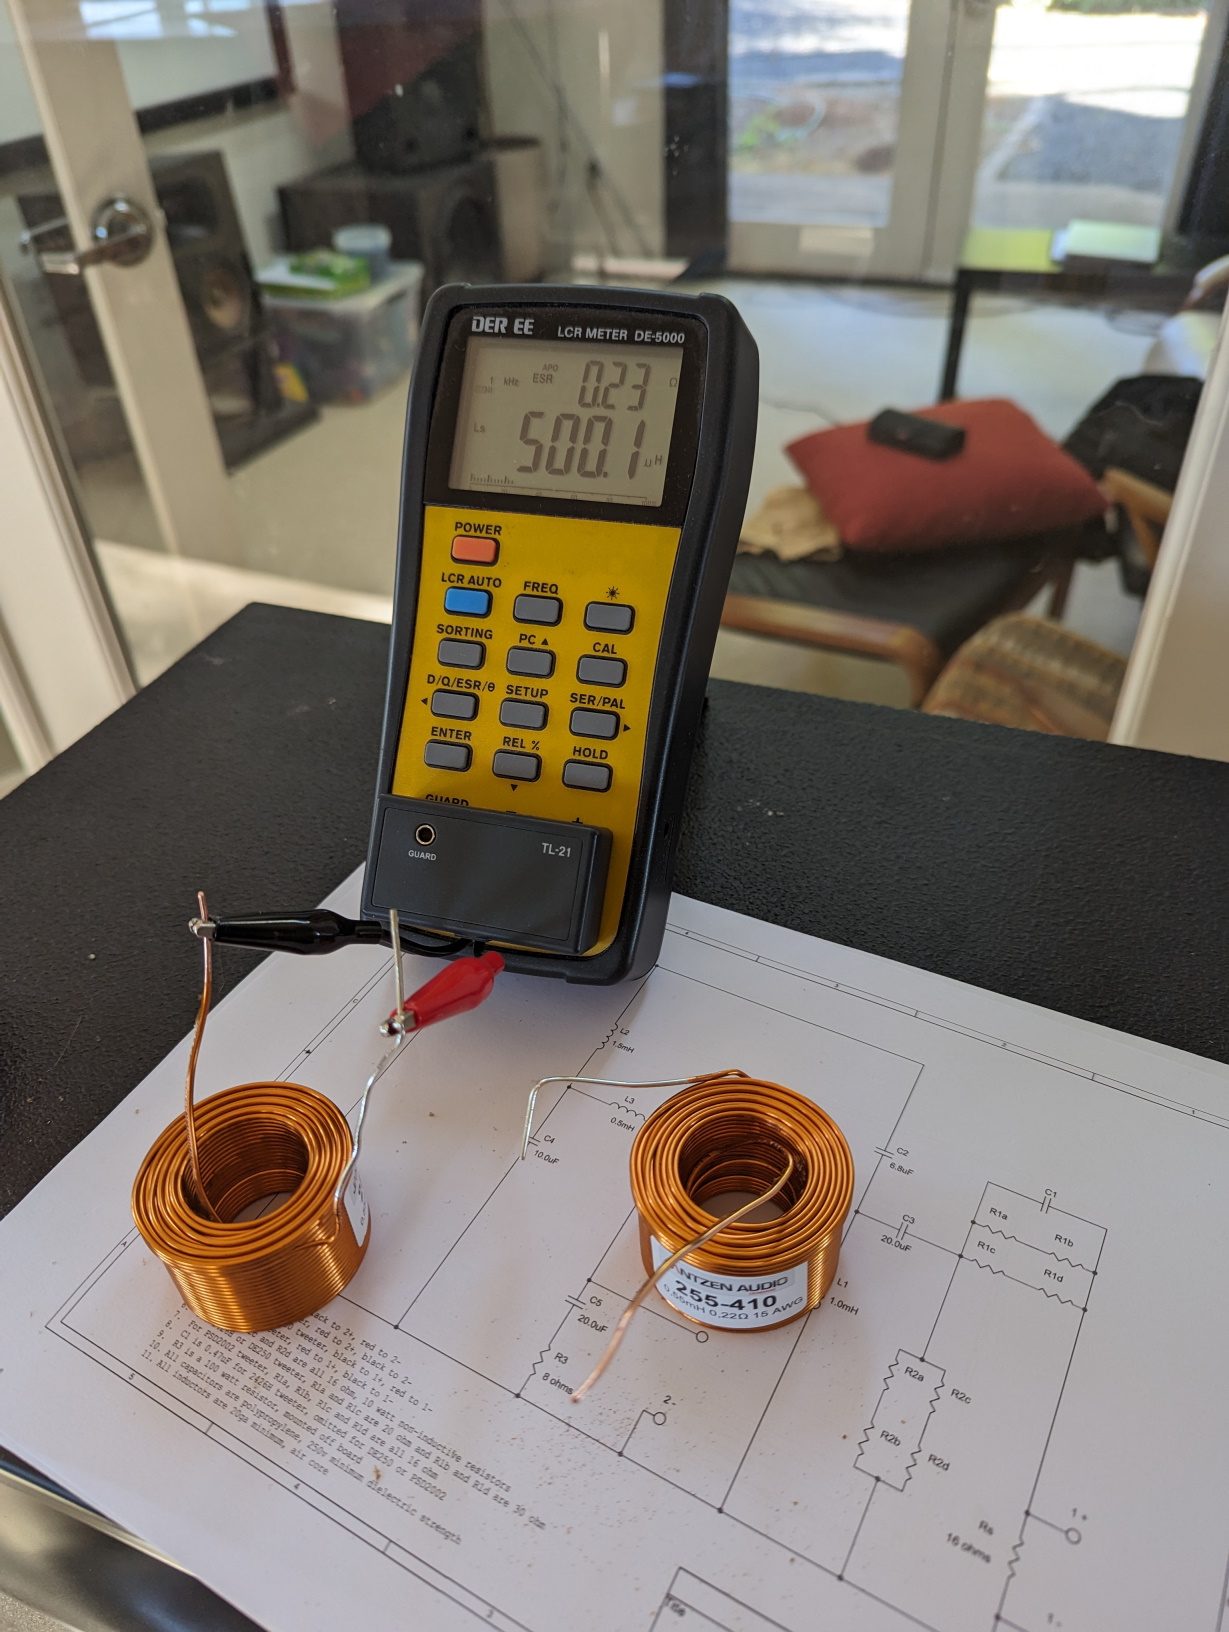
Parts Express did not have the 15ga. Jantzen inductors in 0.5mH, so I ordered them in 0.55mH and unwound them from the inside until I achieved the desired value.
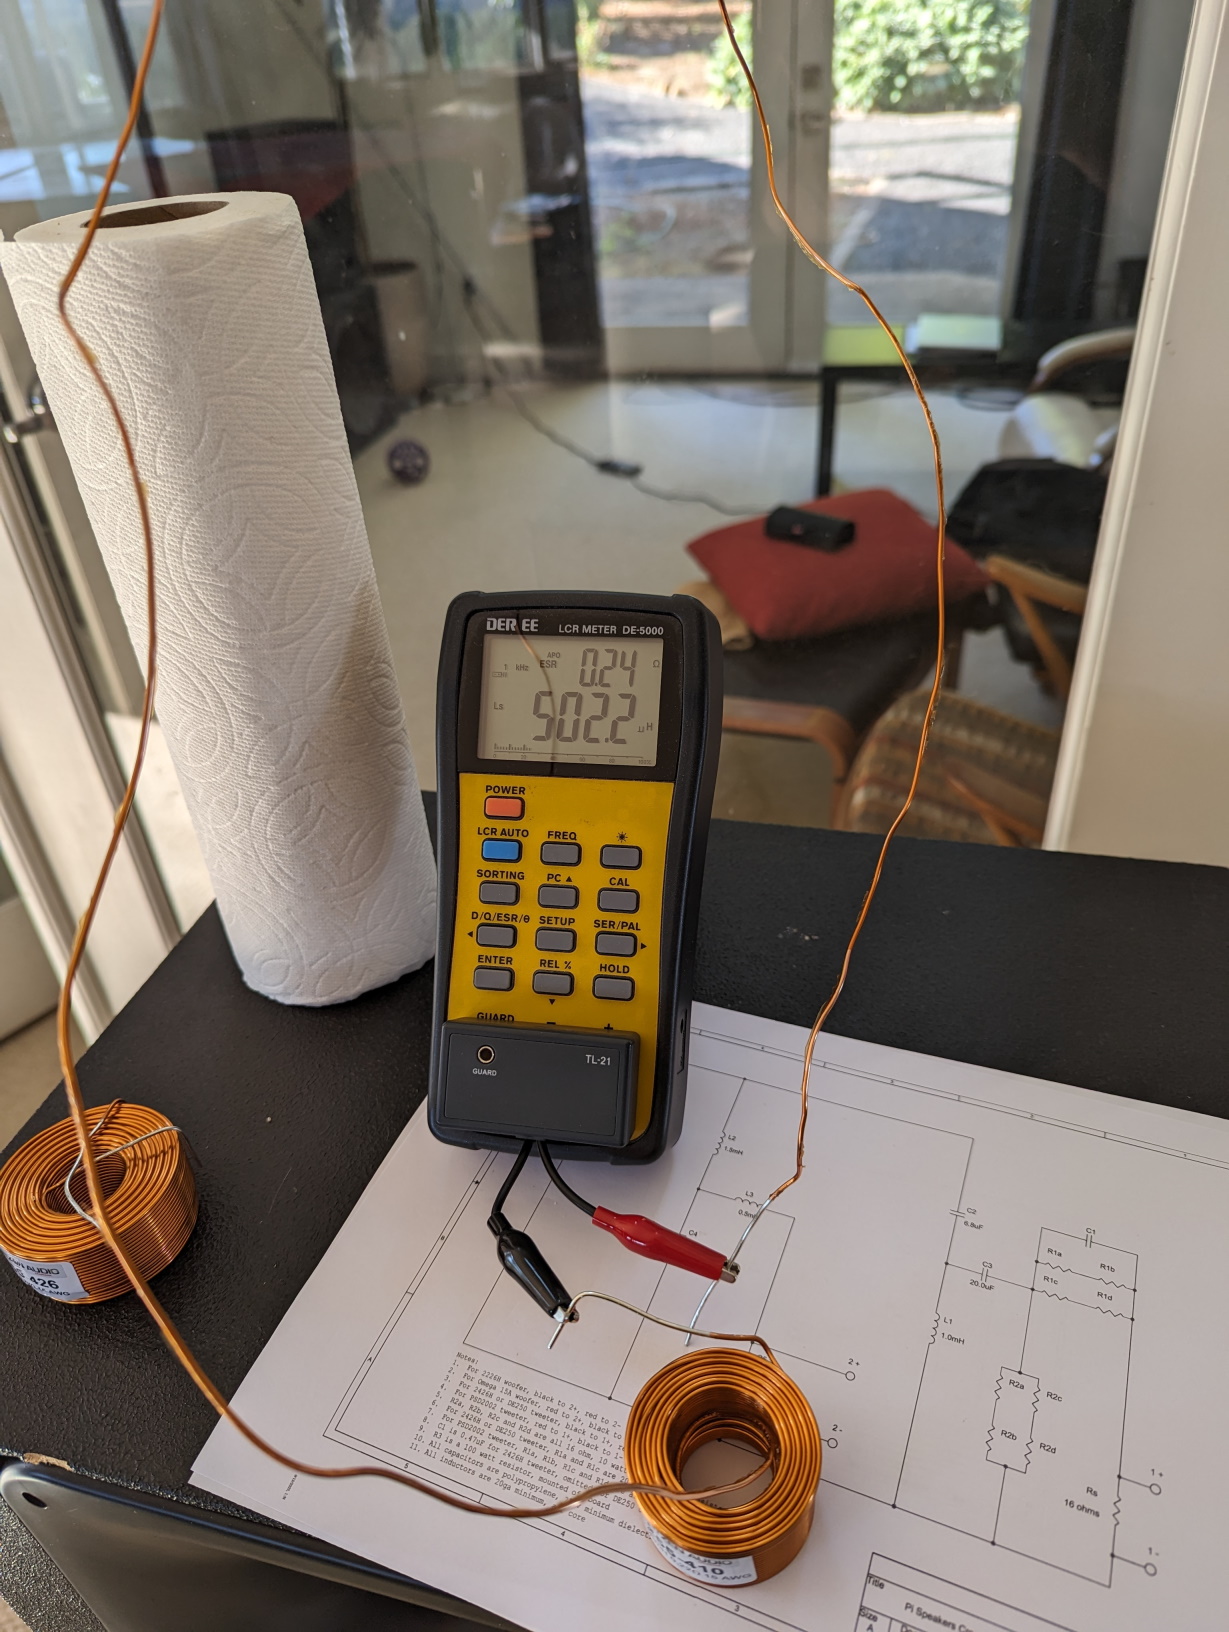
Close enough!
More components being adhered to the board. Audience recommends connecting the outside foil towards the input side of the high pass circuit, and the other side towards the tweeter input. I'm skeptical that it makes a difference but I did it anyway.
This is where I stopped for the day, as I had other duties to attend to.
|
|
|
|
Current Time: Wed May 08 04:02:31 CDT 2024
|


 Posting Rules
 Members
 Search
 Help
Help Register
 Login
Login Get a T-Shirt!


")

